

Overview
Use Asset Manager for Jira to:
-
Edit assets like with a spreadsheet
-
Bulk update
-
View specific assets with advanced filters
-
Save filtered view for quick reference later
Opening the App
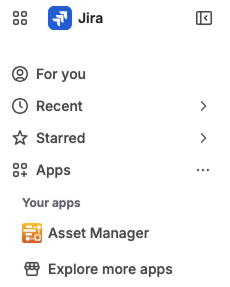
Open Asset Manager for Jira under apps in the left hand side menu.
Views: saved filtered searches
When you open Asset Manager for Jira you see a list of your the searches you have saved according to specific filters. We call them Views:
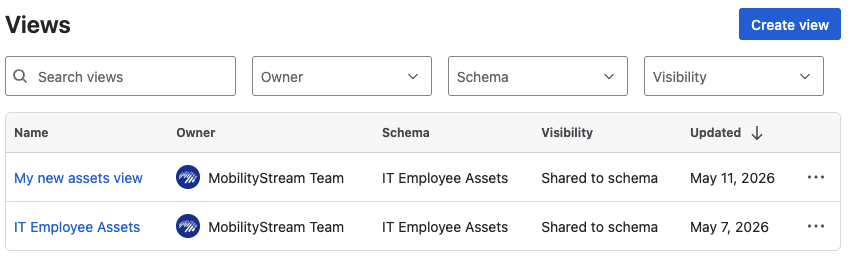
The above only has two Views, but when you have a lot of them you will need to filter them. With Views you can filter:
-
By name
-
By owner
-
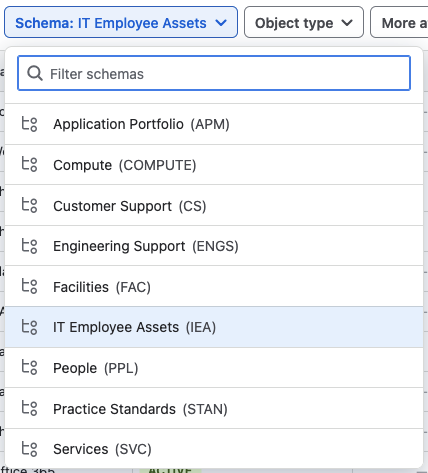
By schema
-
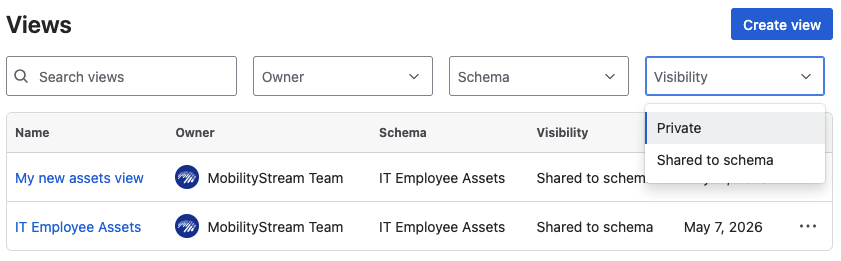
By visibility (a view can be private)
If you want to add a new view to the list use the Create View button.
How to Create a View
Select a schema from the list.
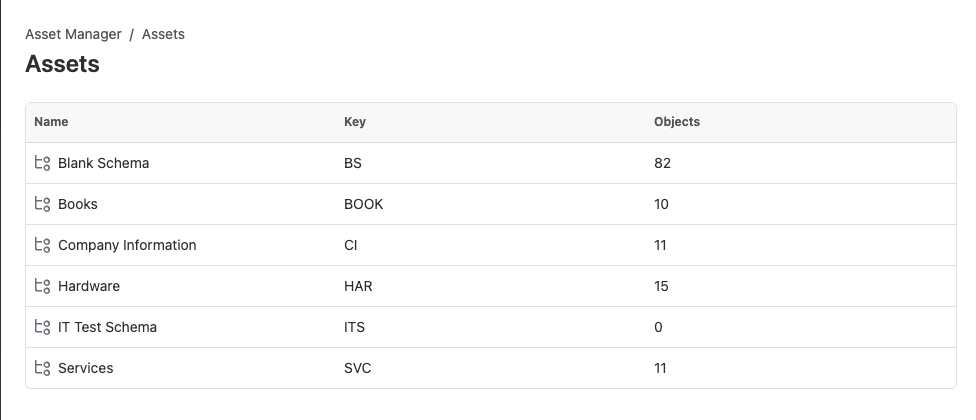
To learn more about assets in Jira here are links to Atlassian pages:
https://support.atlassian.com/assets/docs/create-an-object-schema/
Open a schema to start working. In the Assets editor, build the workspace in this order:
-
Choose a schema
-
Optionally limit the workspace to one or more object types
-
Search or add filters
-
Choose which columns to show
The grid loads rows from Jira Assets after the workspace is defined. More rows load as you scroll.
Who Can See Views
Views can be private or shared.
-
Private: only you use the view -
Schema Users: the view is shared at schema level when you have the required schema access (contact your system administrator to ask for access)
How to Search, Filter, and Sort
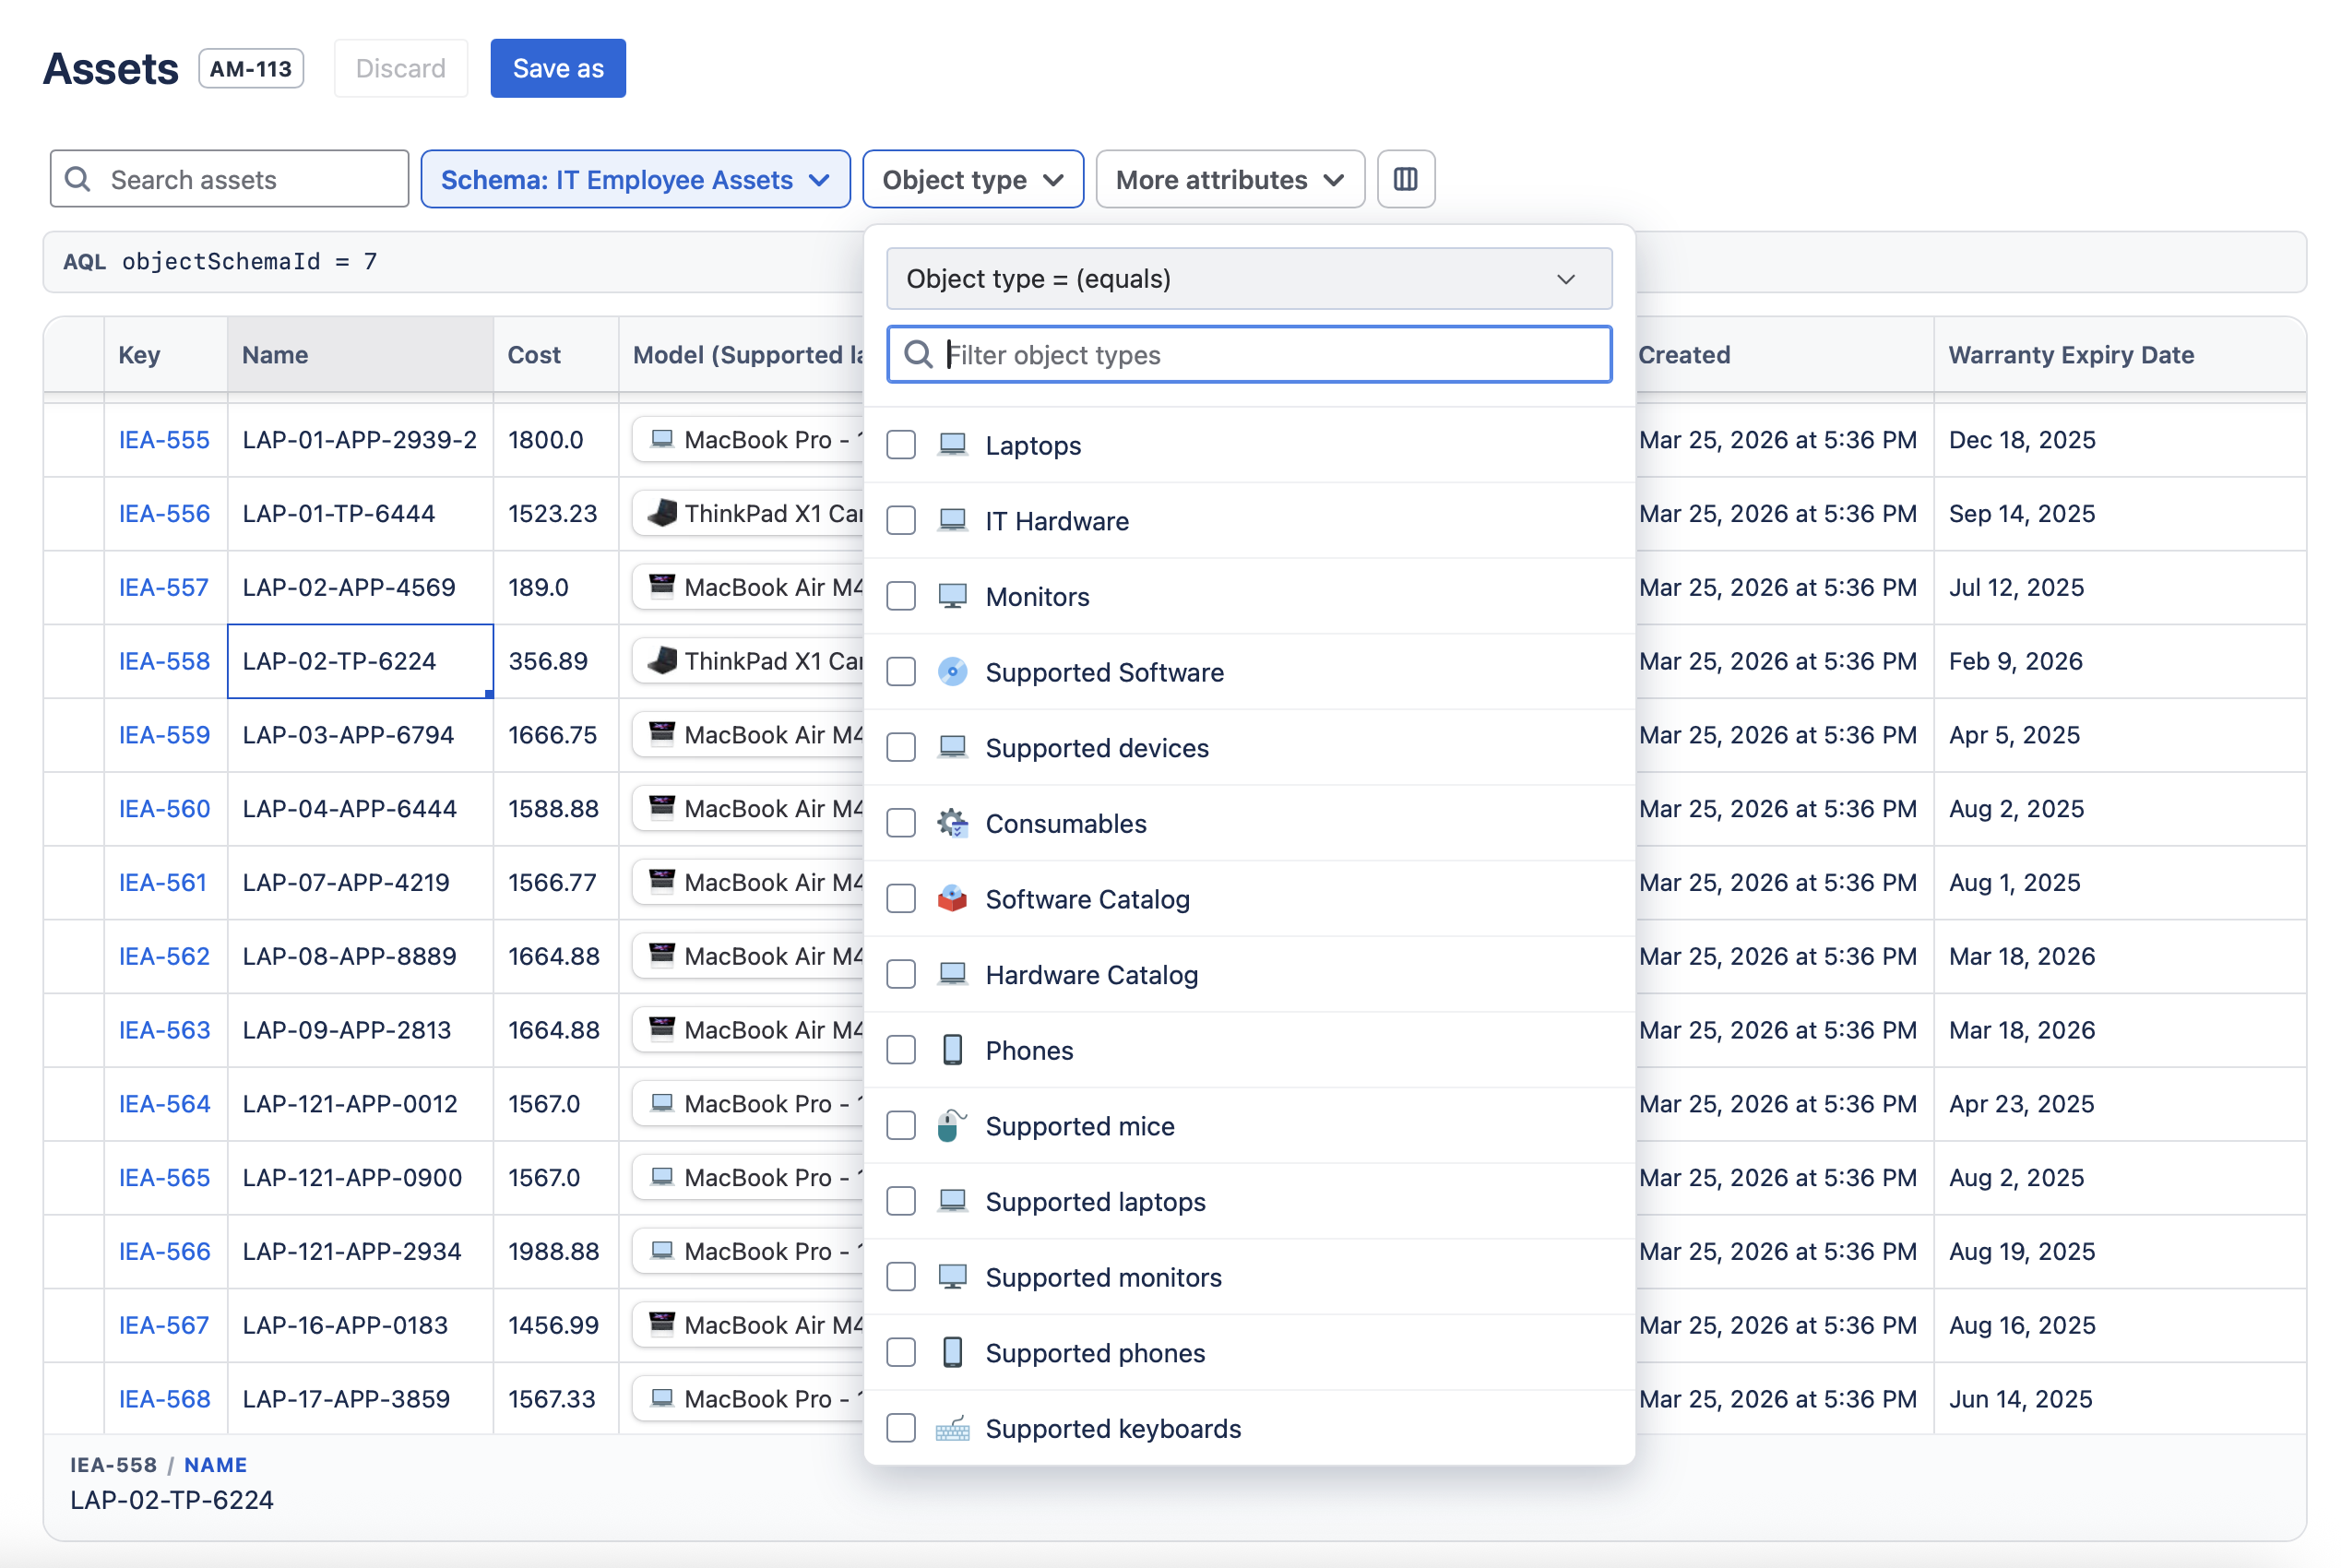
Filters:
Search assets
-
Filters the current workspace by asset text
-
Supports boolean, select, status, user, group, project, date, and date/time fields
Schema
Restrict to an existing schema.
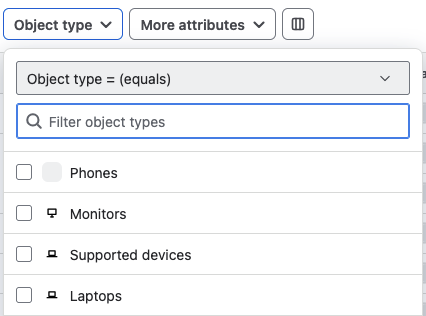
Object type
These are typical examples for hardware management.
More attributes
These filter option will depend on your schema.
-
Clicking a column header sorts by that column when sorting is supported
-
Some attributes are marked as non-sortable in Assets
-
Attributes with multiple values are not sortable
-
-
Saved views restore the schema, object type scope, sort, and visible columns, and restore filters when the saved query uses supported filter logic
How to Create AQL with Ask Rovo
Use Ask Rovo to describe the assets you want in plain language and create an Assets Query Language (AQL) query.
Rovo must be enabled on your Jira Cloud instance. Asset Manager uses Atlassian Rovo. If Ask Rovo is missing, ask your Jira administrator to enable Rovo, then reload Asset Manager.
-
Open the Assets editor and switch from Basic to AQL.
-
Click Ask Rovo beside the query field to open the Asset Manager AQL Assistant.
-
Describe what you want to find, for example: "Show laptops assigned to me." Answer any clarification questions.
-
Review the generated AQL, matching asset count, and examples. Confirm sending it when prompted; the query runs in the connected editor.
-
Ask follow-up questions to refine the search. Use Save or Save as to keep the resulting view.
Queries use your Jira Assets permissions. Running a query does not change asset data, and views are not saved automatically.
How to Create an Asset
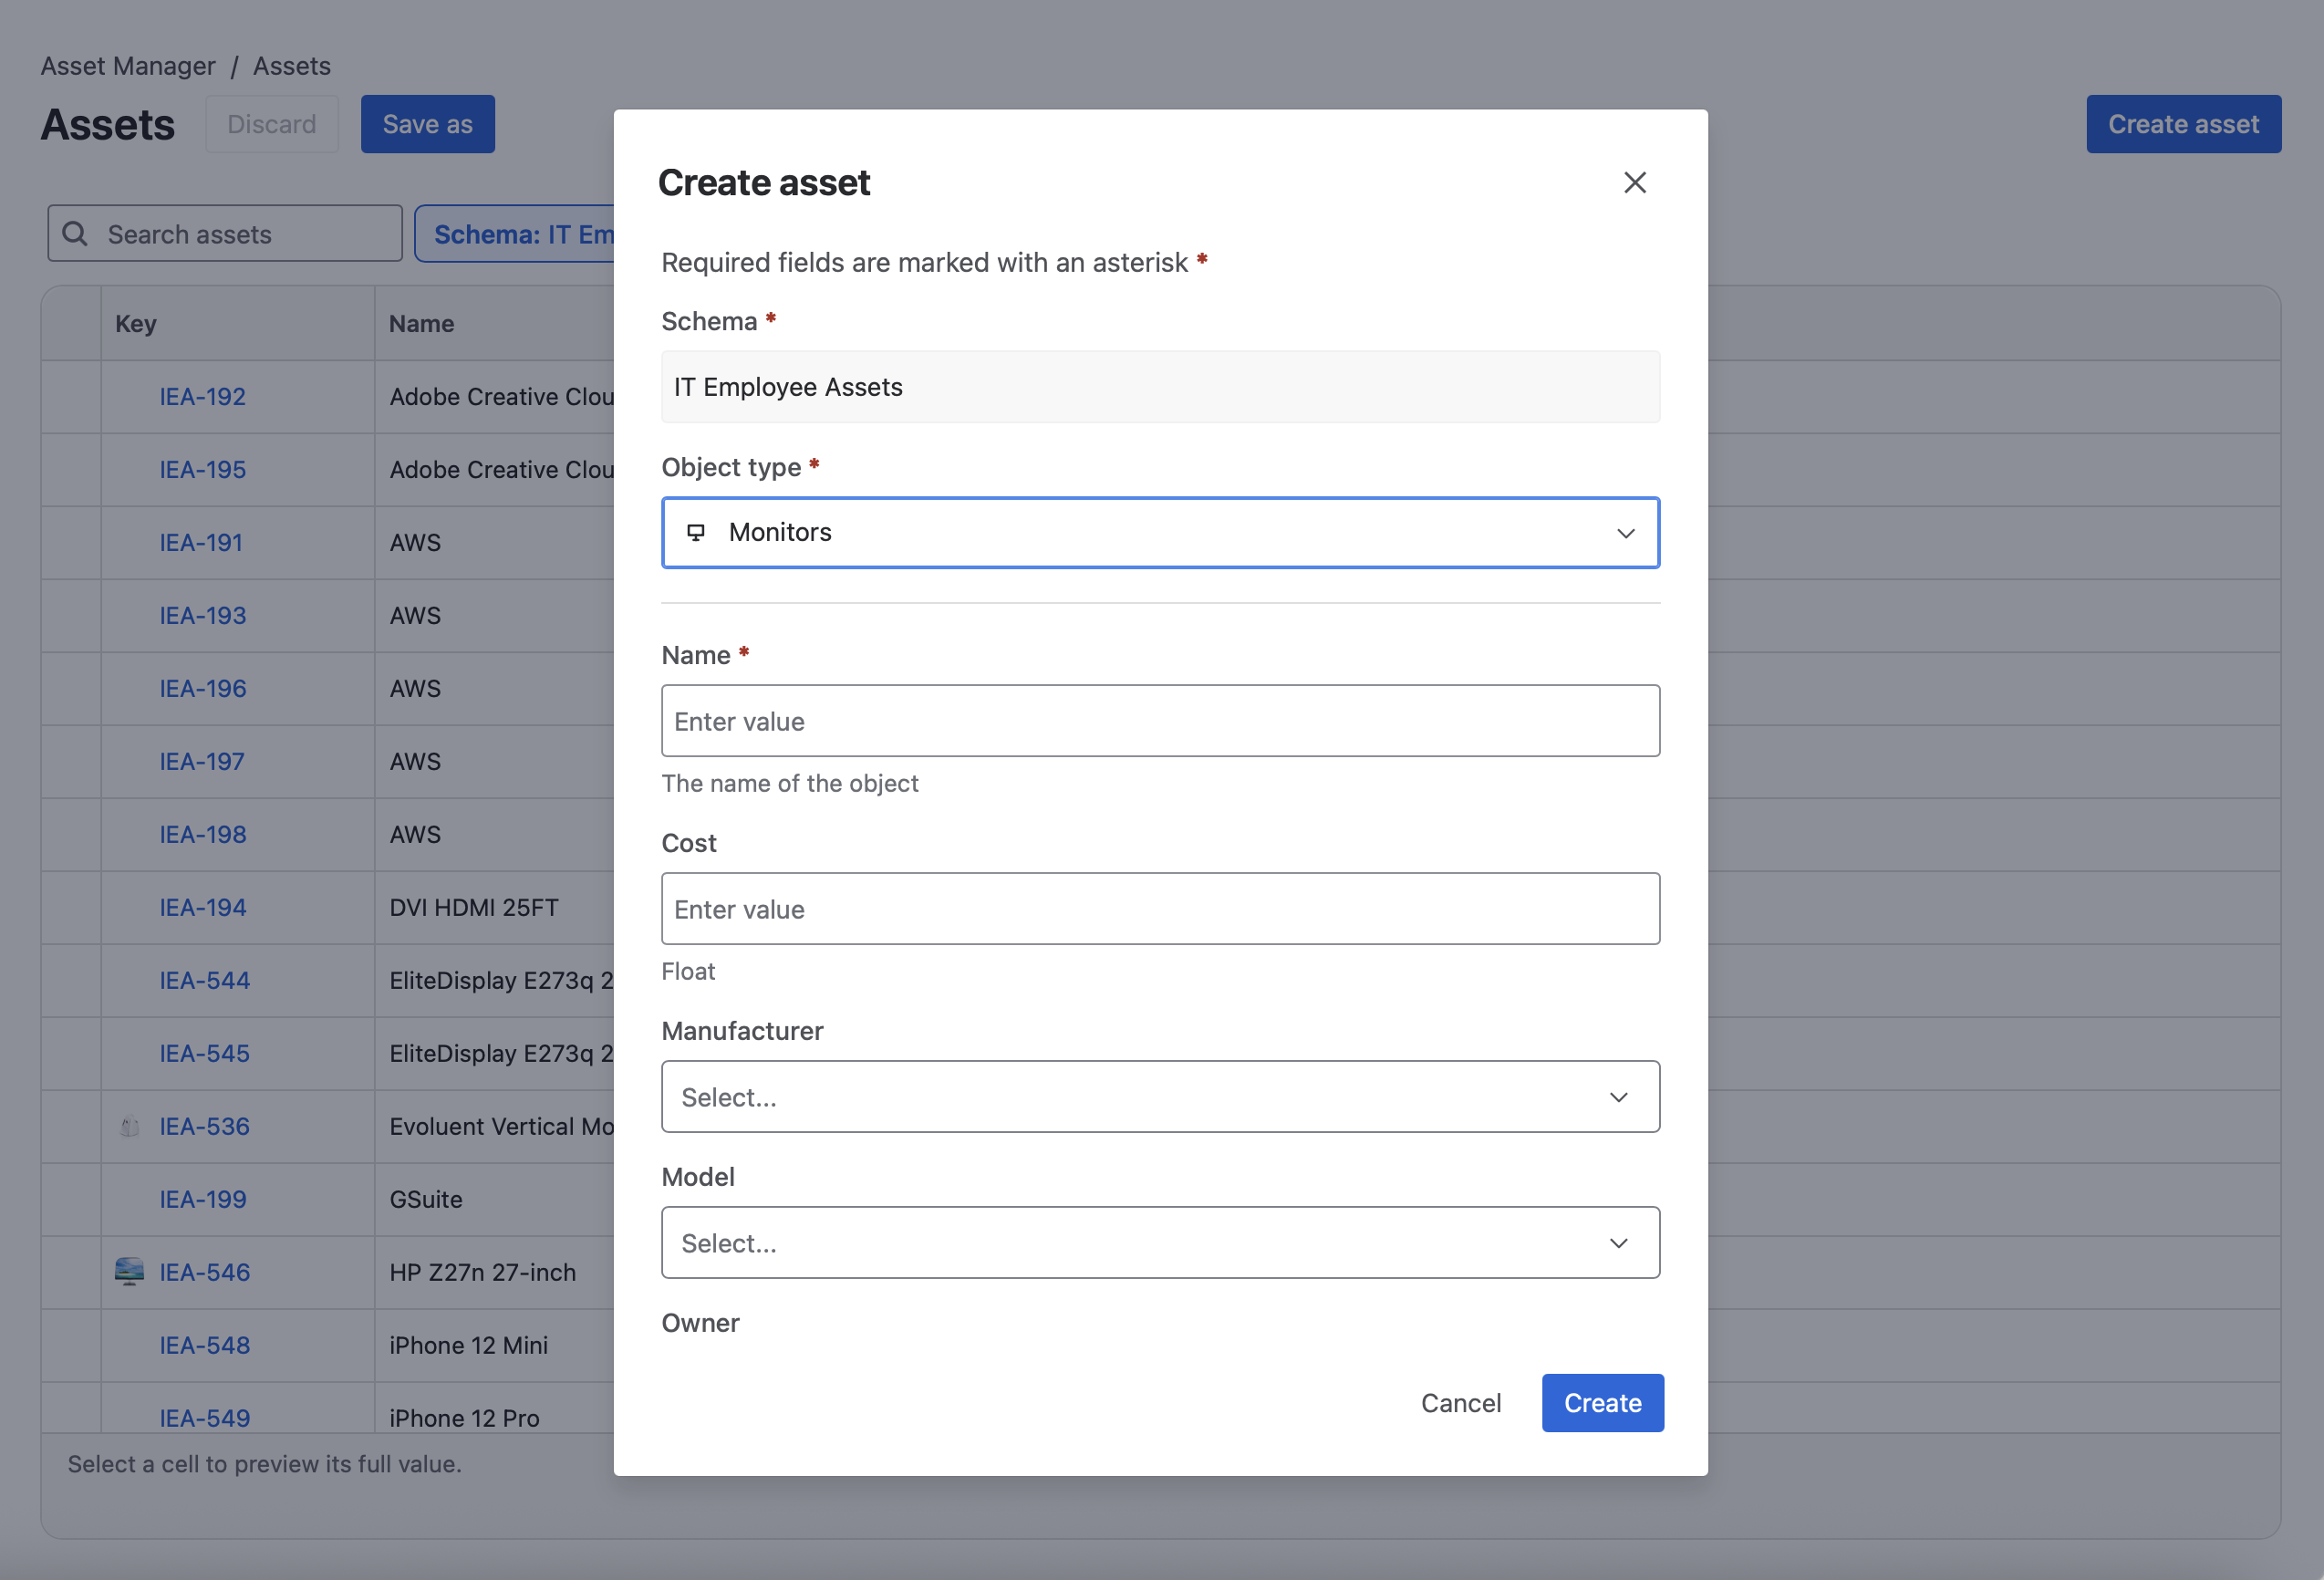
When a schema is selected, use Create asset in the editor header.
In the dialog:
-
Confirm the schema
-
Choose an object type
-
Enter values for the available fields
-
Click
Create
Behavior to expect:
-
Required fields are marked with
* -
Form only shows supported editable fields for the chosen object type
-
Field types use the same editing patterns as the grid/table where possible
-
Validation errors are shown on the field or at dialog level
After a successful create, the app shows a confirmation message with a View object link. The current workspace also refreshes, so the new object can appear if it matches the current filters.
How to Edit Objects
-
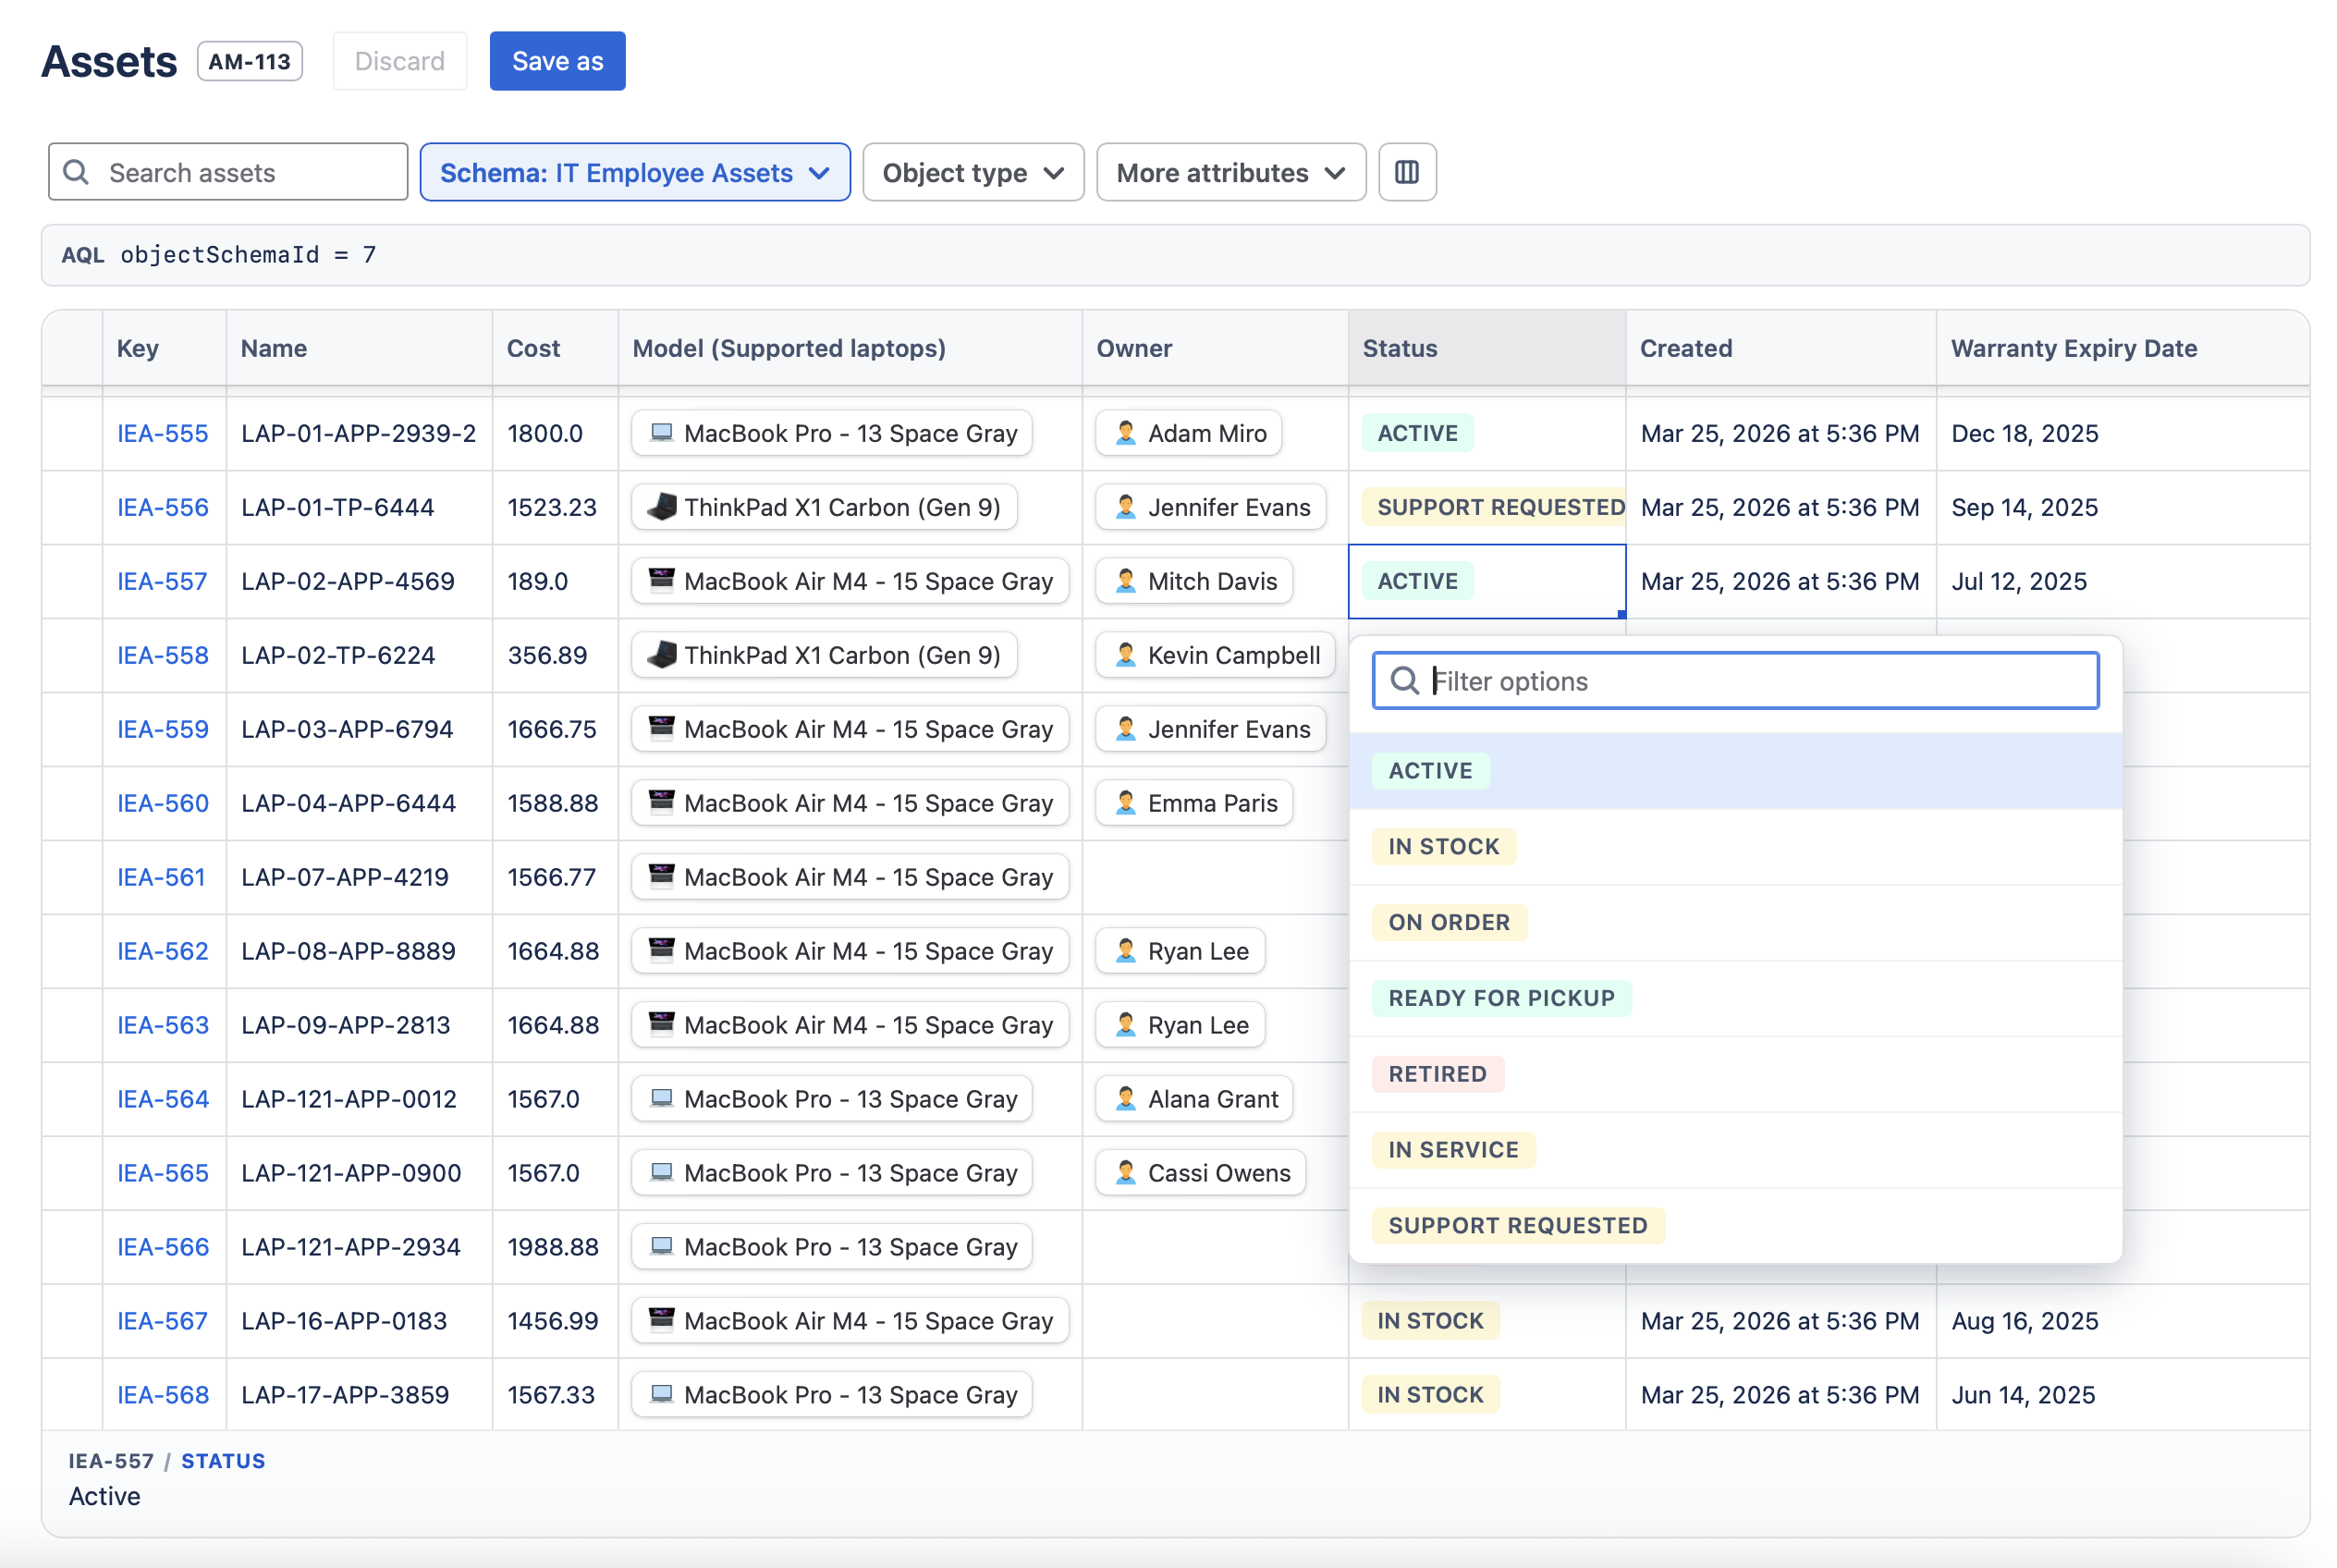
Edit text, number, boolean, URL, email, and IP-address fields directly in cells
-
Use pickers for date, date/time, select, status, group, user, project, and object-reference fields
-
Use
Deleteto clear a value when the field allows clearing -
Validation or update errors are shown on the affected cell
You can use multi-selection.
How to Save a View
-
Saveupdates the current saved view -
Save ascreates a new view from the current workspace
A saved view includes:
-
selected schema
-
object type scope
-
supported filters and sort
-
visible columns
How to Bulk Edit Multiple Objects
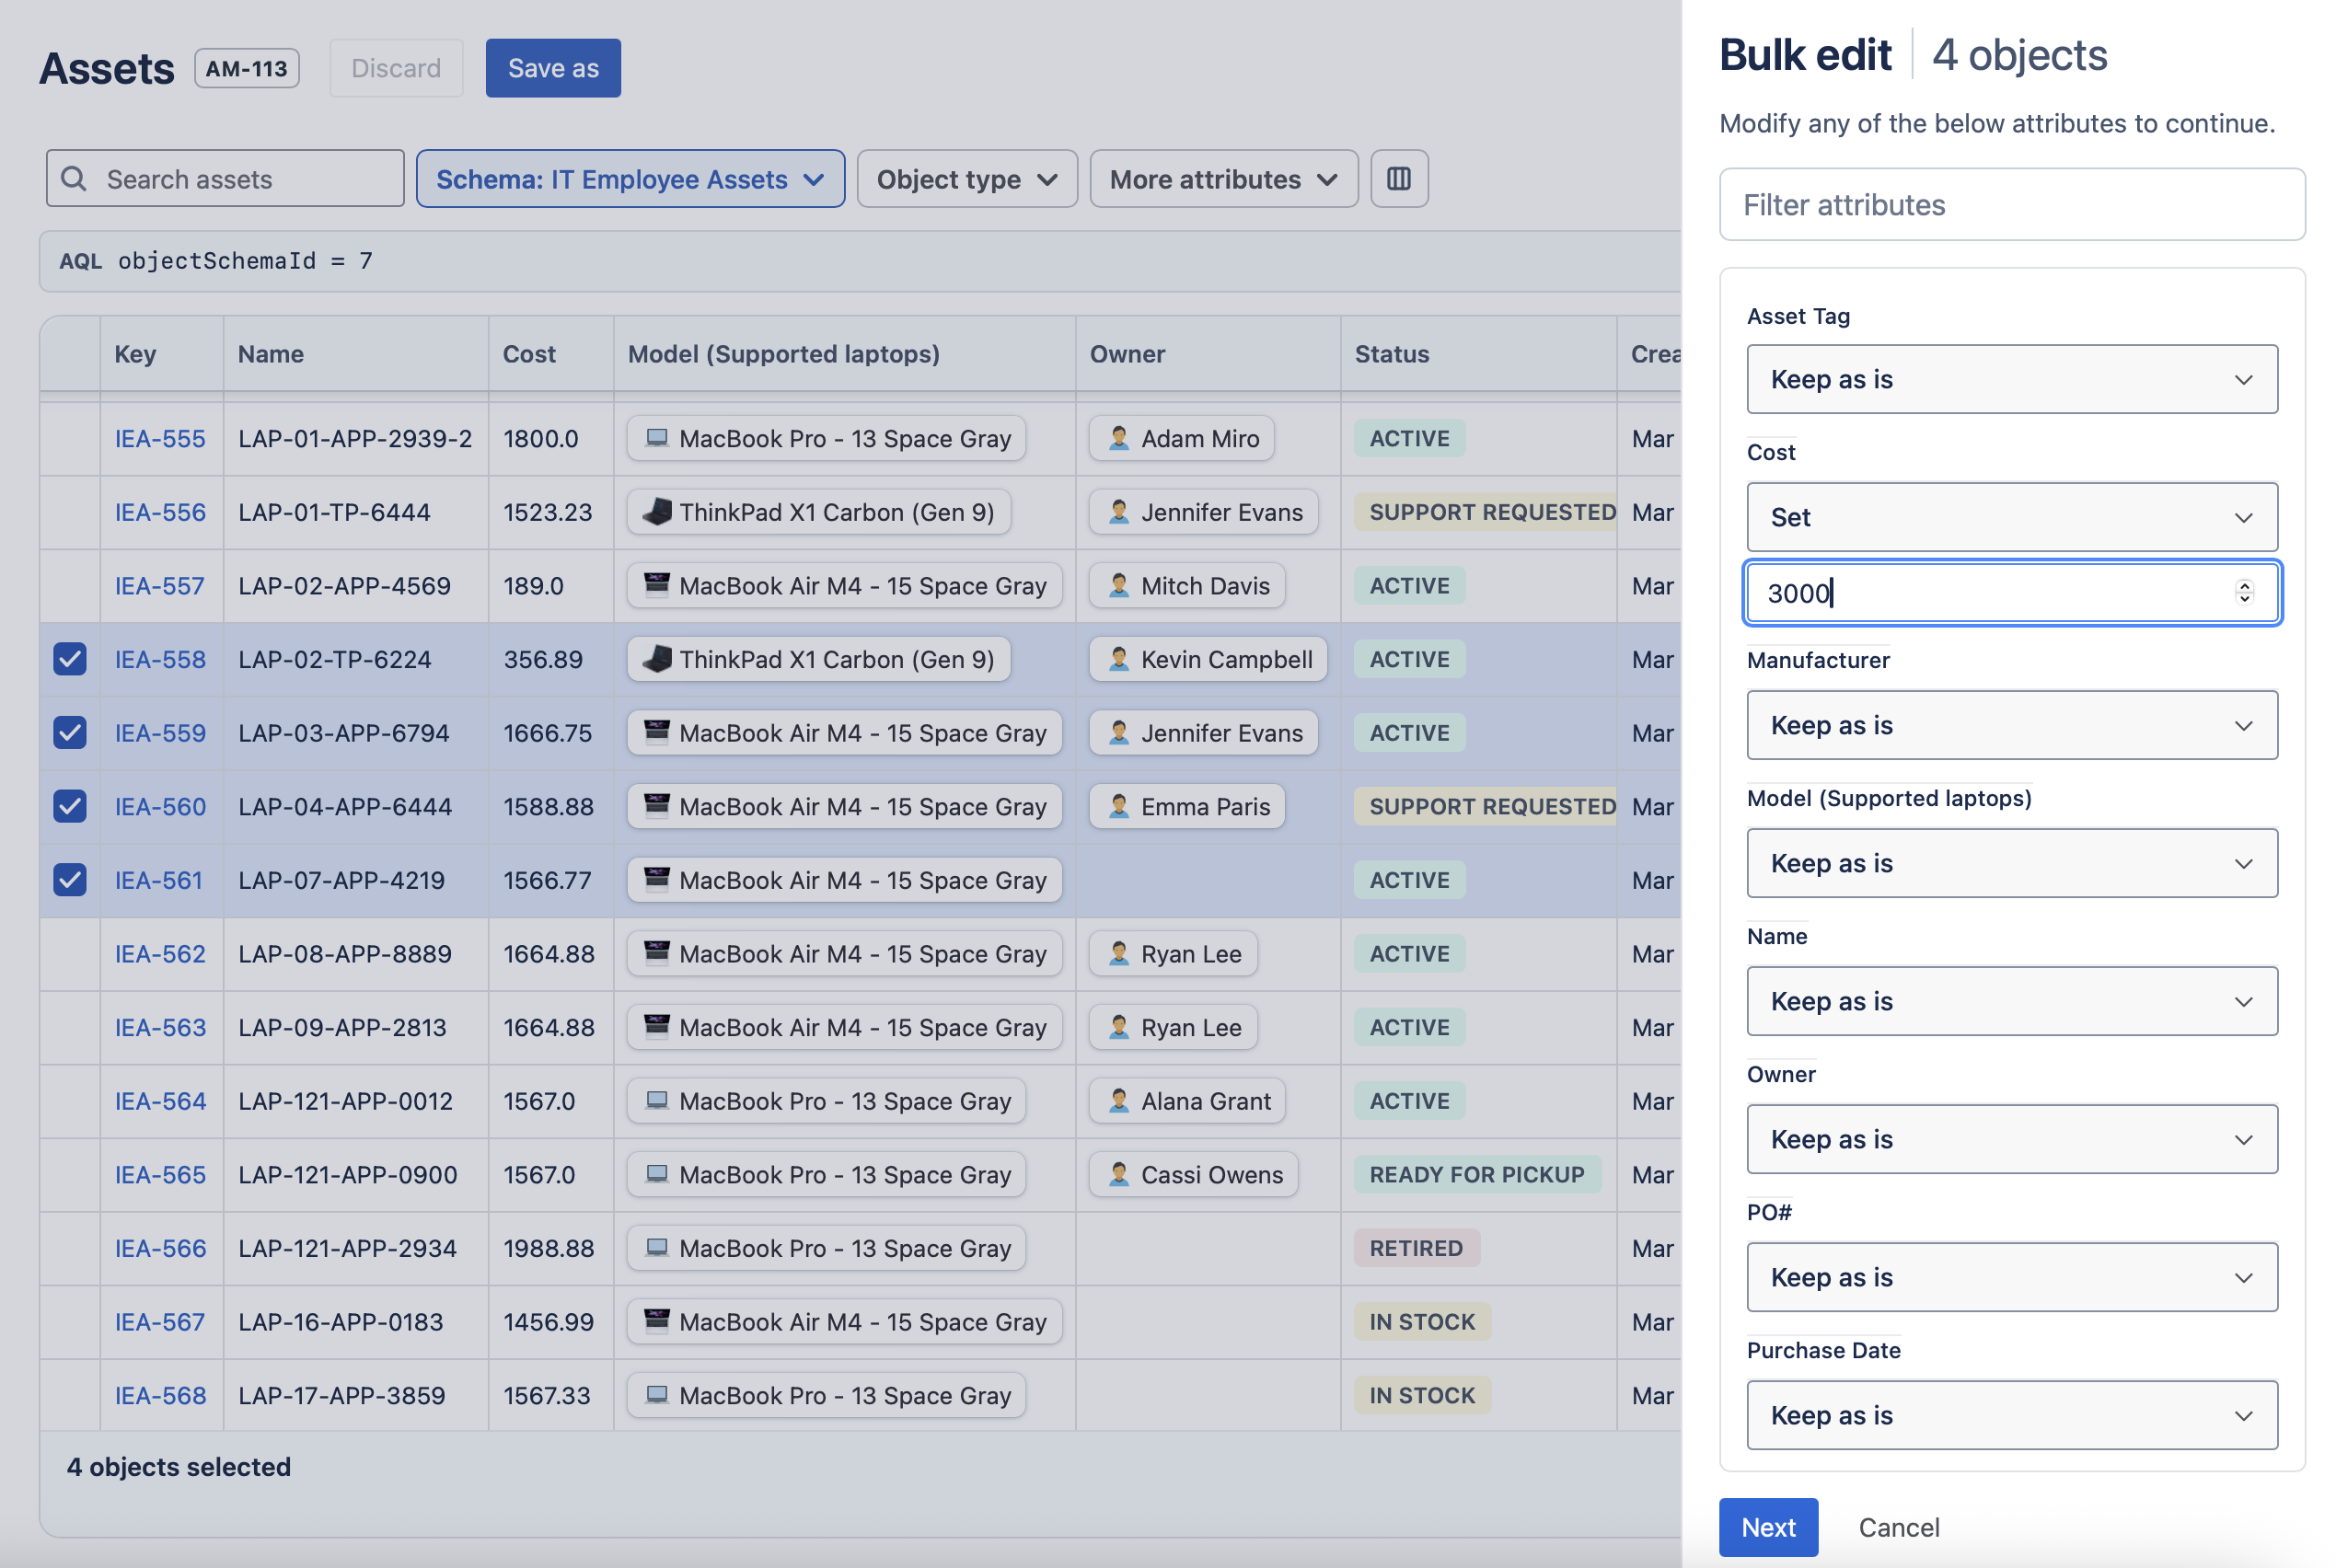
Select rows in the grid/table, then use Edit objects that appear on the right hand side.
Bulk edit behavior:
-
Available for selections of up to 25 objects
-
Only fields shared across the current selection are shown
-
Supports
Set,Clear, and for some multi-value fields,AddorRemove -
Click on a field and drag down to replace all the fields below with the content of the field you start with
Preview:
-
You get a preview, until you select confirm no change takes place.
When you apply the bulk changes, the grid/table updates and if there are errors they will show in each cell that it couldn’t update.
-
example: if you bulk change 5 cells and if it errors out the error will be displayed in each affected cell separately with a small warning sign when mouse over
How to tag Assets in Confluence
-
In Confluence open a document, go to edit mode.
-
Insert a Macro called “Asset Tag”
-
Pick the name of the Asset you want to tag or search from the list
-
Save the Confluence page
-
When back in Asset Manager, check the box of Asset
-
Click Linked Confluence Pages, all linked Confluence documents will be displayed
How to display Asset Views in Confluence
-
Save a view in Asset Manager, make sure the Visibility is set to Schema Users
-
In Confluence open a document, go to edit mode
-
Insert a Macro called “Asset View”
-
Size can be selected and editing can be allowed if desired
-
Save the Confluence page
-
The Asset View is now displayed on this page and can be edited if it was selected
How to Bulk Print QR Labels on Label Sheets
Use this for standard label paper and an office printer.
-
Start Create labels.
-
In Print medium, choose Label sheet.
-
Choose the paper size and measurement unit.
-
Enter label size, spacing, and rows and columns. Keep Auto enabled to calculate rows and columns automatically, or turn it off to enter them manually.
-
If needed, use Advanced settings to adjust Top margin and Left margin for print alignment.
-
Choose the label content, review the preview, and create the labels.
-
Label sheet output is always PDF. When the export finishes, use Open PDF file or Download PDF file.
See Alignment & Paper Size FAQ
How to Bulk Print QR Labels on a Label Roll
Use this for roll printers.
-
Start Create labels.
-
In Print medium, choose Label roll.
-
Enter the label width and height, then choose the orientation when available.
-
Choose the fields to print and review the live preview.
-
Choose PDF or Zebra printer file (ZPL), then create the labels.
-
When the export finishes, use the available completion actions such as Open PDF file, Download PDF file, Download ZPL file, or Print using Browser Print.
-
Text may be shortened on small labels, and available layout options depend on the selected size.
Technical Notes
-
Shared-to-schema views depend on schema permissions
-
If a saved view contains unsupported query logic the app will not restore it into the editor
-
Create a new view with supported filters instead
-
-
If no rows appear confirm that a schema is selected and that at least one column is visible