Jira Issues
You can work with issues the same way like you are used to within Jira. Issues can be configured depending on issue type and will display the expected field and have the behavior determined by its workflow.
Find Issues
There are several way in which you can find issues.
Quick Search
If you know part of the issue key or a keyword you can simply go to your home screen and enter it in the top search bar (Android: you will need to press the magnifying glass icon first). The Mobility app will display a matching list of issues, projects, dashboard, and filters. If your Jira instance is large you may want to be more specific to create the result needed.
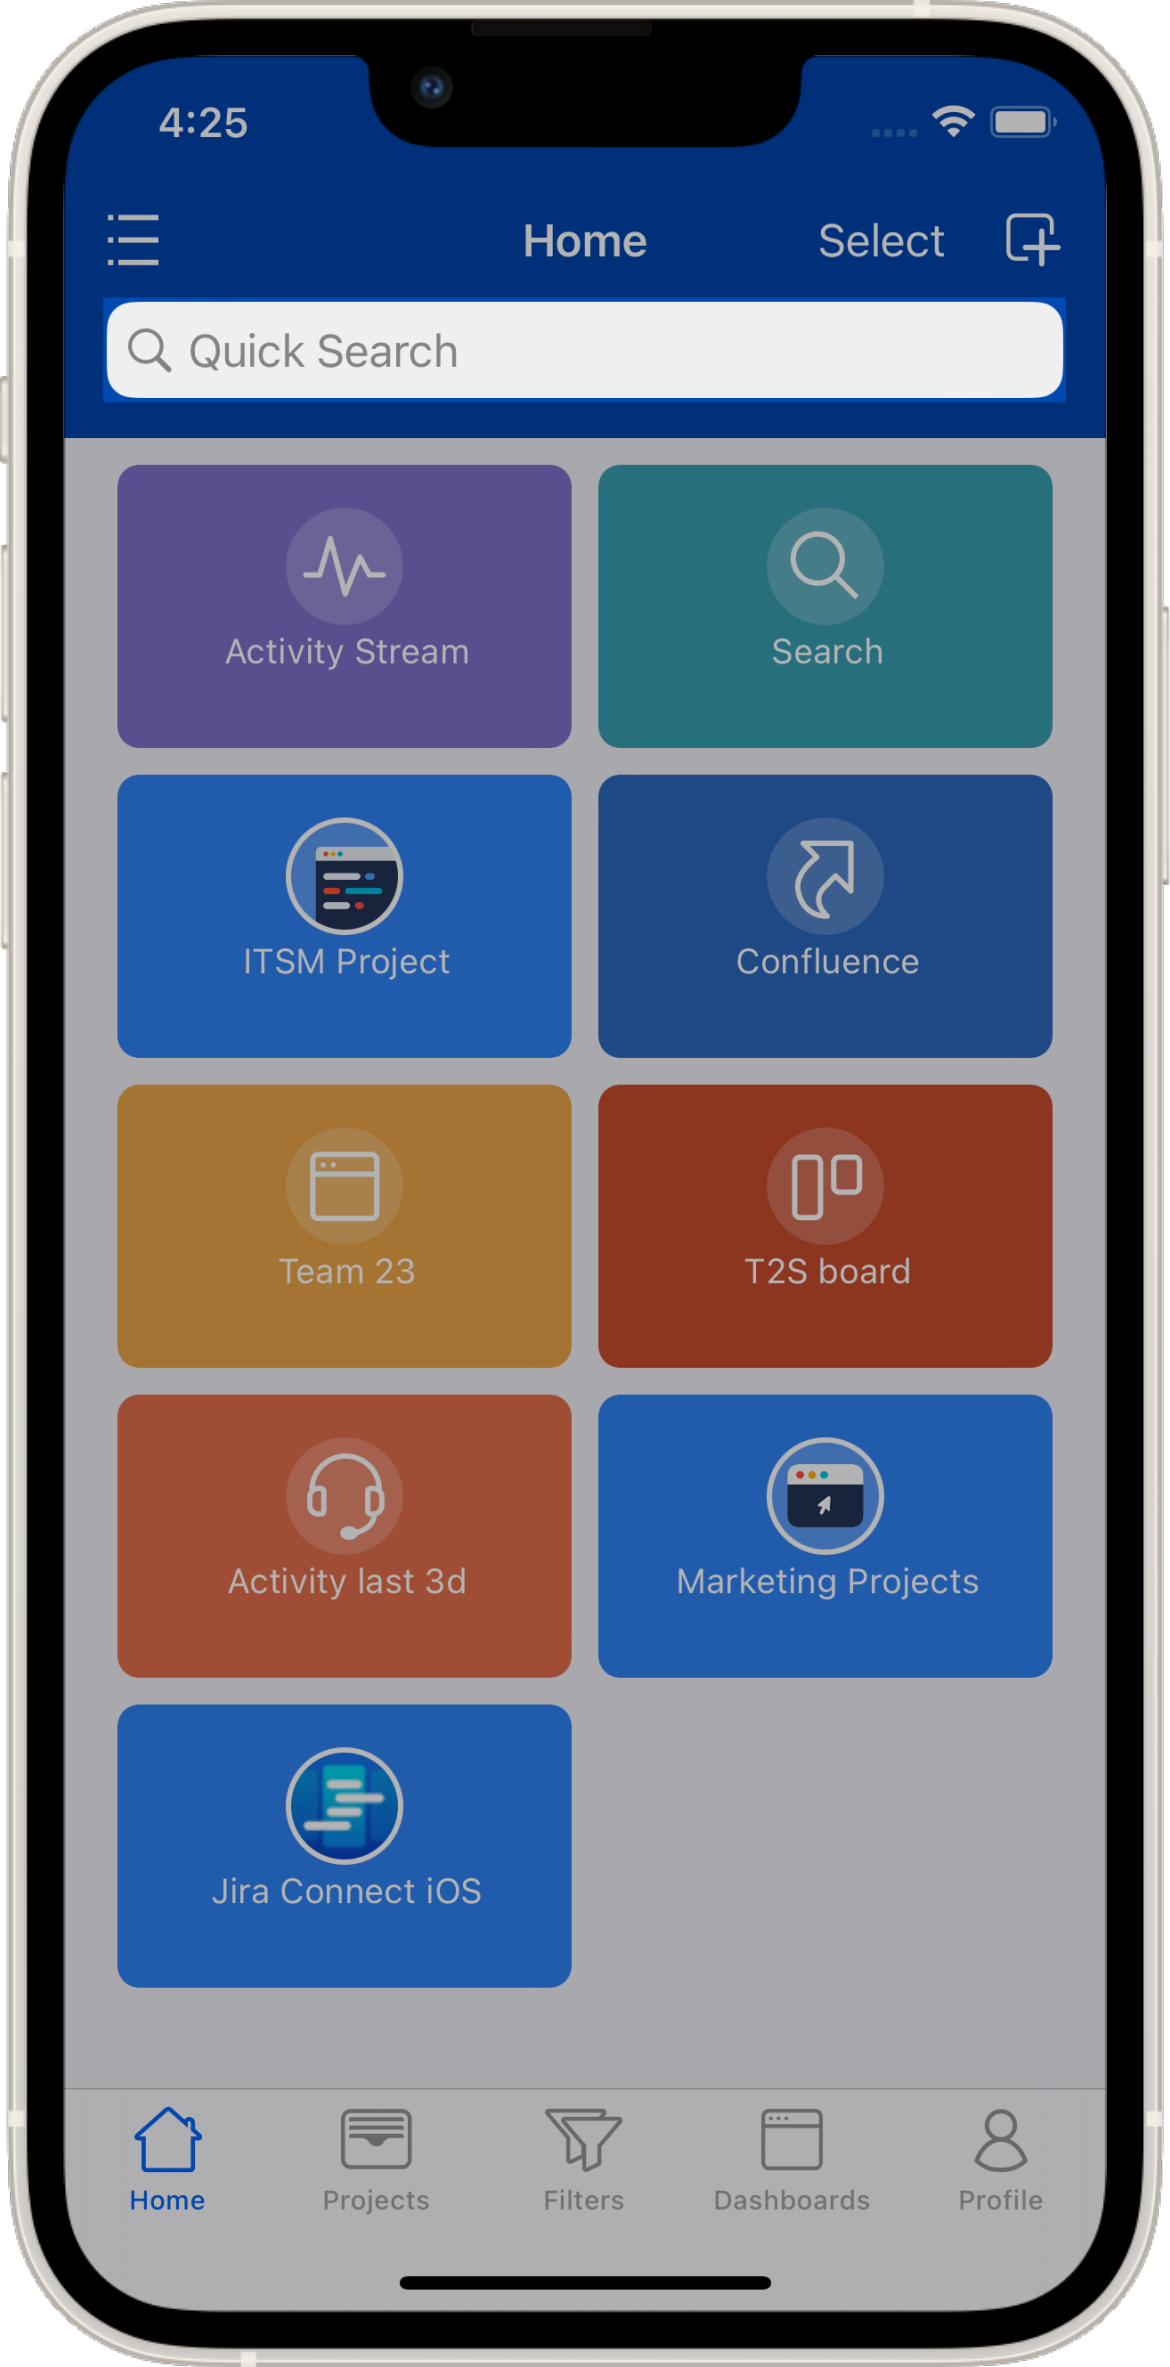
Use the Search Bar on top of Home
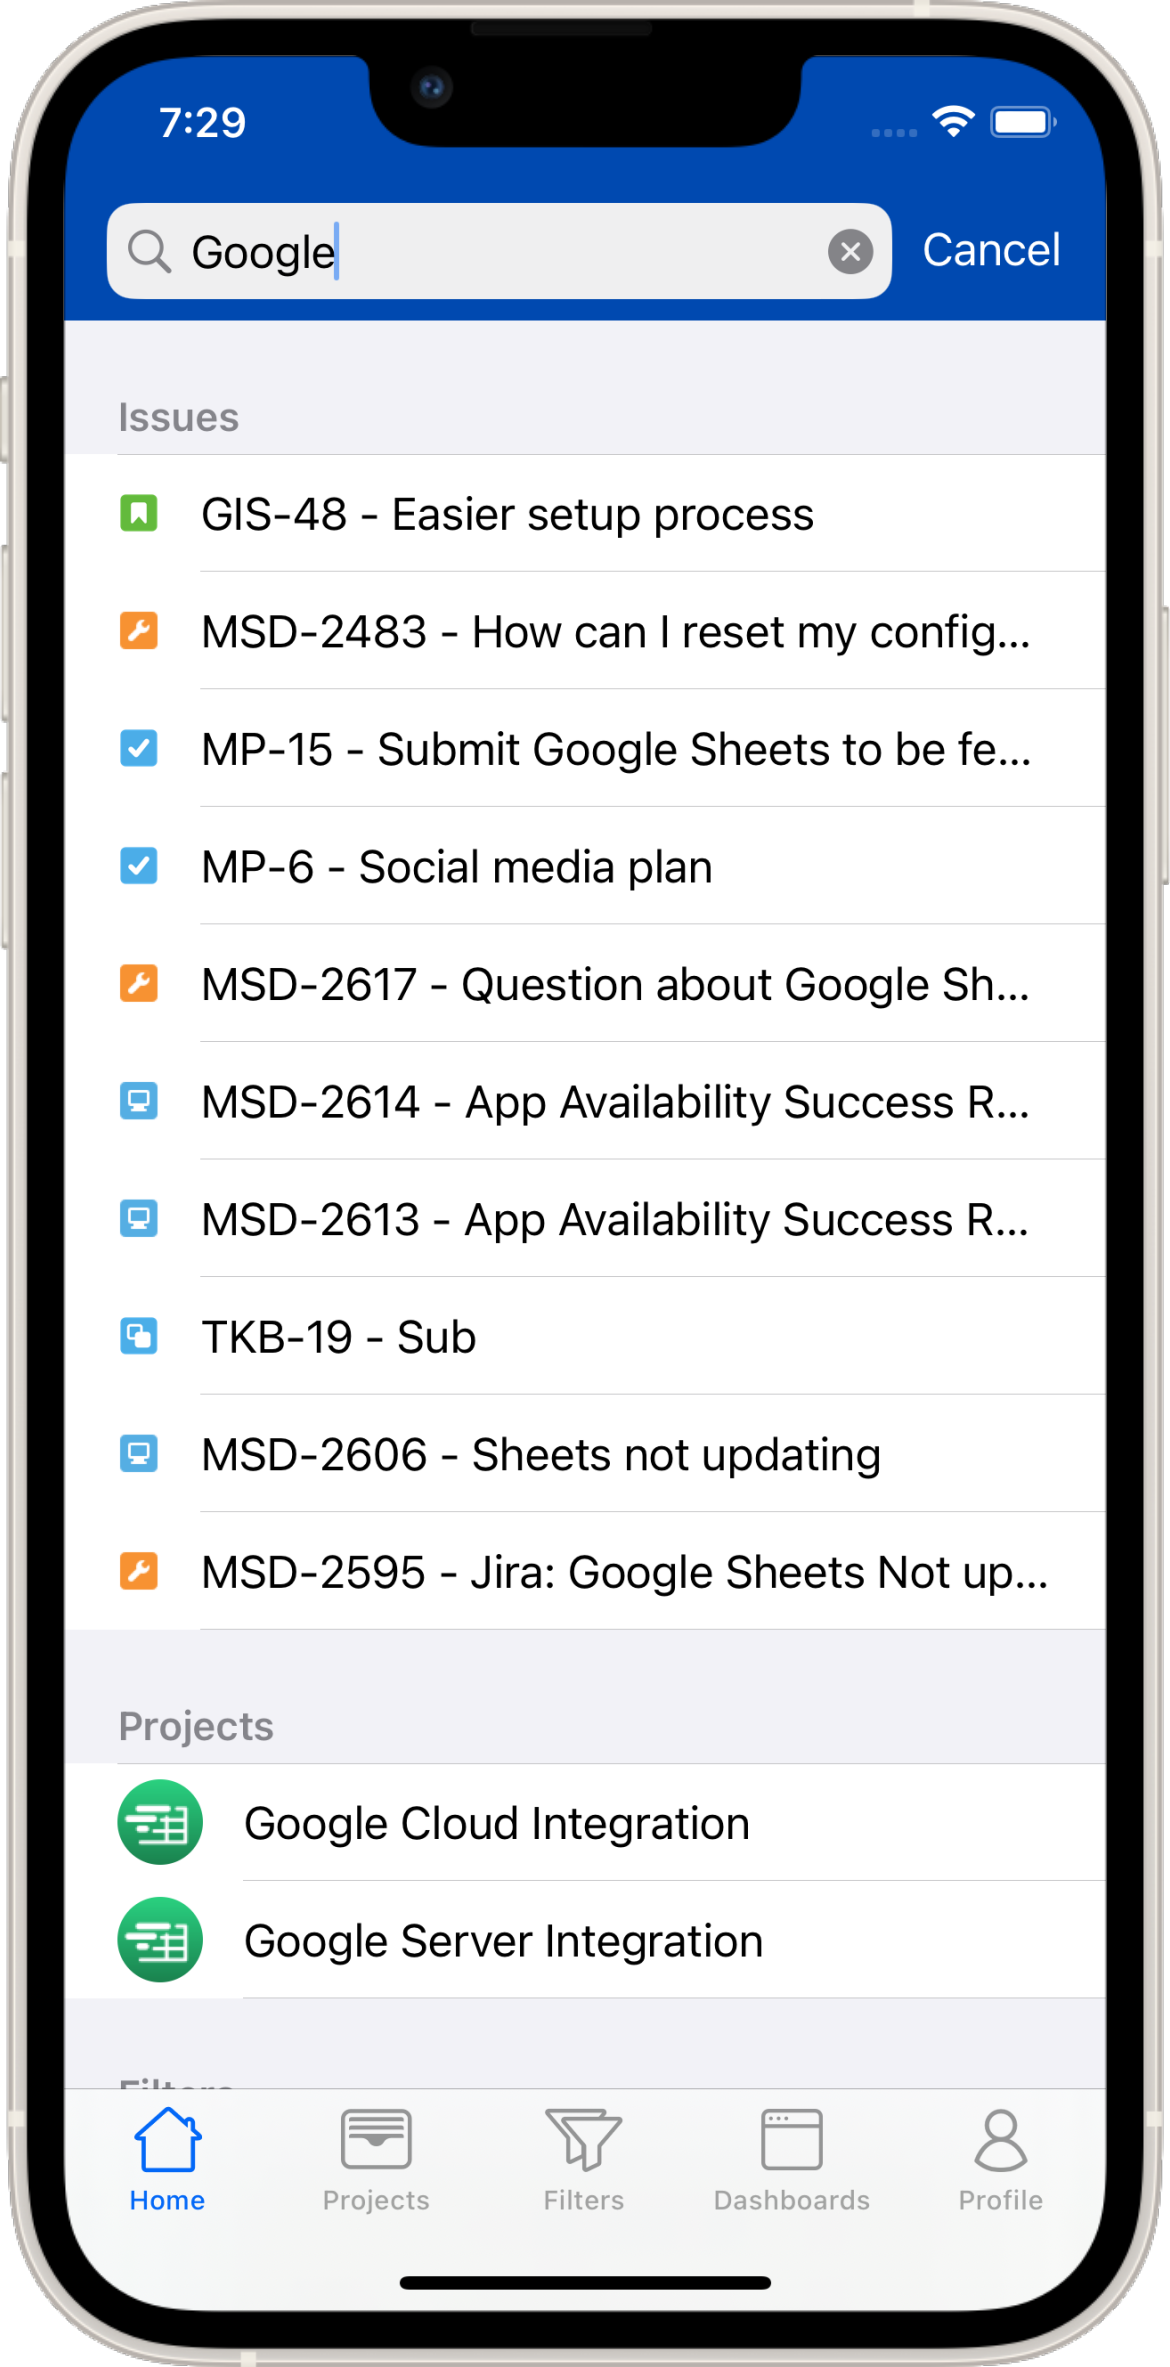
Type in a keyword or partial issue key
Search Shortcut
On the Home screen, press the Search shortcut.
Basic Search
You can use the Basic search mode to find issues. You can provide search criteria by selecting one or multiple values for each field by pressing on the field button underneath the search bar text field. To view more fields swipe the field list to the left. In addition you can enter text into the search bar text field. All values are used in AND search operation.
Advanced Search
To find issues using advanced search (JQL), press the Advanced text link to the right of the search bar text field. You can start typing JQL. The app has a type-a-head/autocomplete feature that allows you to select an option without fully typing it. After typing a few characters you will see options appearing on the bottom of the search bar text field. Select one of the options and the JQL portion will be populated in the search bar.
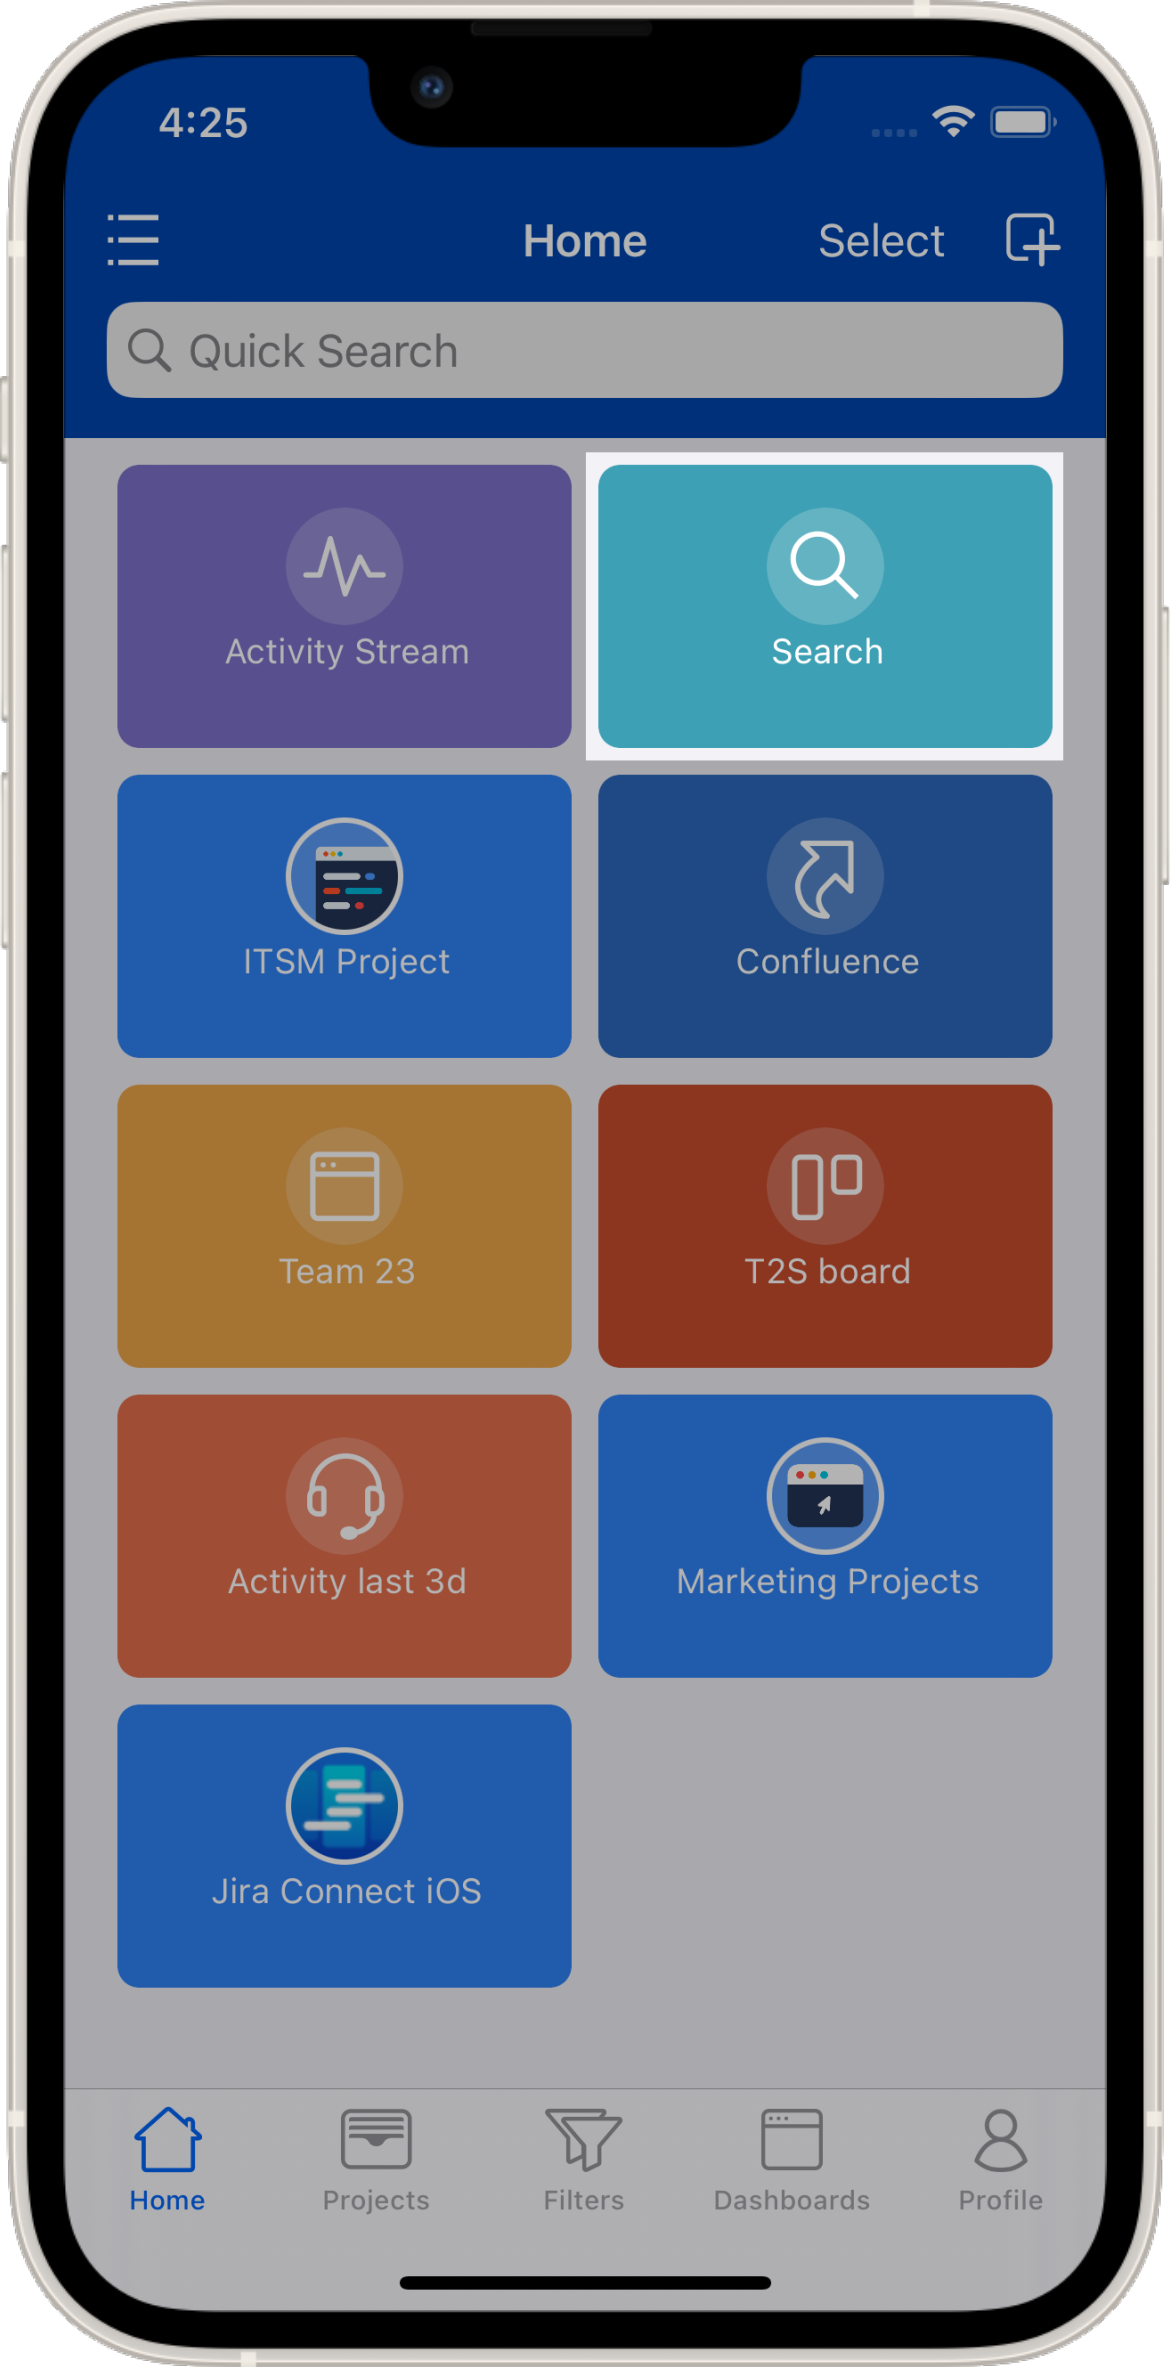
Search Shortcut
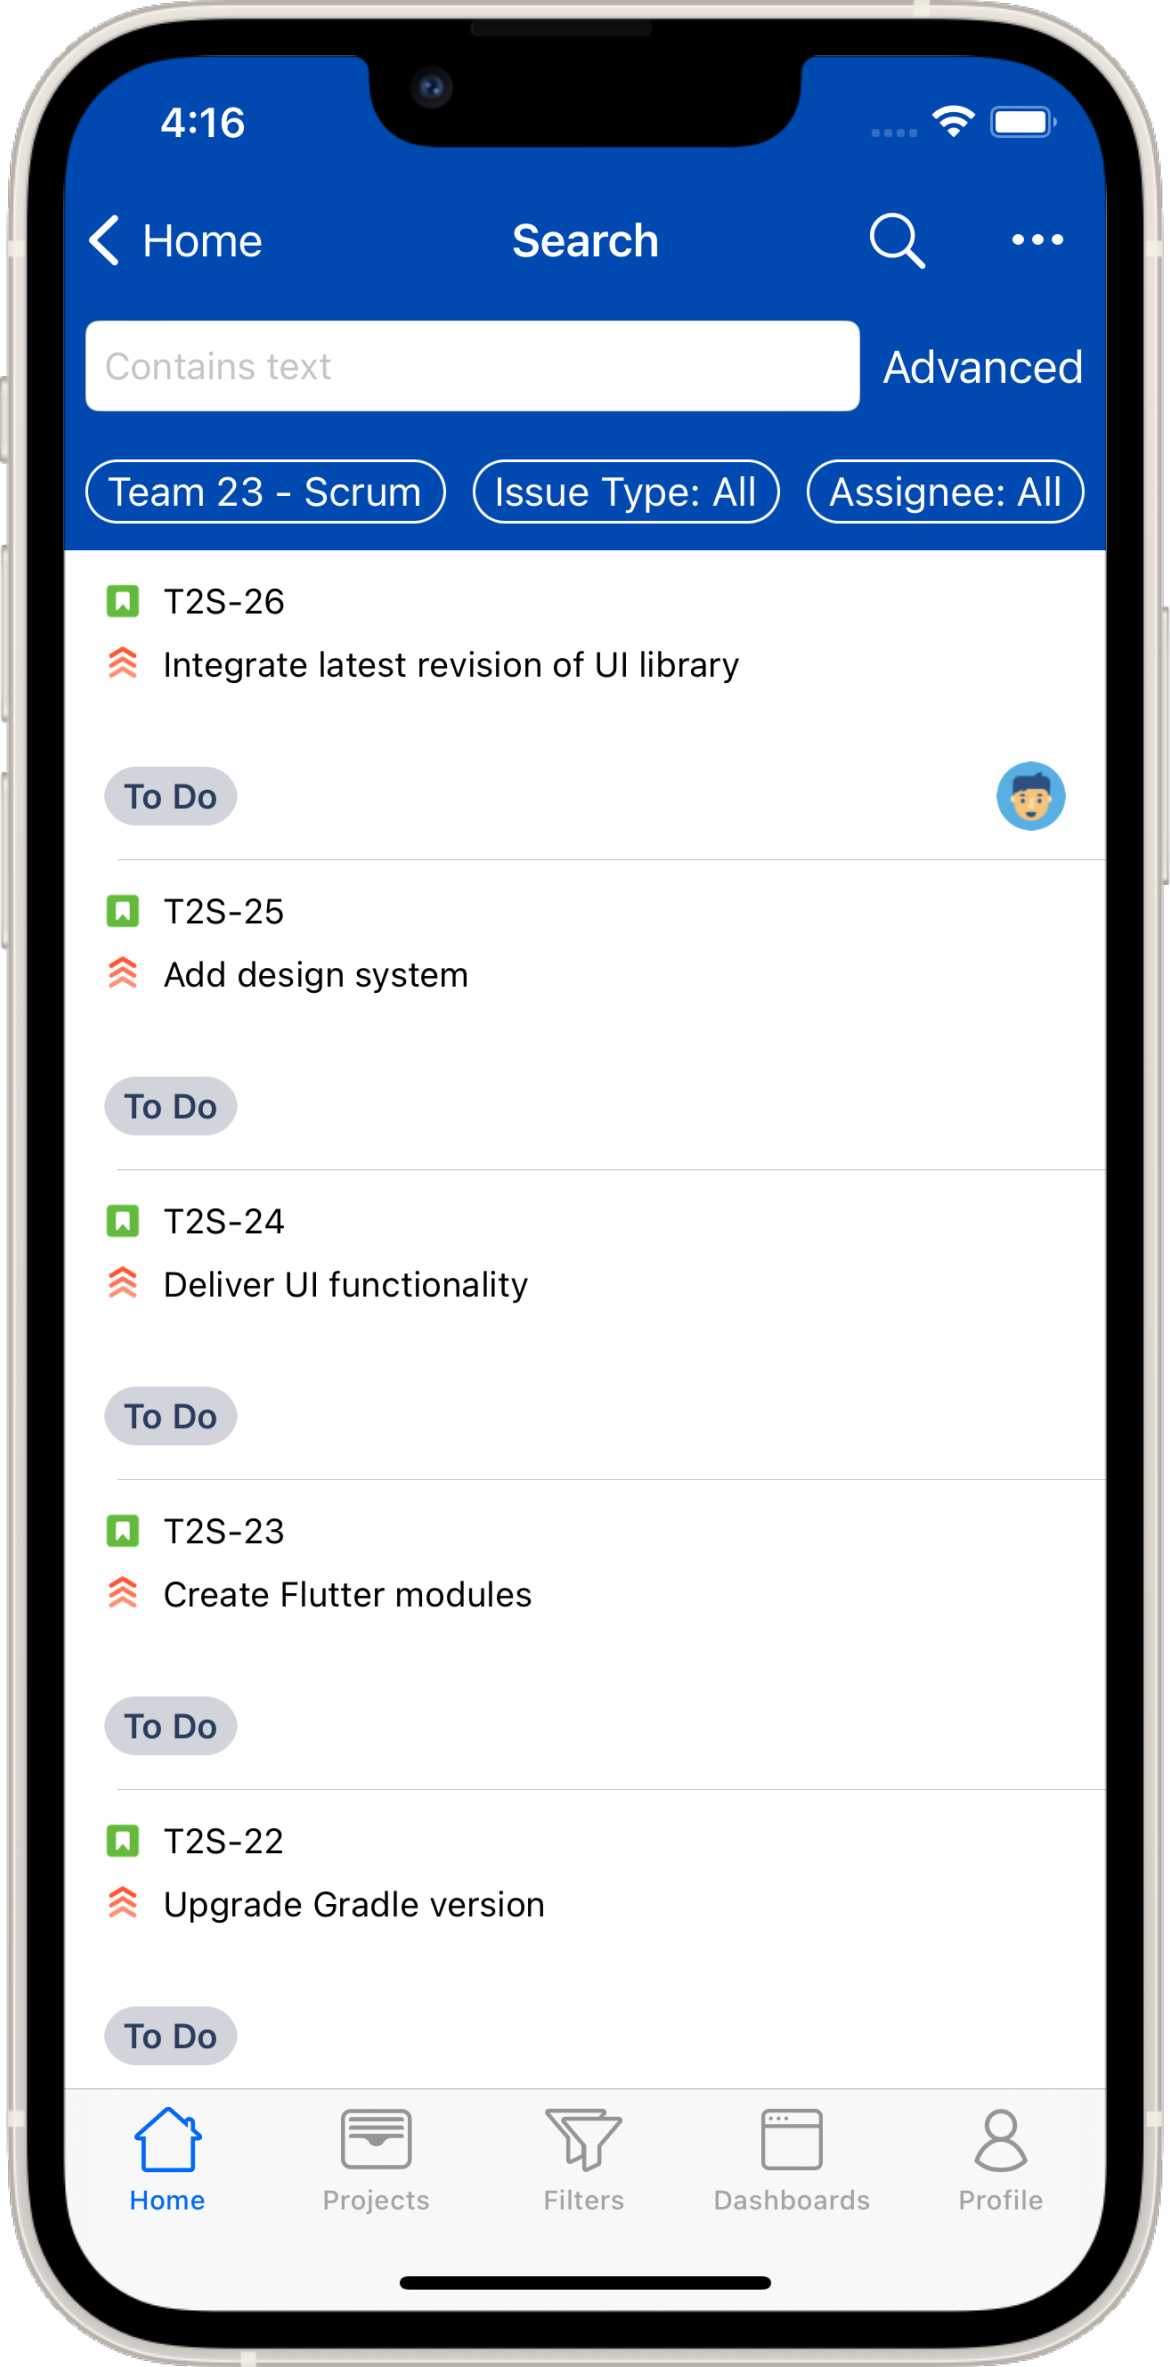
Basic Search
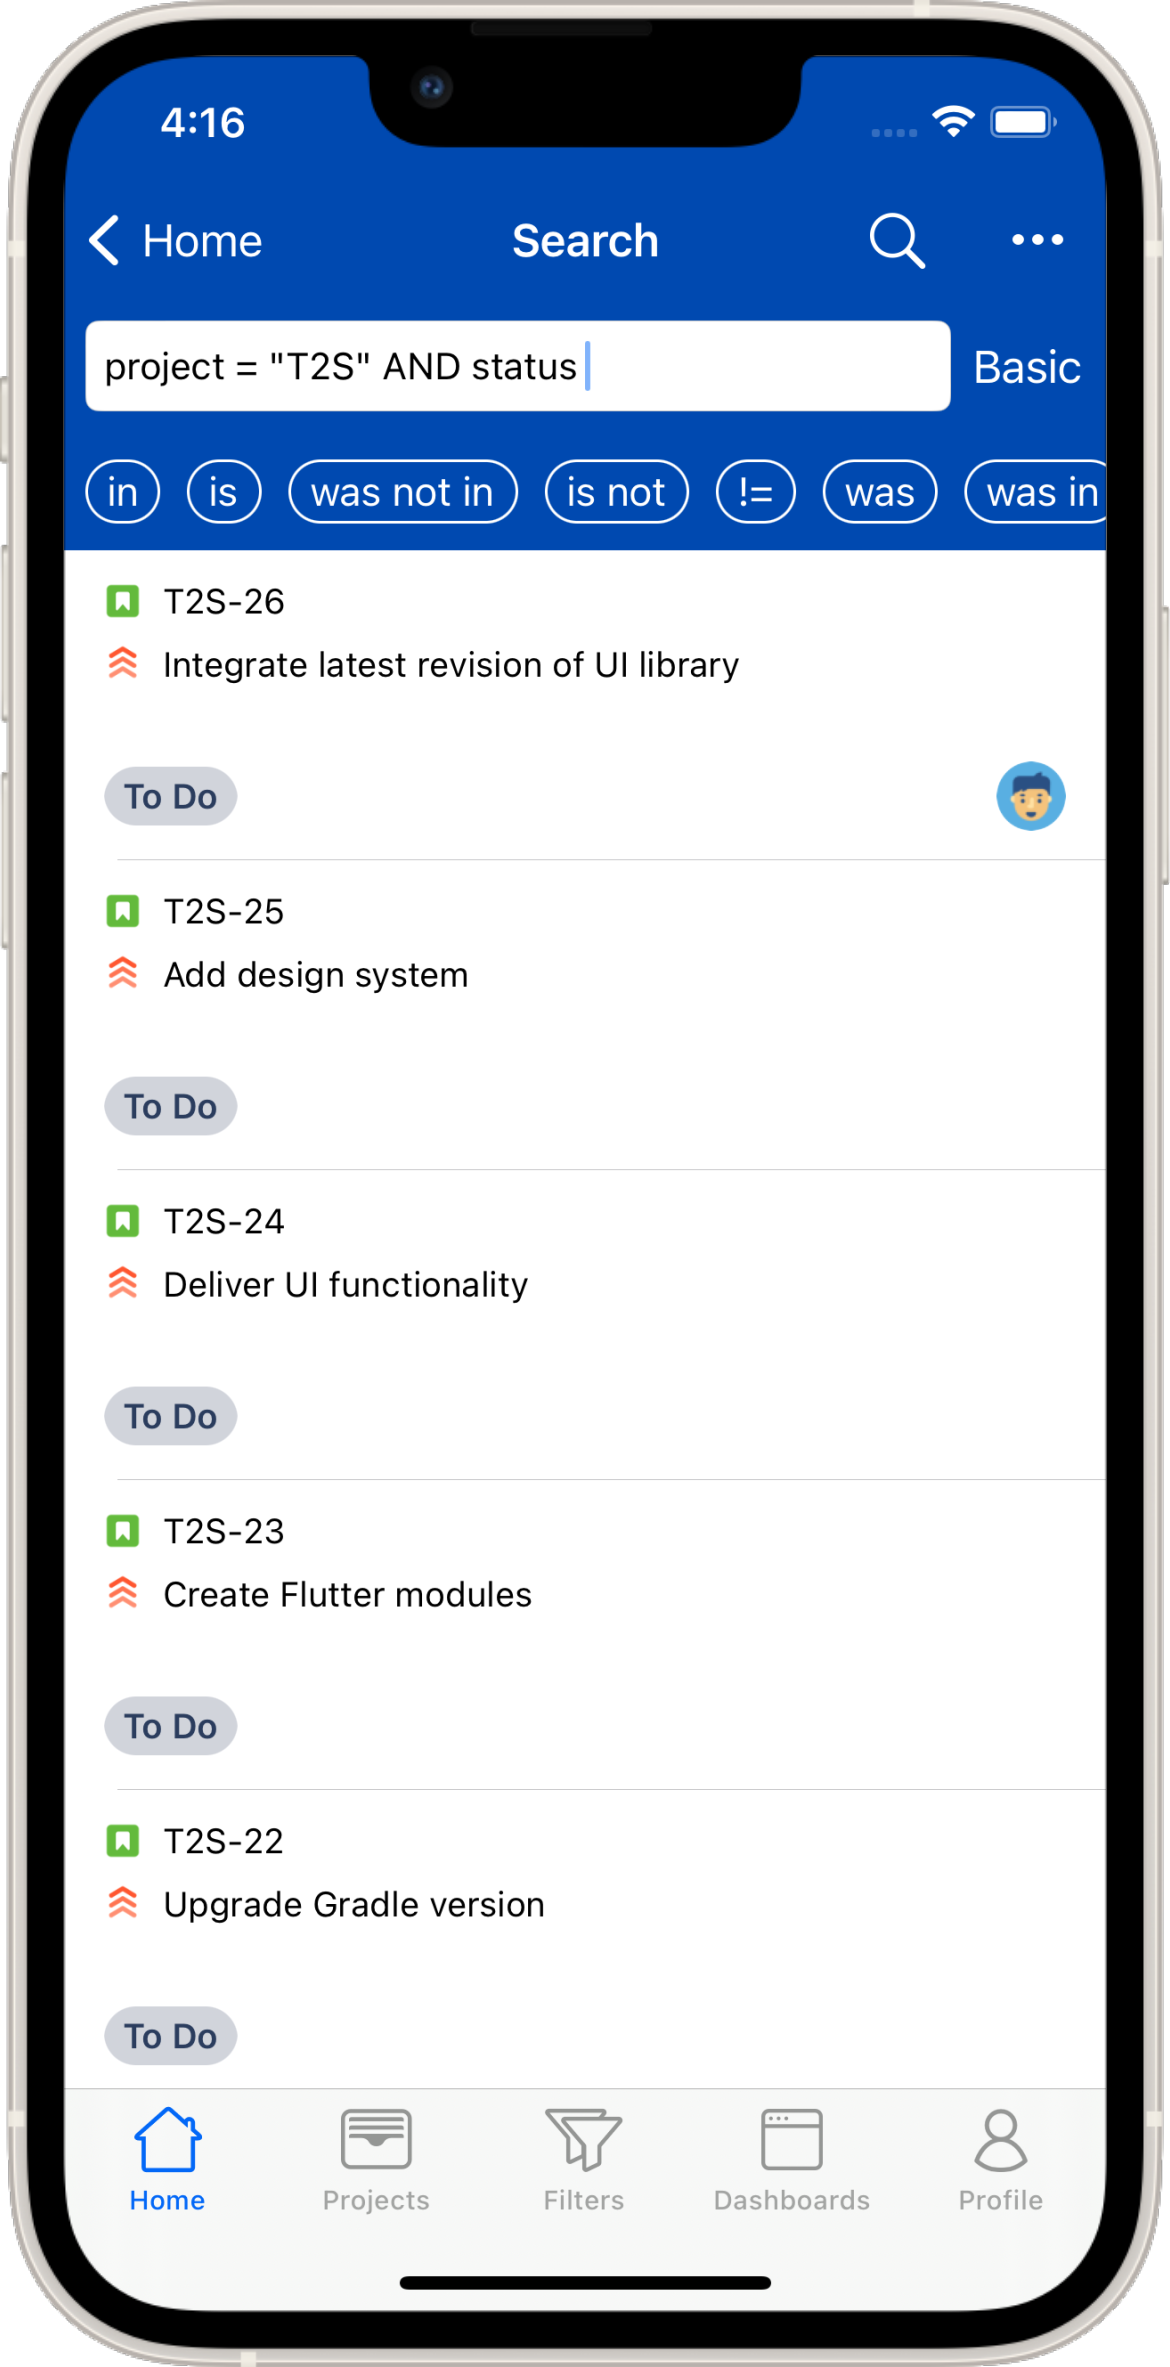
Advanced Search
Search with QR Code
If your organization uses QR codes and real-world objects are tagged with codes that match issues or issue fields in Jira, you can search for issues via QR codes. You will need to configure a Scan Shortcut on your Home screen. View the documentation here.
Create Issues
You can create new issues directly in the app. For example, they can be created via
Home > Create Issue shortcut: select a Project and Issue Type
Projects > Board by using the + button: select an Issue Type, Project is already pre-populated
After that the correct form for the selected issue type will be displayed and can be filled out. All required fields are marked with a red asterisk *. When you are done, press the Create button on the top right. The issue will be created and displayed on the screen.
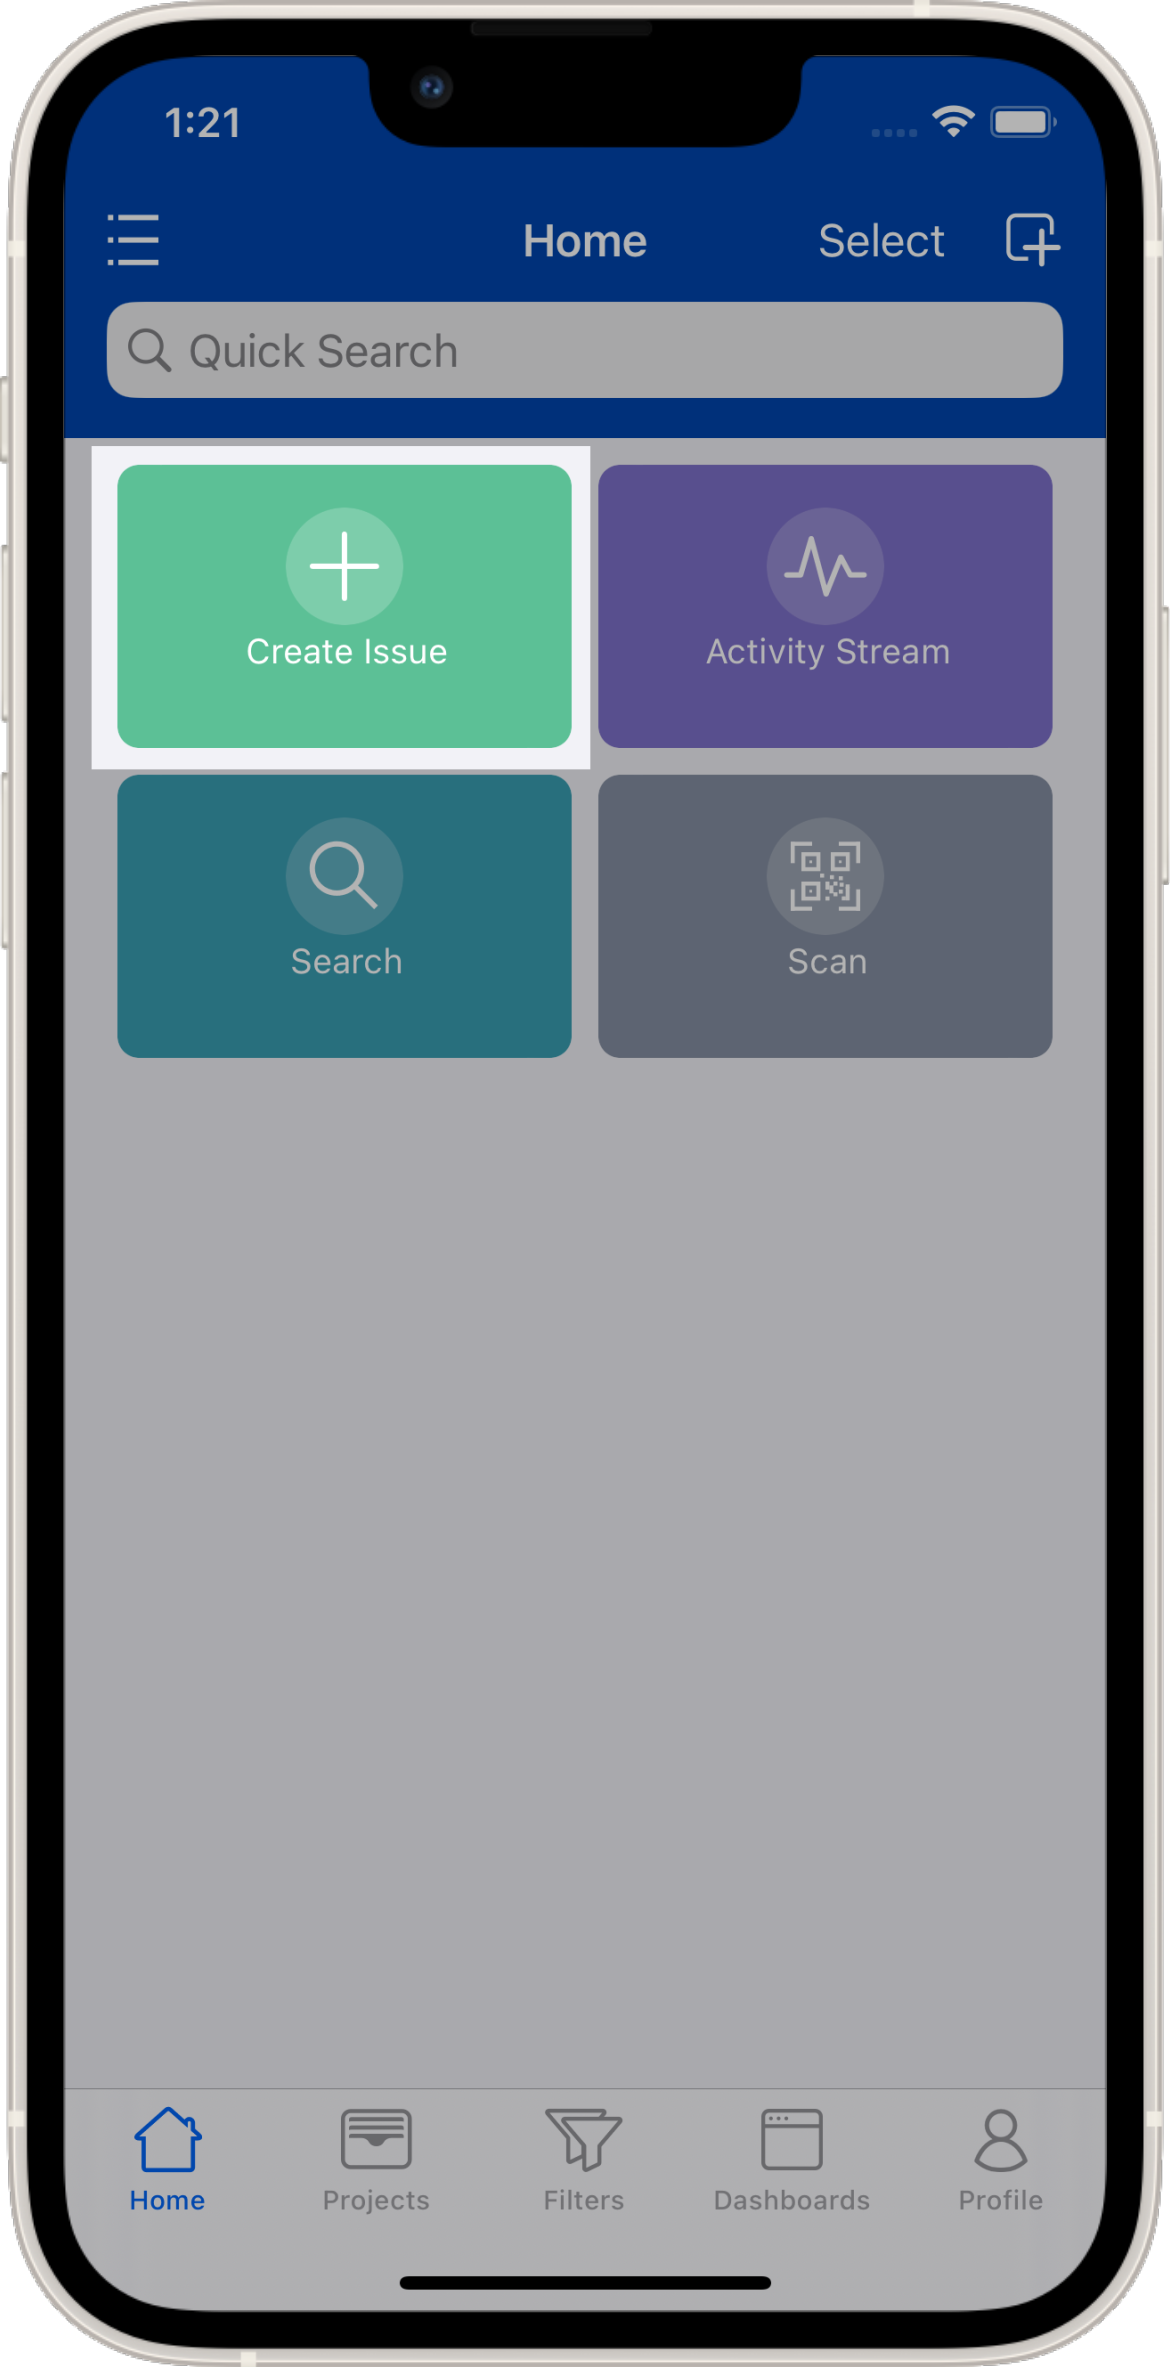
Create Issue Shortcut
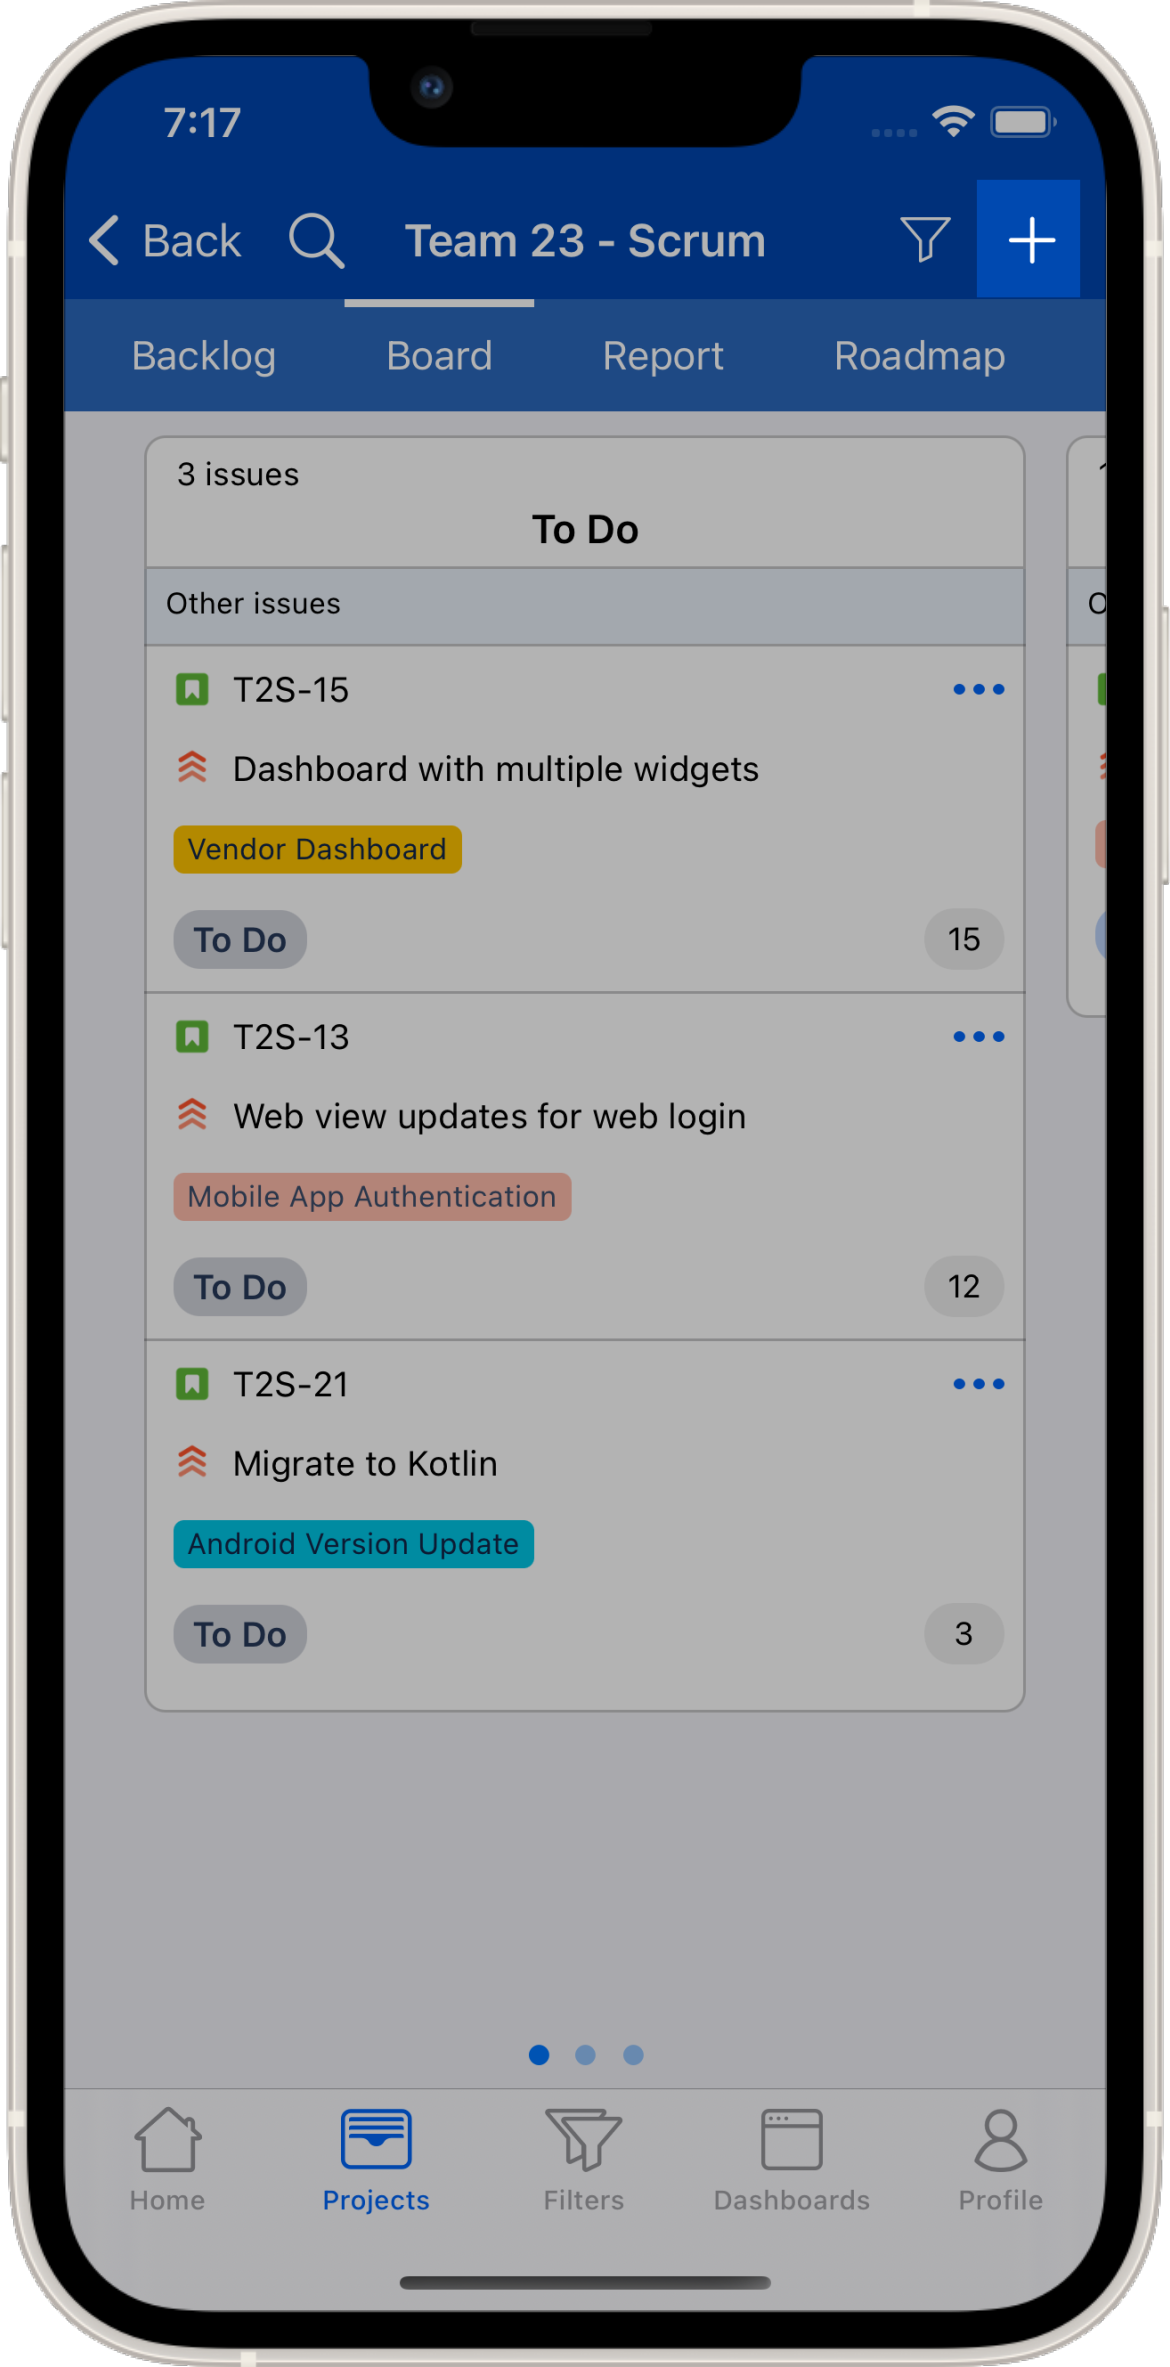
Project Board Create Issue Button
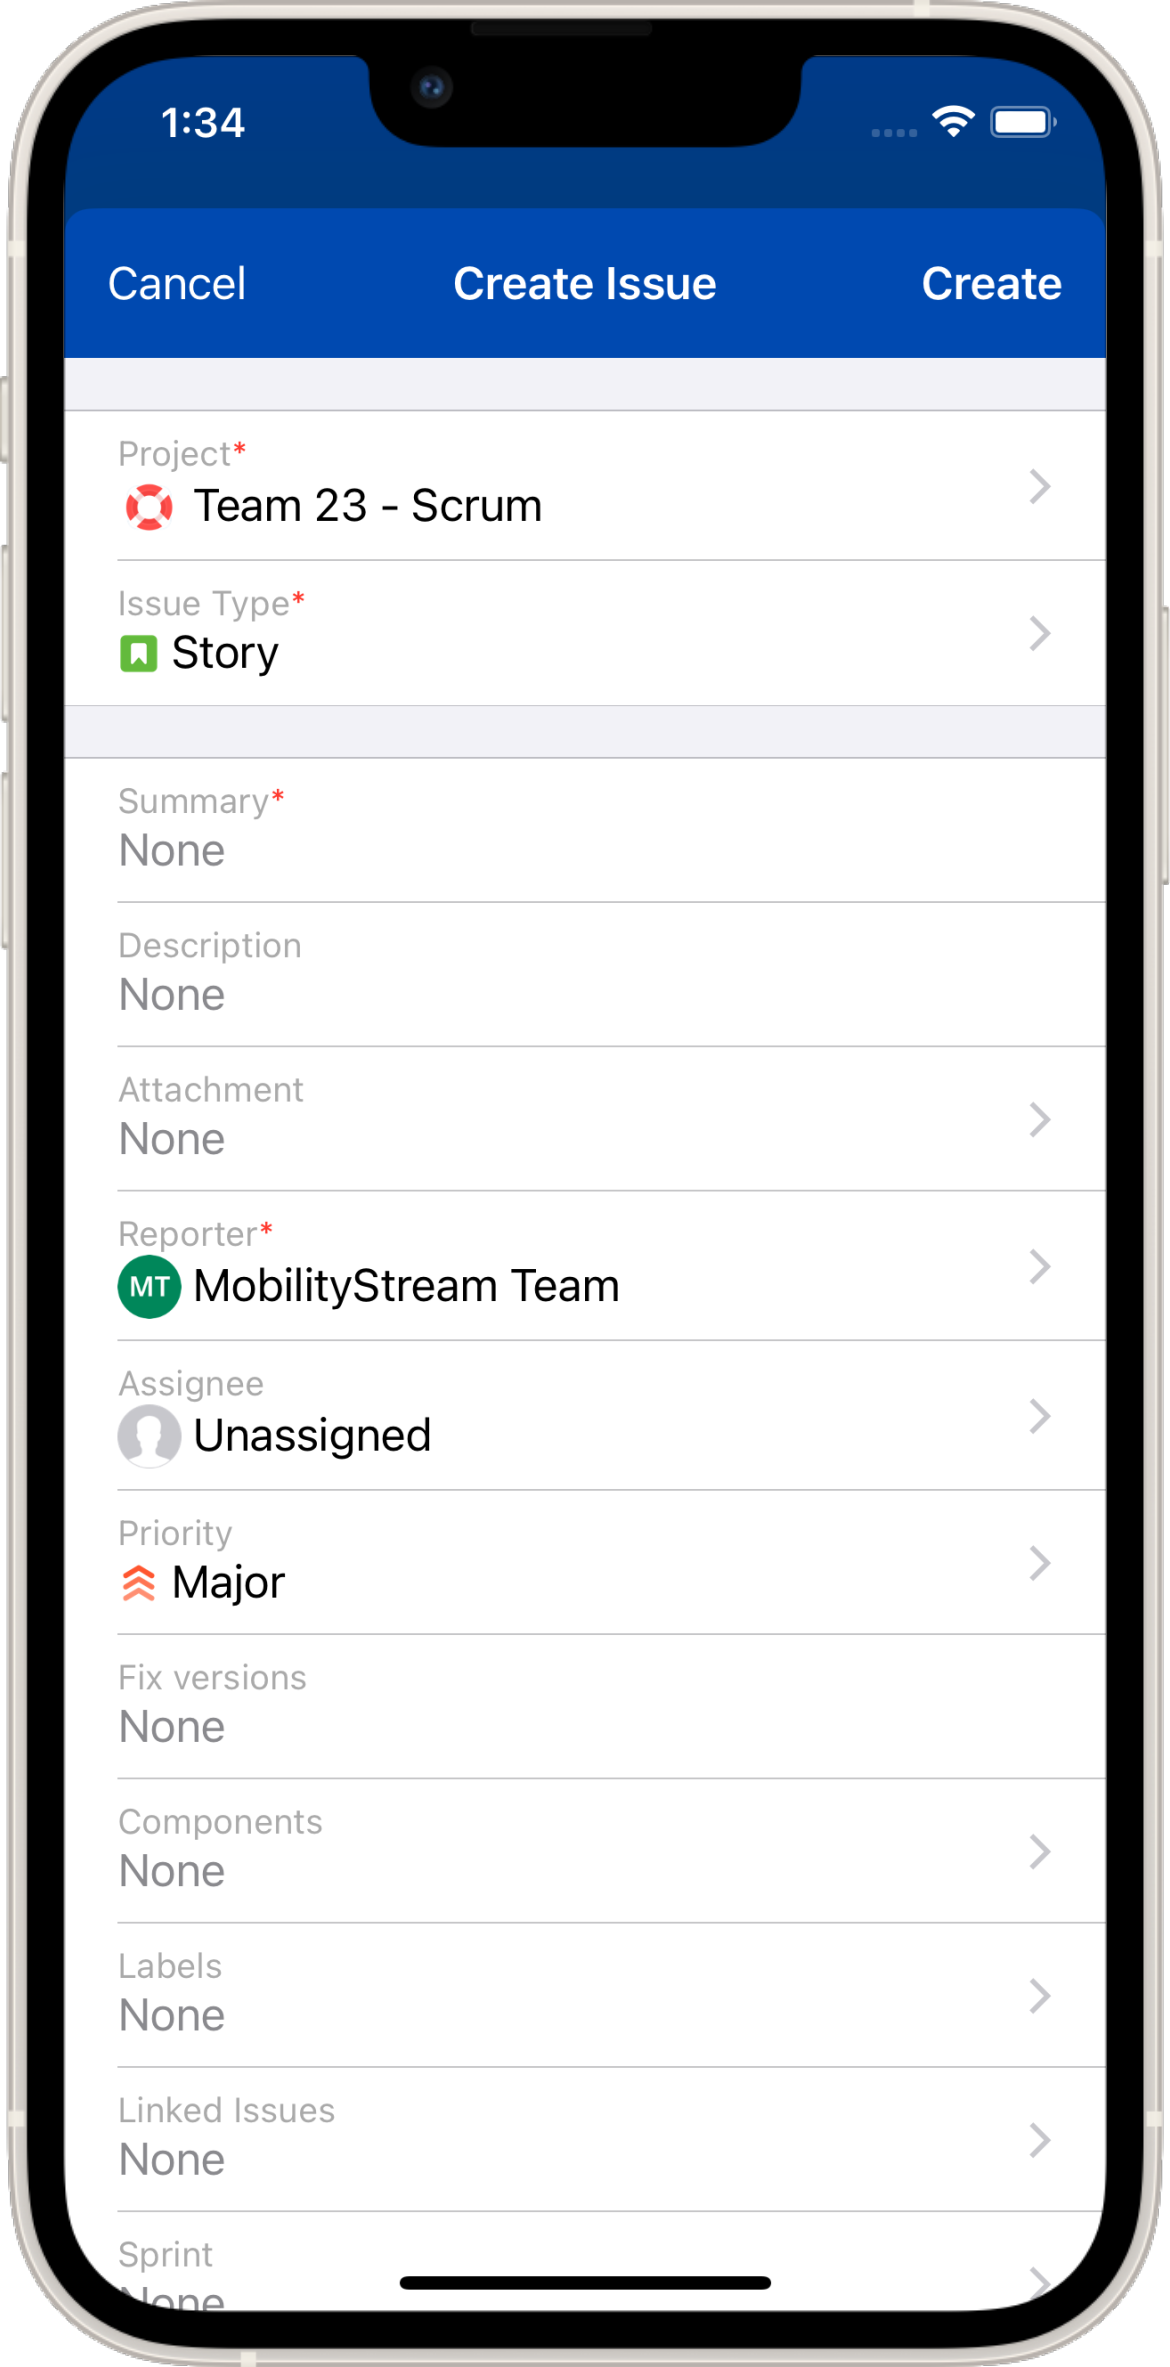
Create Issue screen
Edit Issues
Tap on any issue on an issue list or board and its detail view will come up. Fields can be edited by
tapping on a field for a single field edit
tapping the Edit button on the top right to edit multiple fields
Once you are done, tap the Save button. For single field edits, the Save button does not have to be pressed.
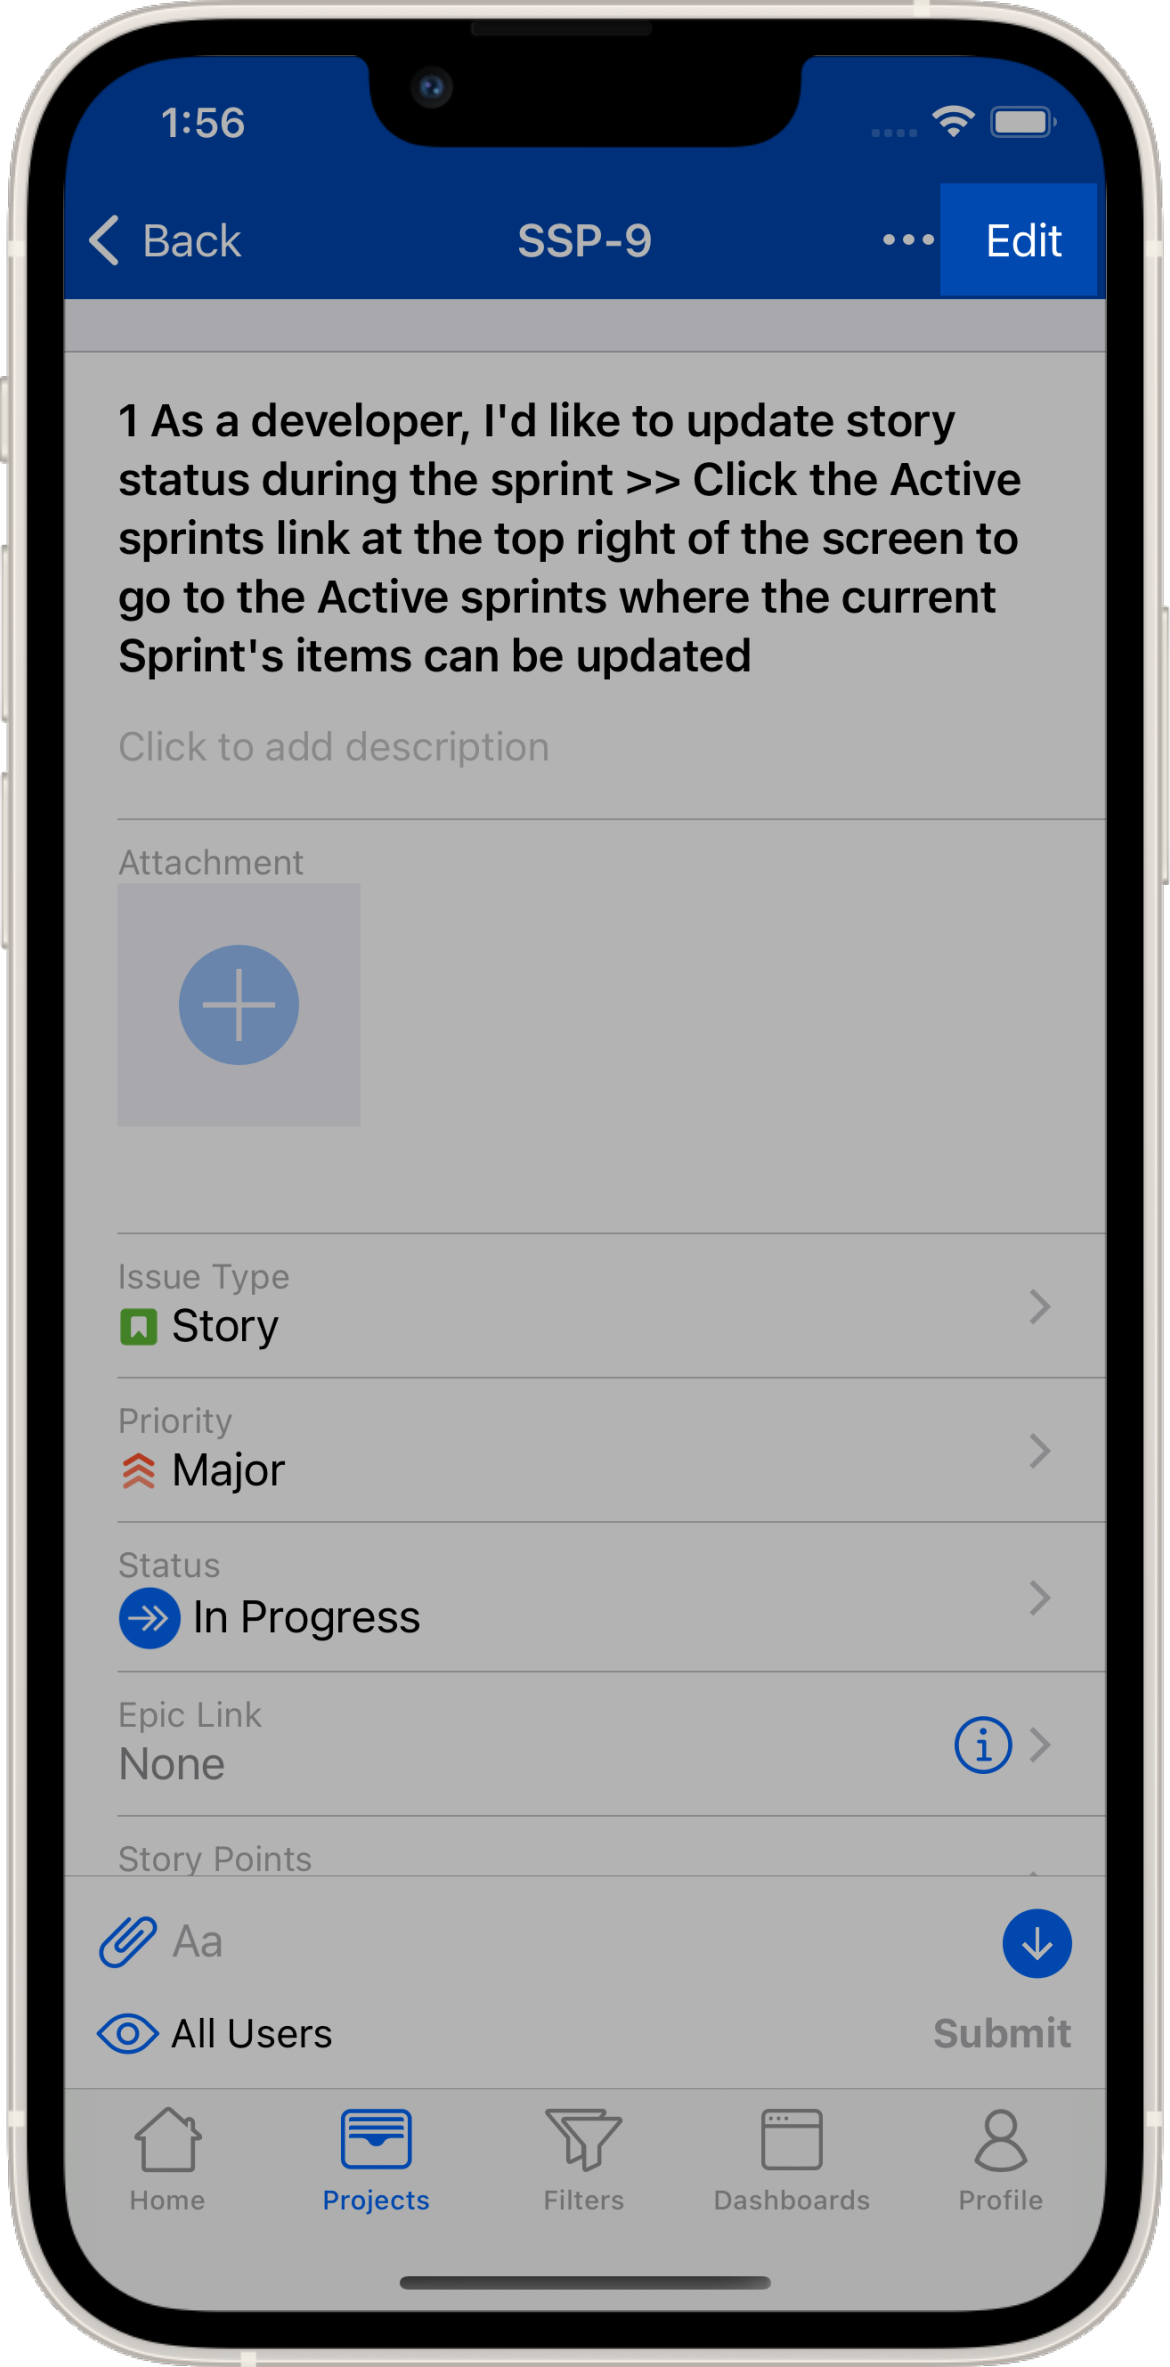
Detail screen with Edit button
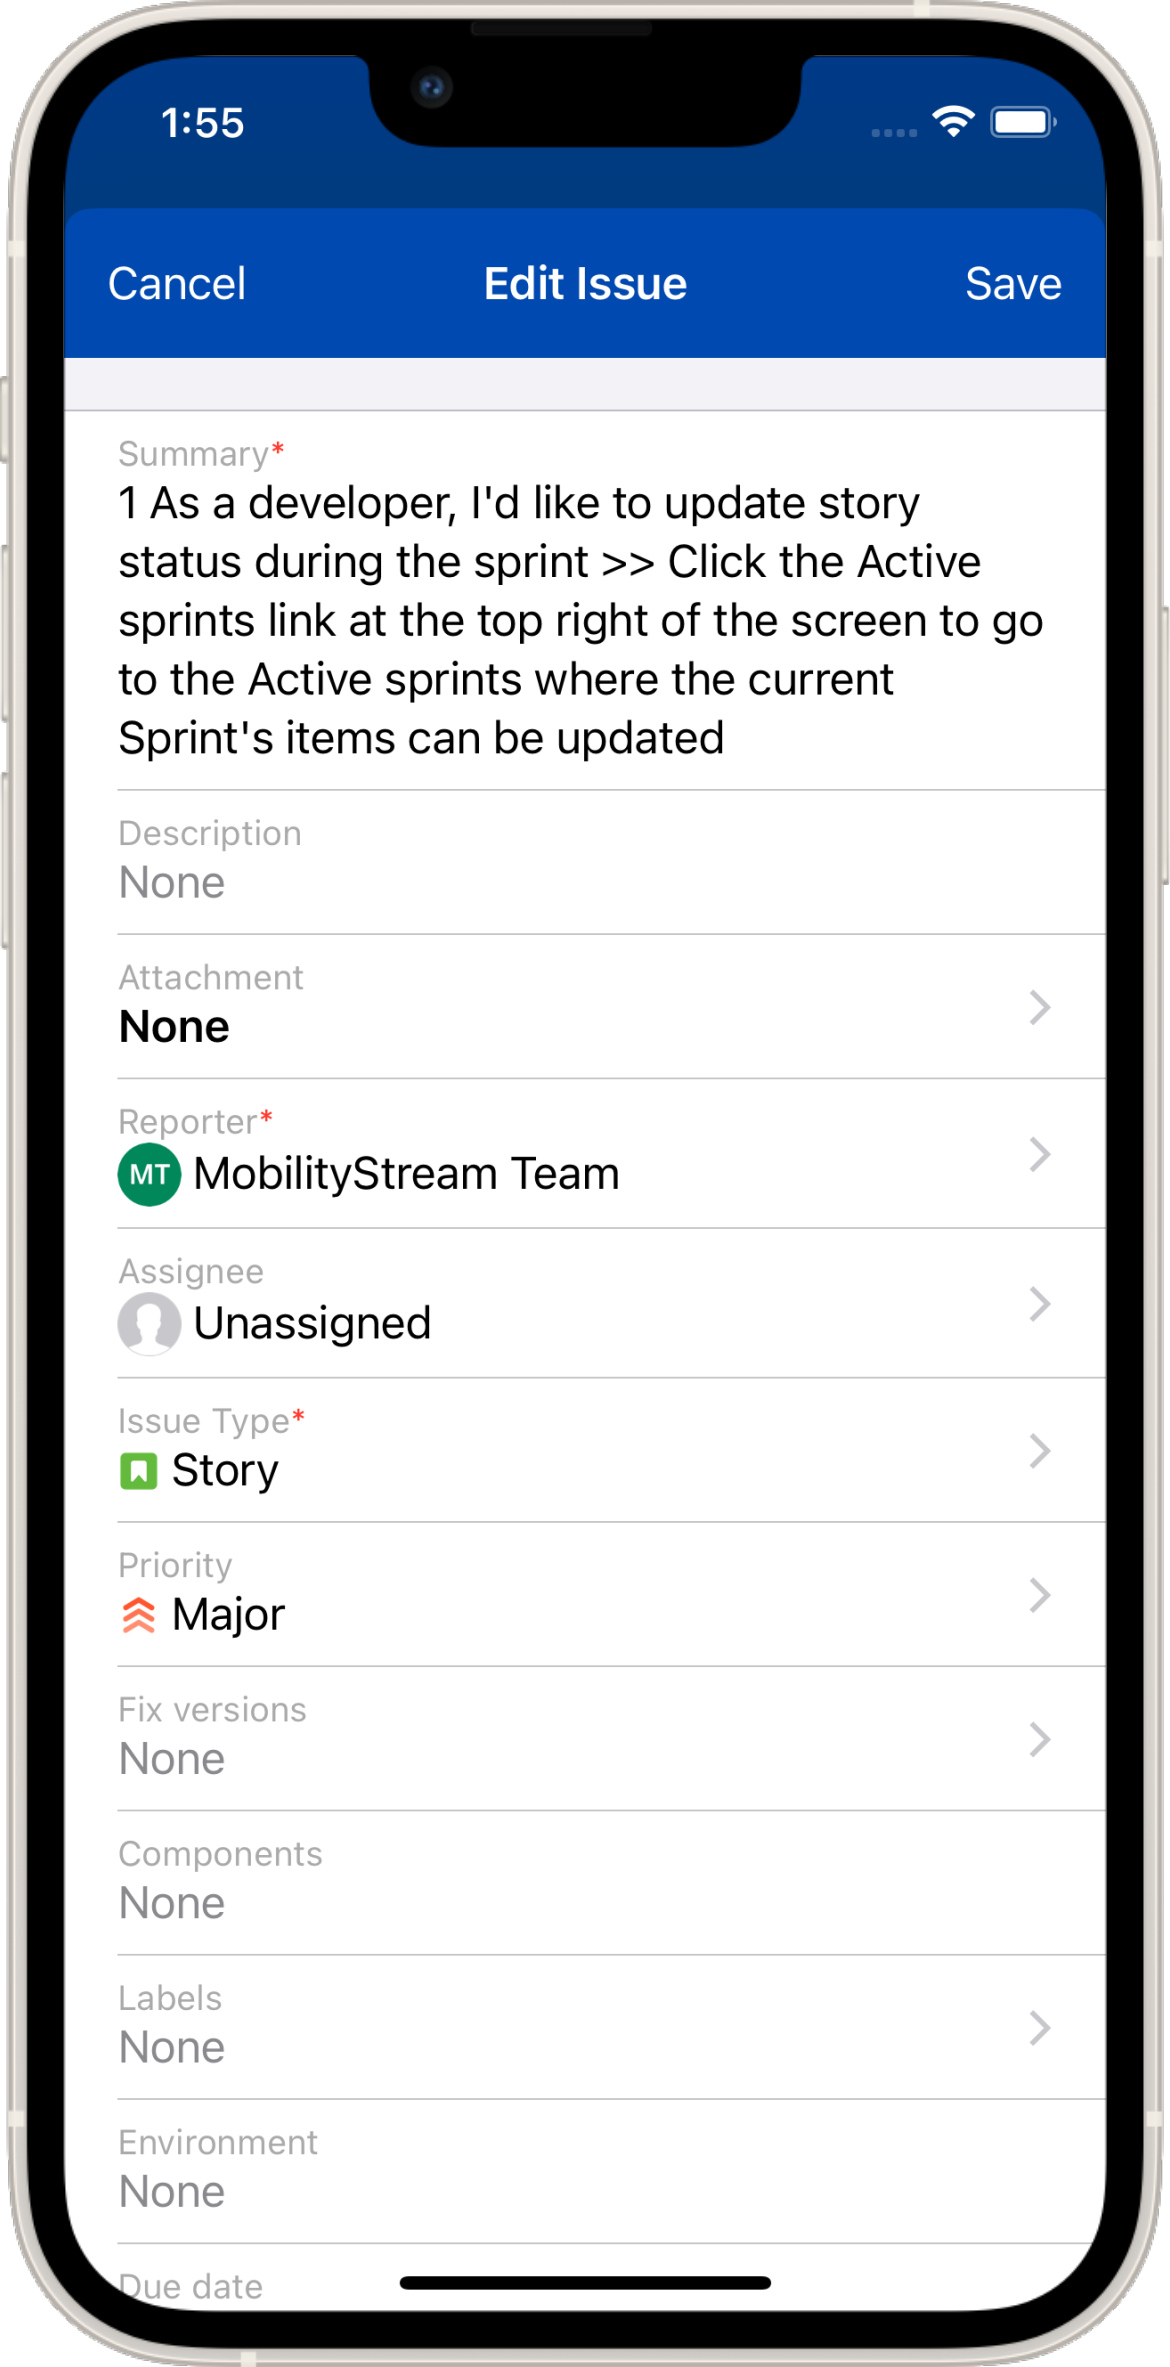
Edit screen
Clone Issues
Issues can be cloned between project and issues types. On an issue detail screen press … > Clone. This will bring up the Clone screen that allows you to select the summary, project, and issue type for the newly created issue.
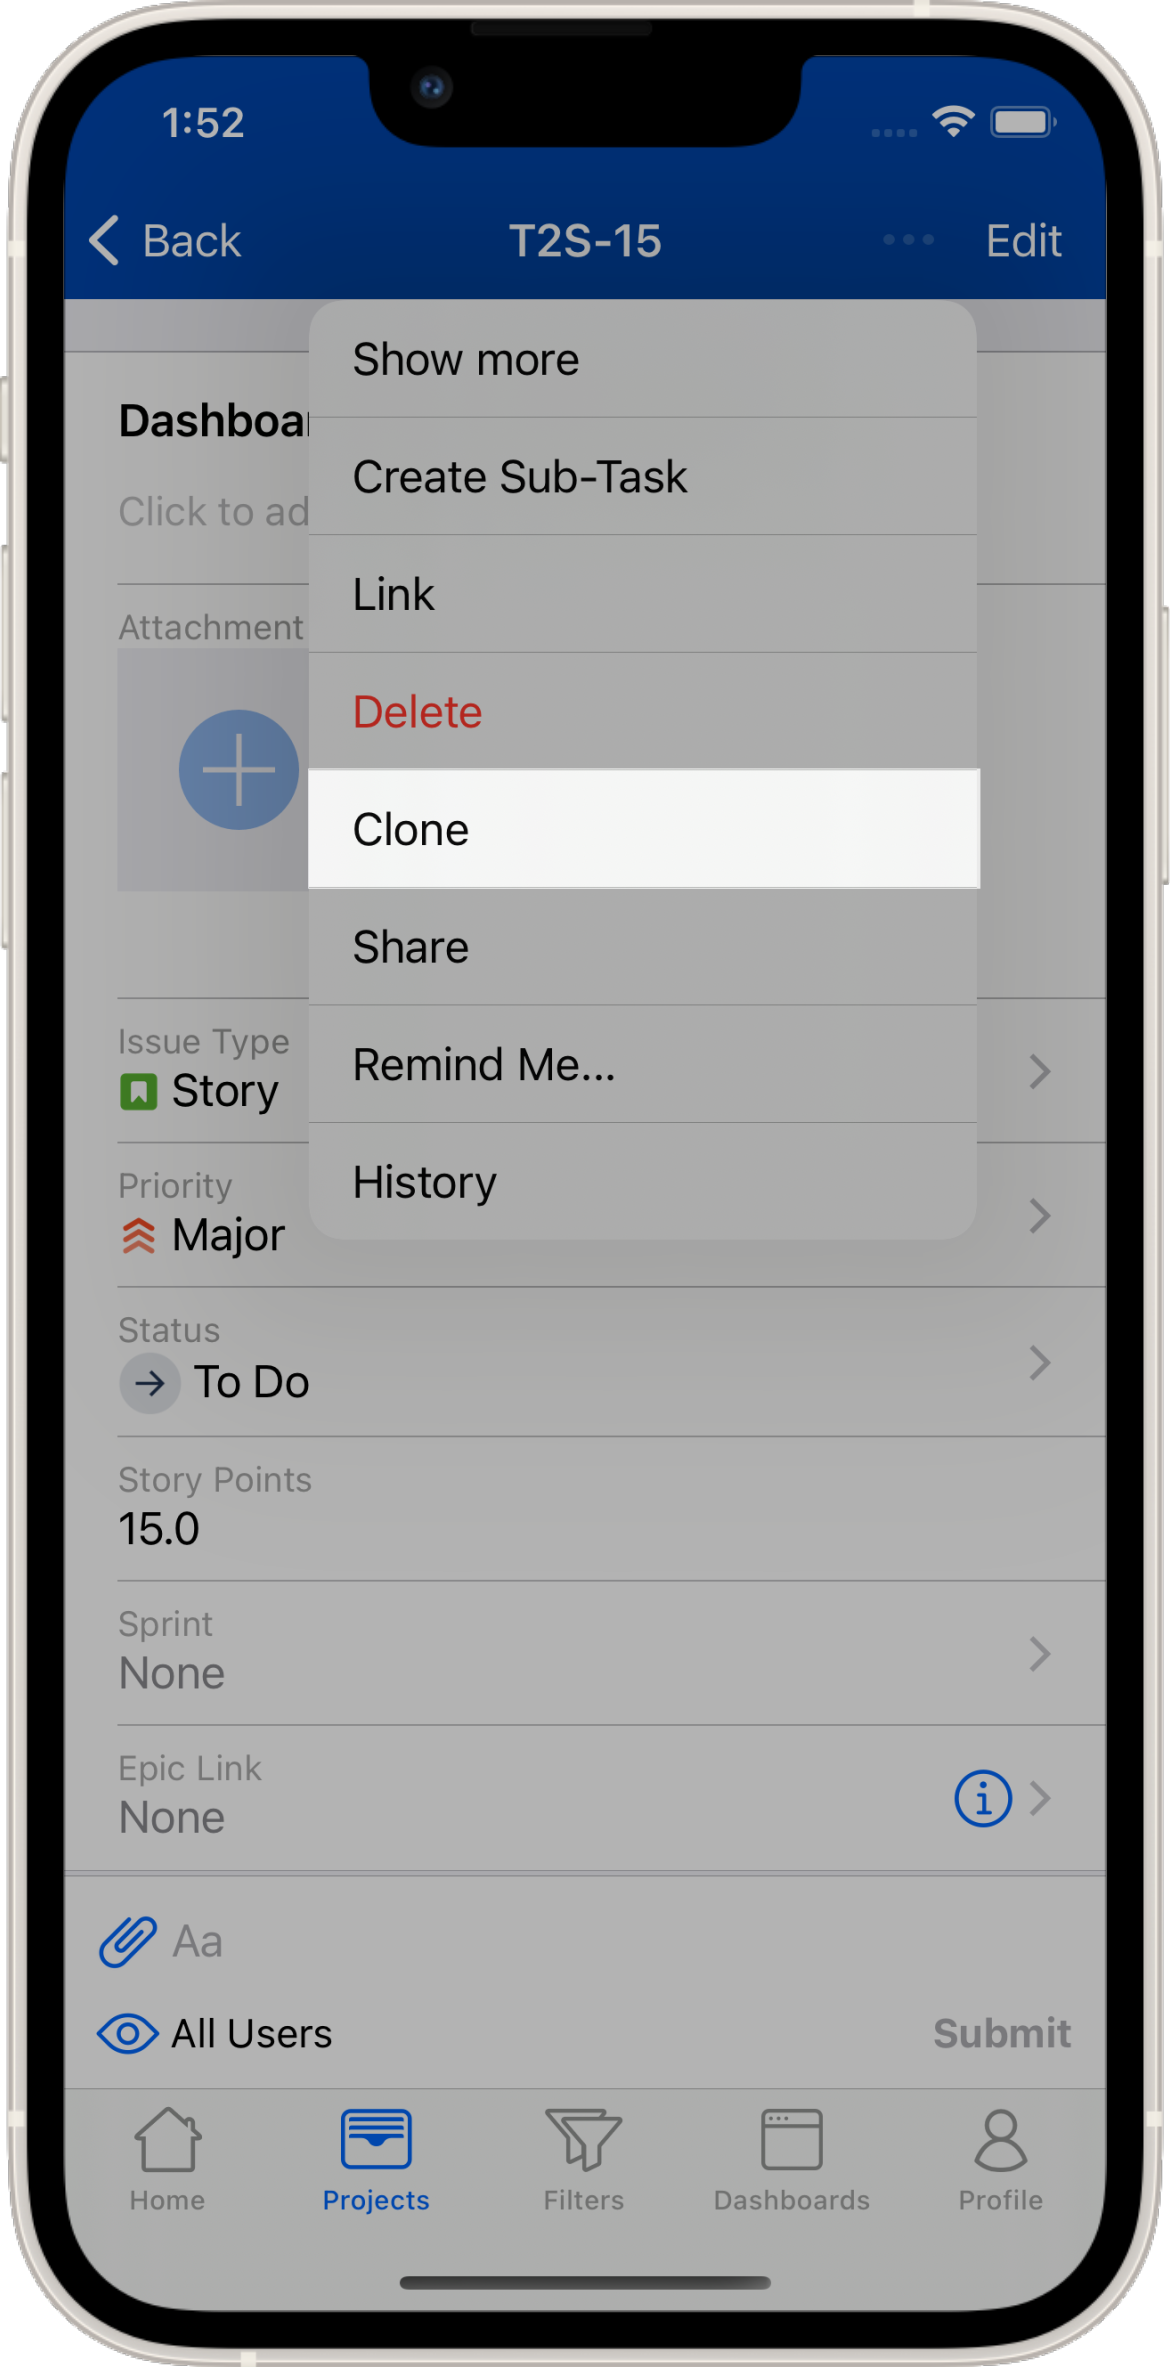
Clone menu option
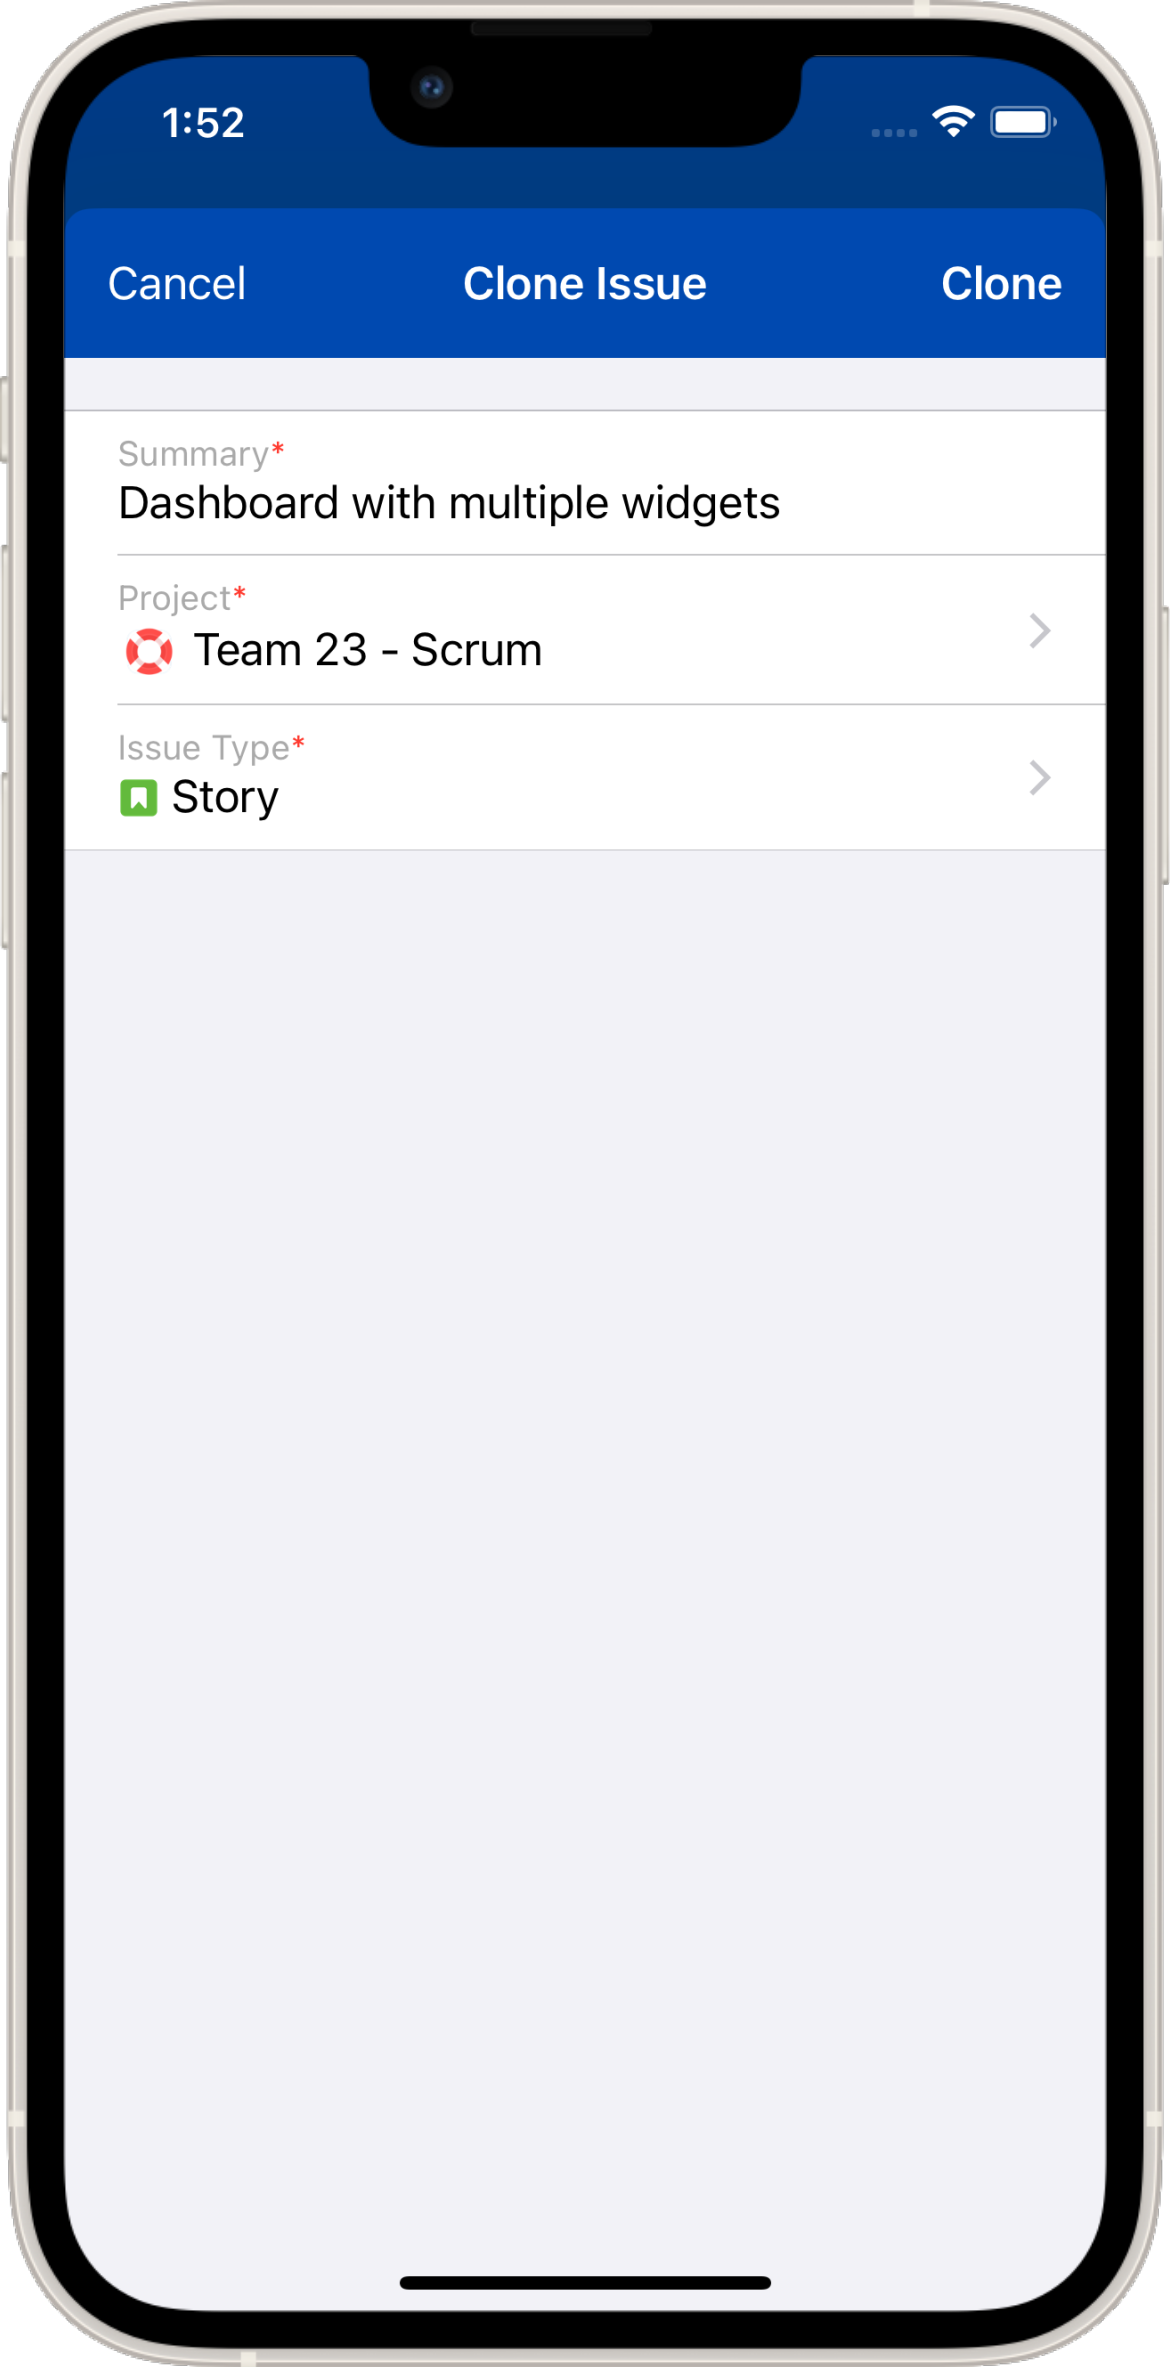
Clone screen
Set Reminders for Issues
Set a reminder for an issue on the detail view … > Remind Me…. You will be able to select from a few options or set a custom time and date to be reminded.
The reminder will appear as a Notification on your device at the defined time.
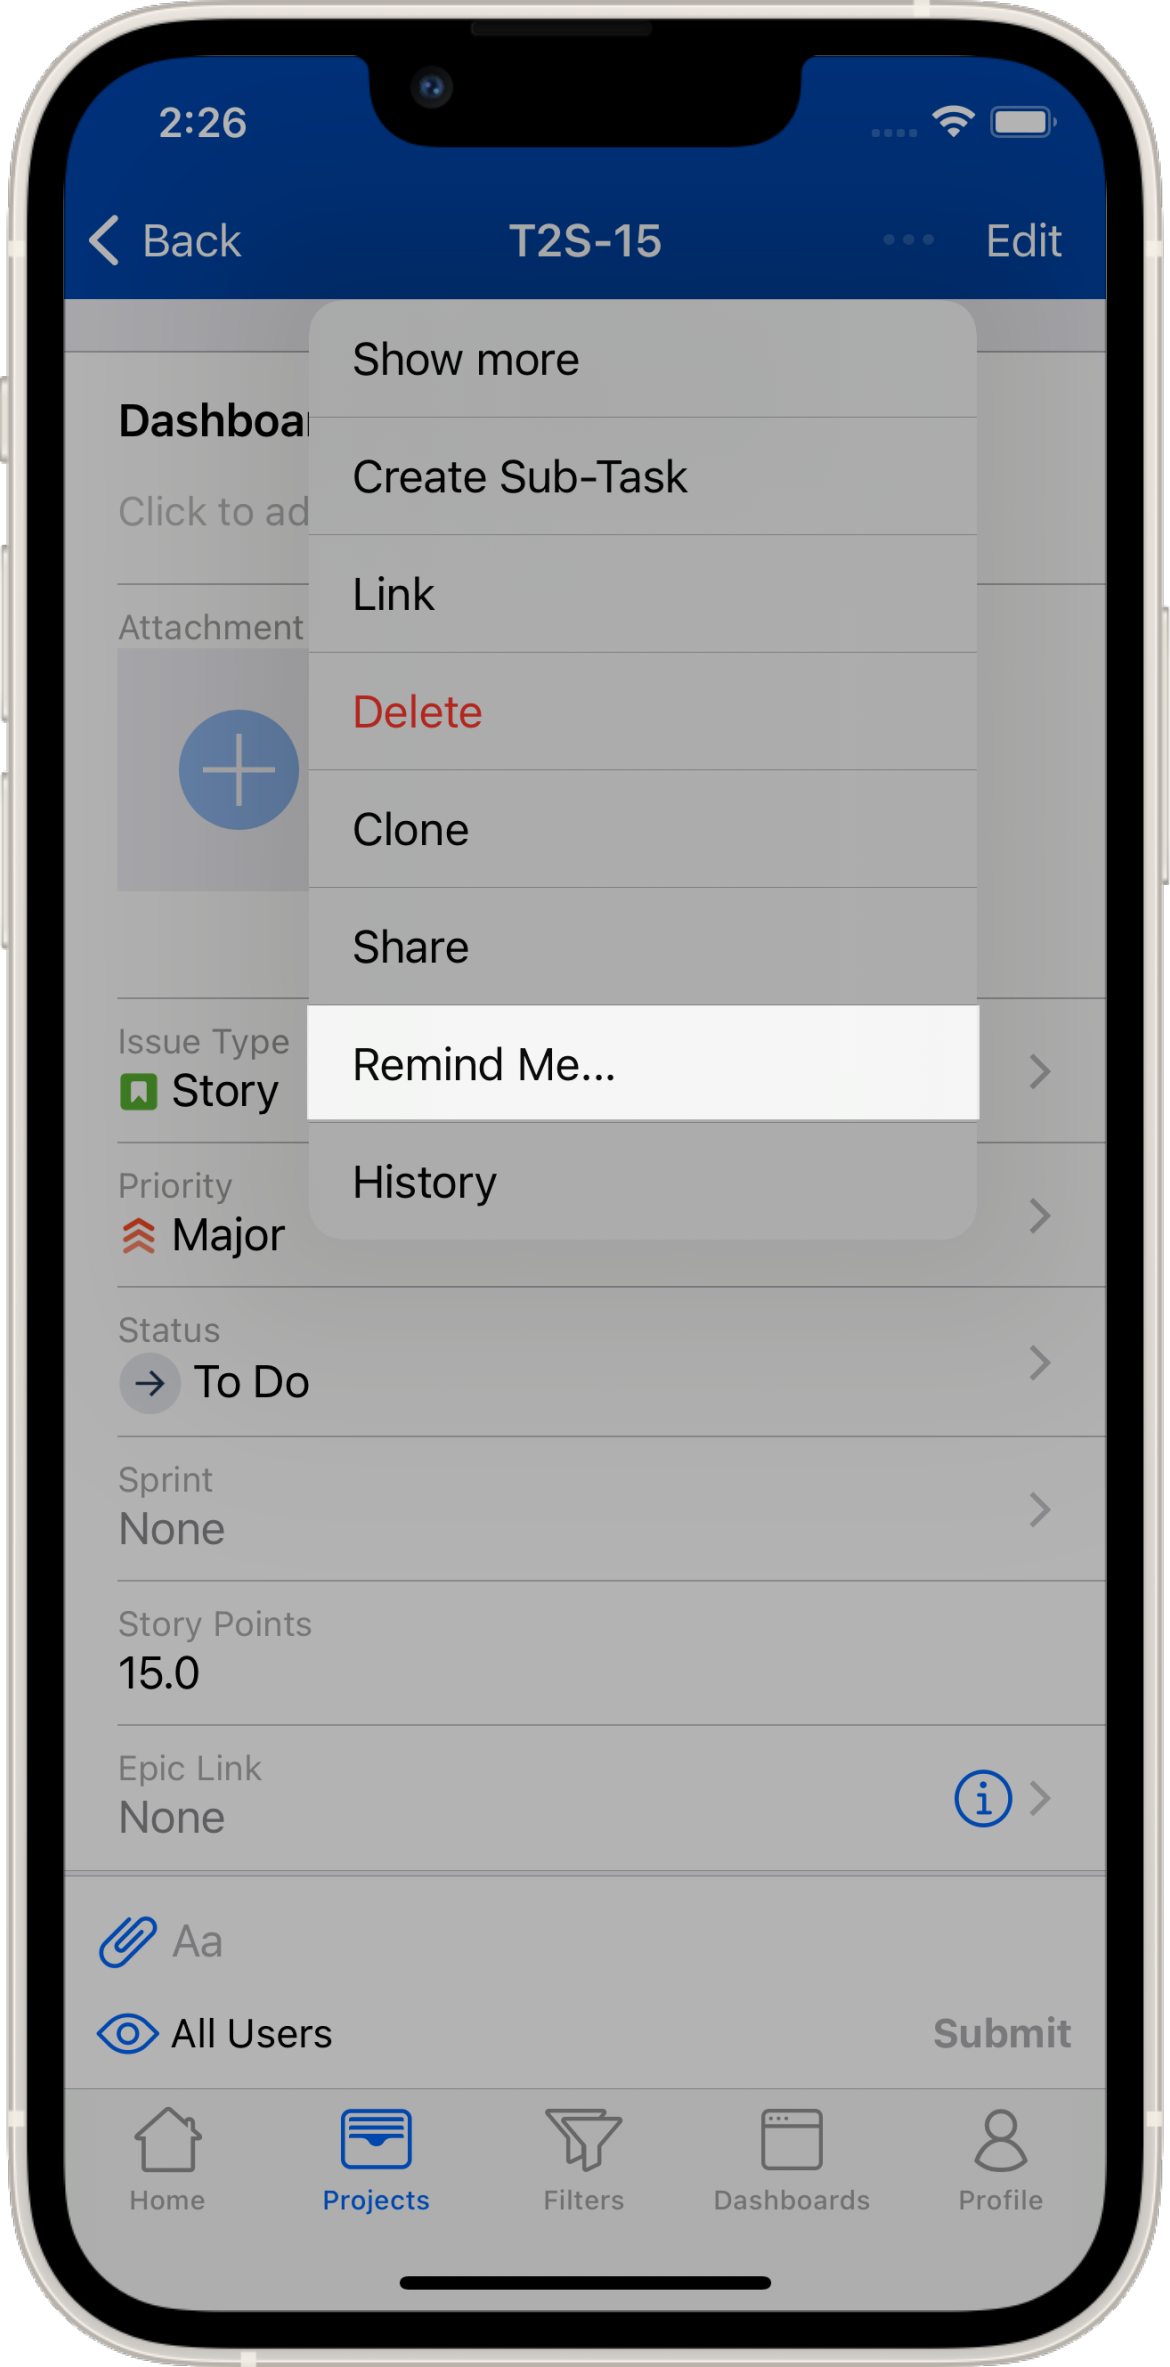
Reminder menu option
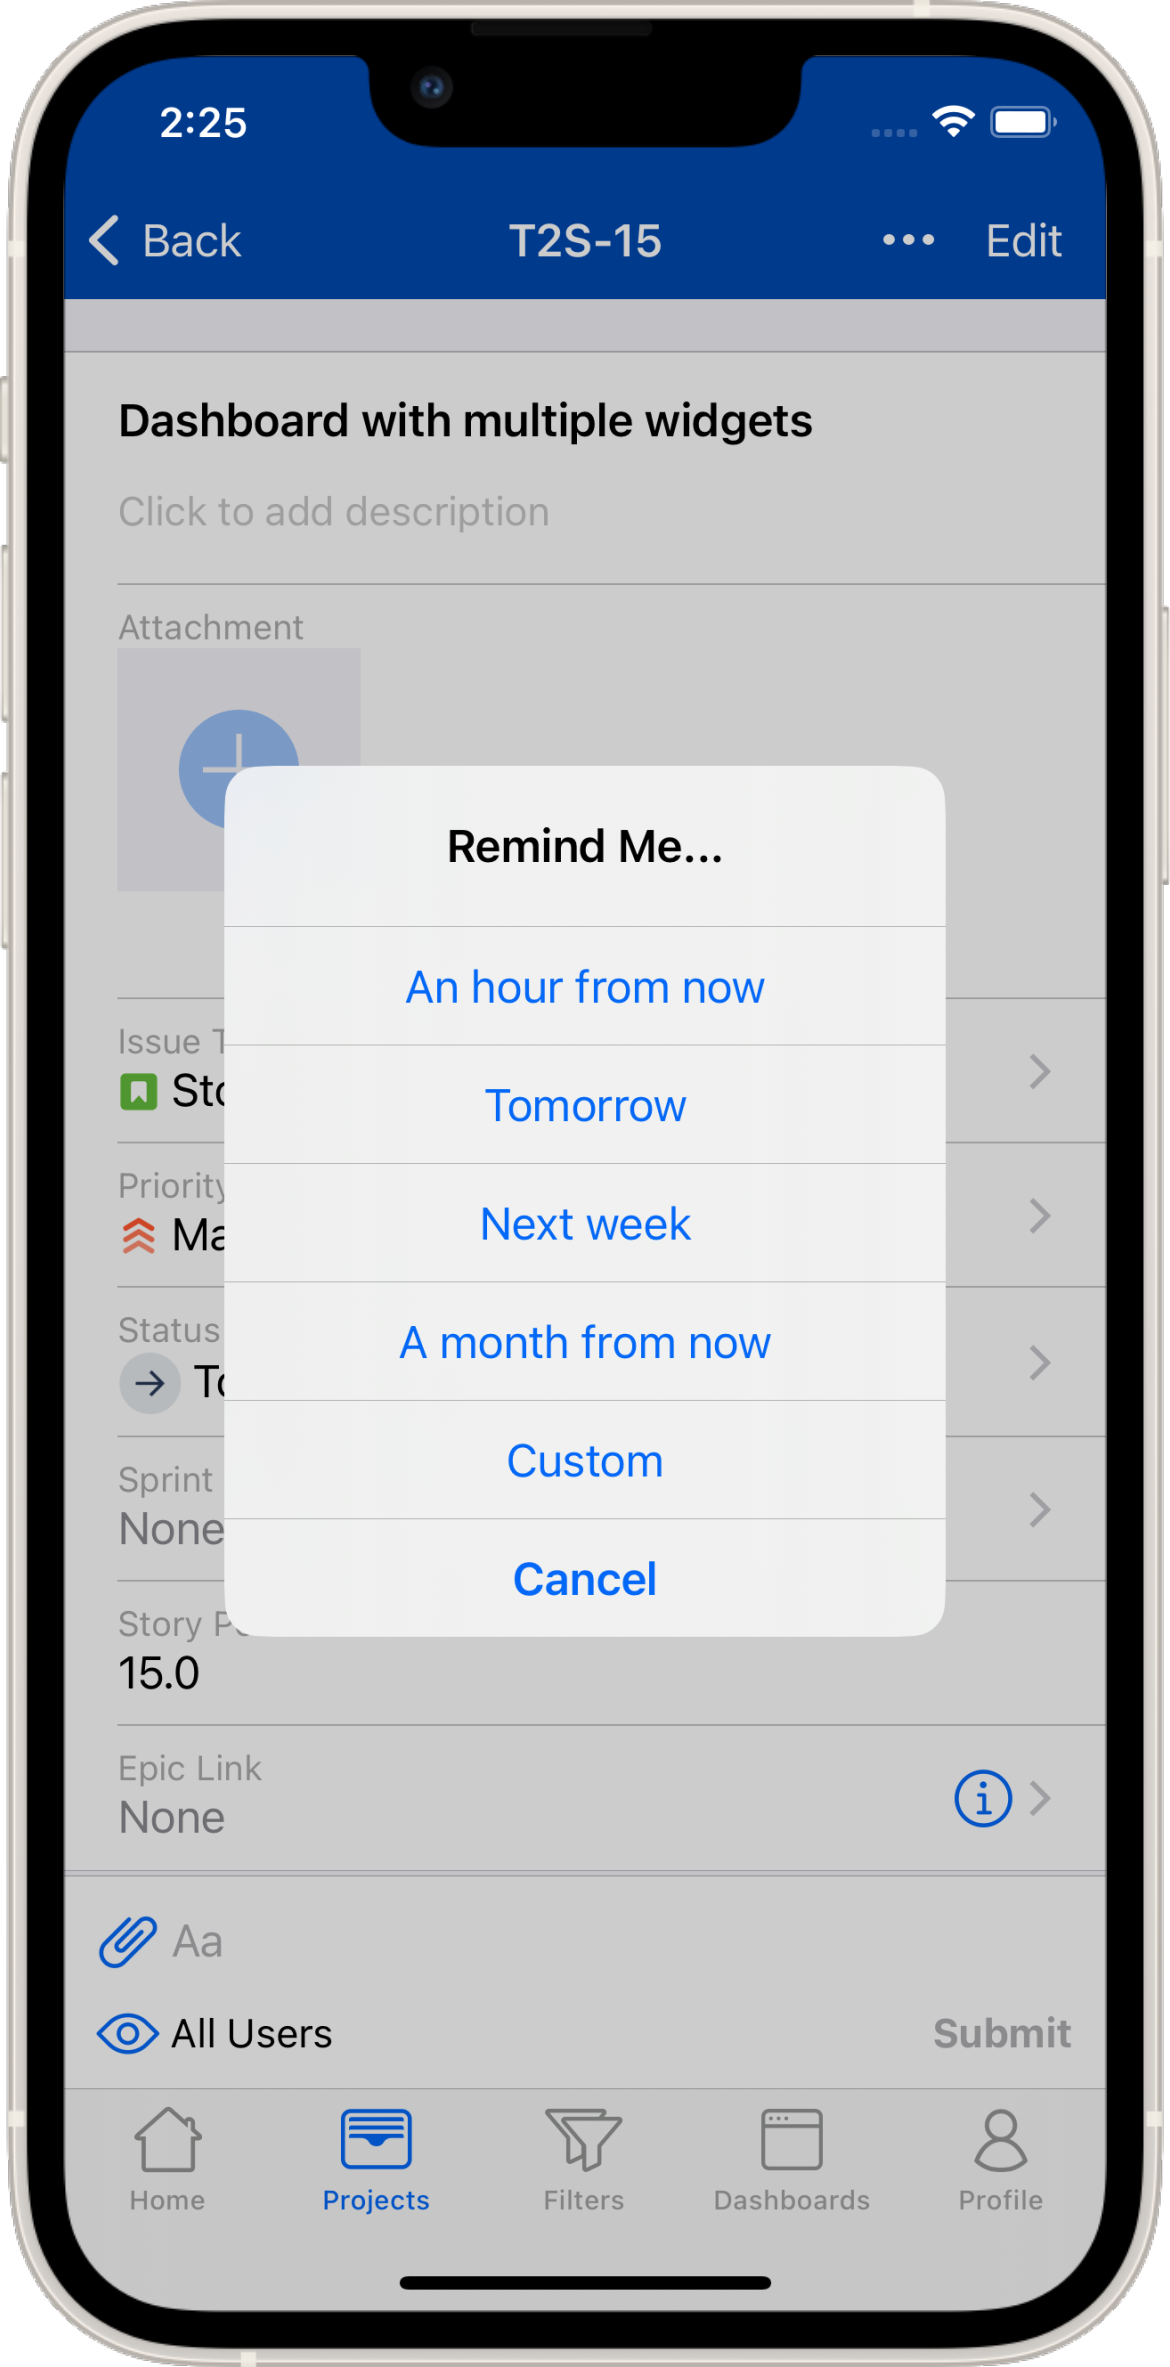
Reminder options
Forms
If you are using Forms (previously ProForma) in Jira, you can easily add, view, and edit them in Mobility for Jira. To view a form, pick an issue that has a form attached and scroll to the Forms Section. Each attached form is listed with its name and current status. You will be able to display the form by tapping on the form entry. When pressing edit the form becomes editable. Also you have several other options to make the form internal/external, view it as PDF or XLSX.
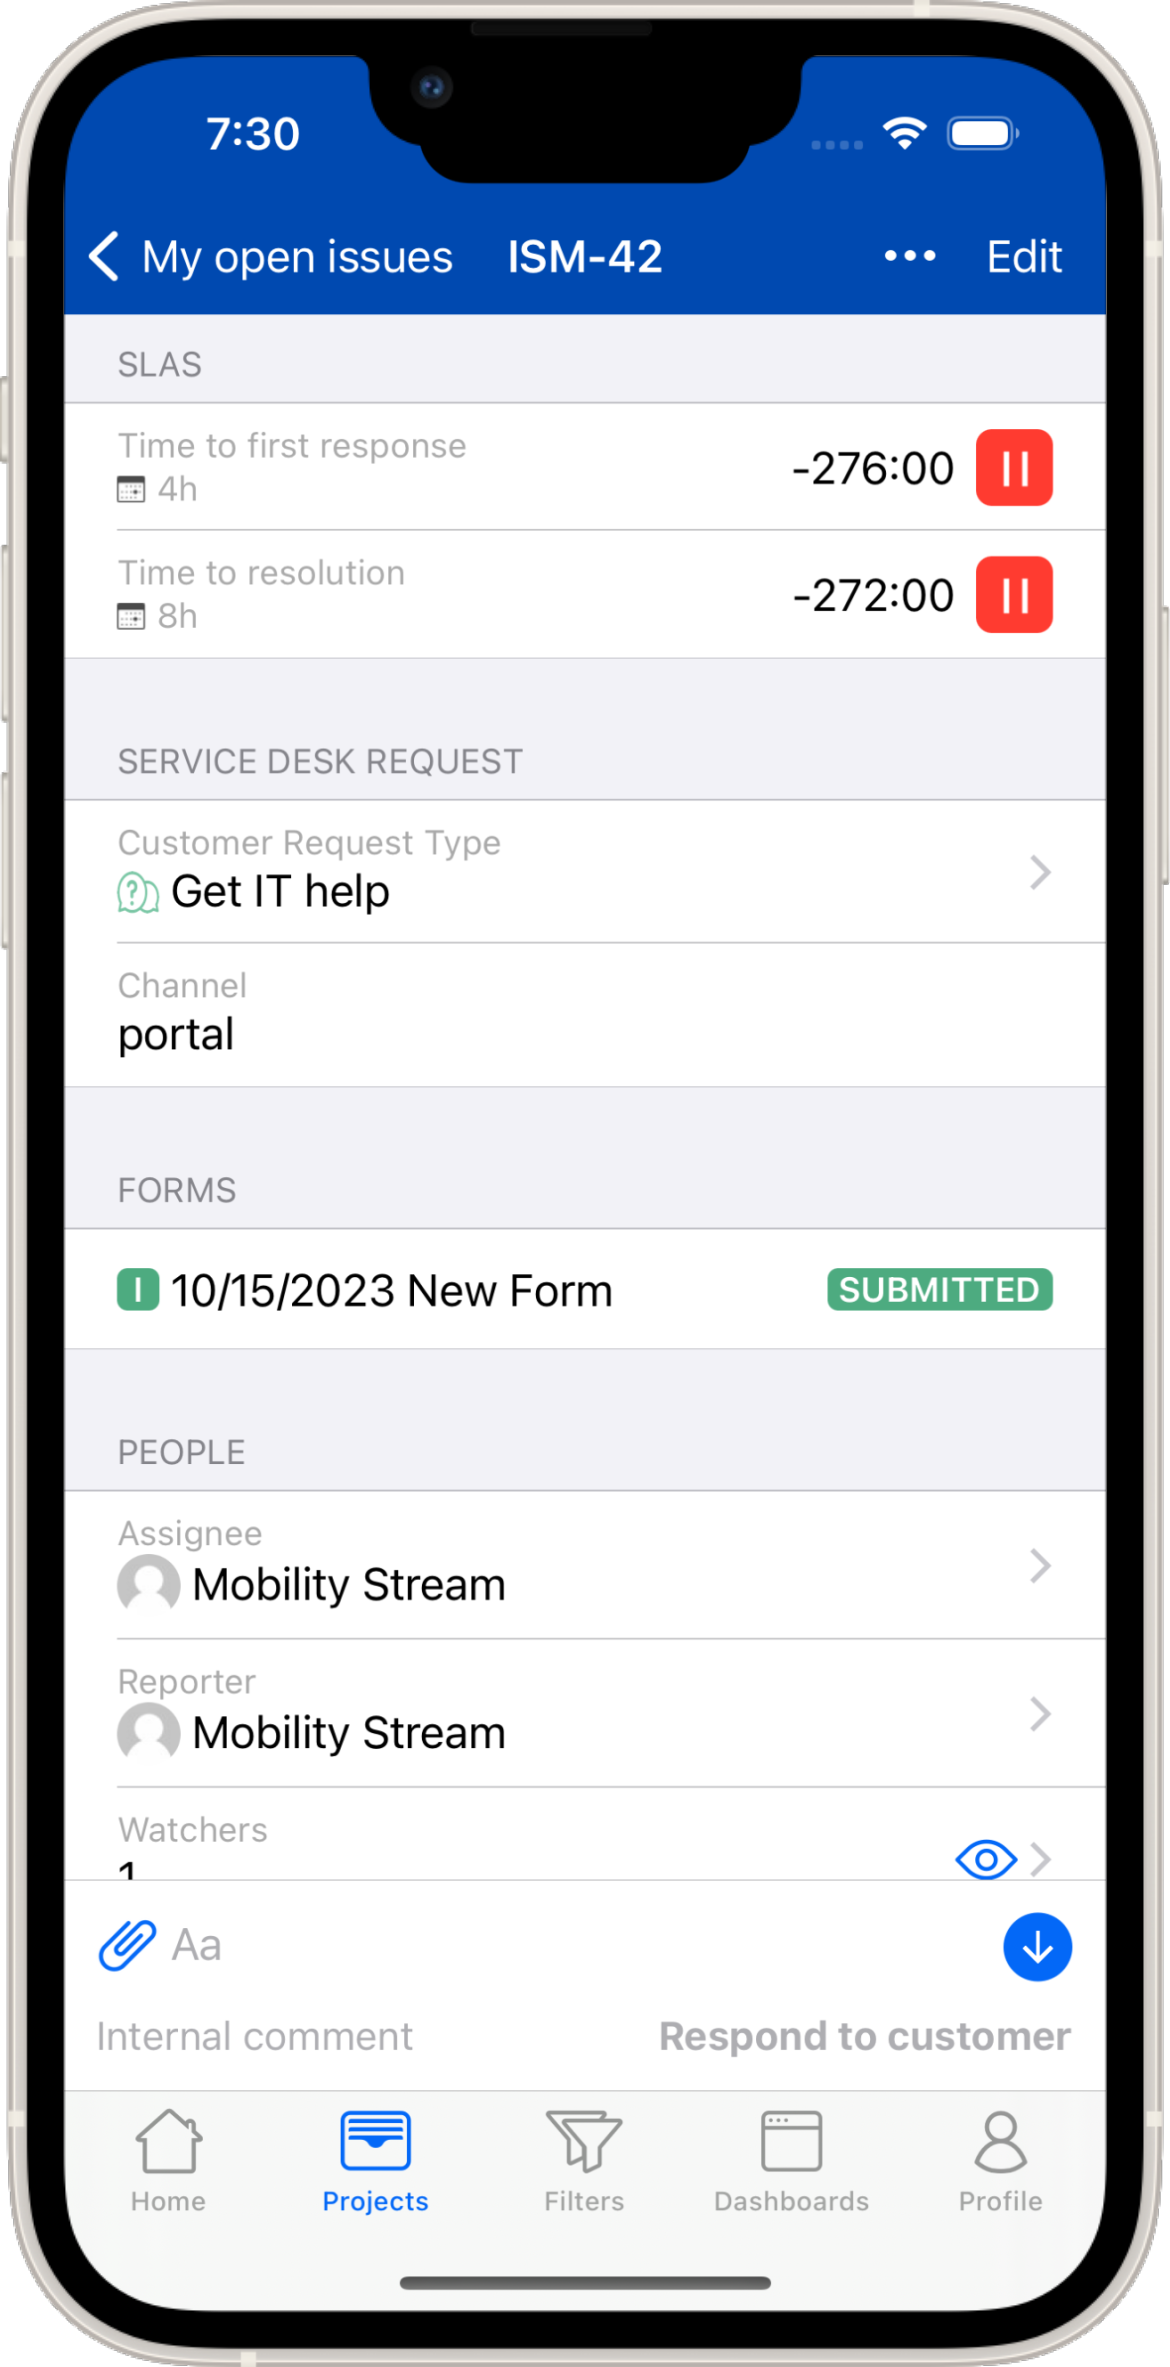
Forms and their status on Issue Detail
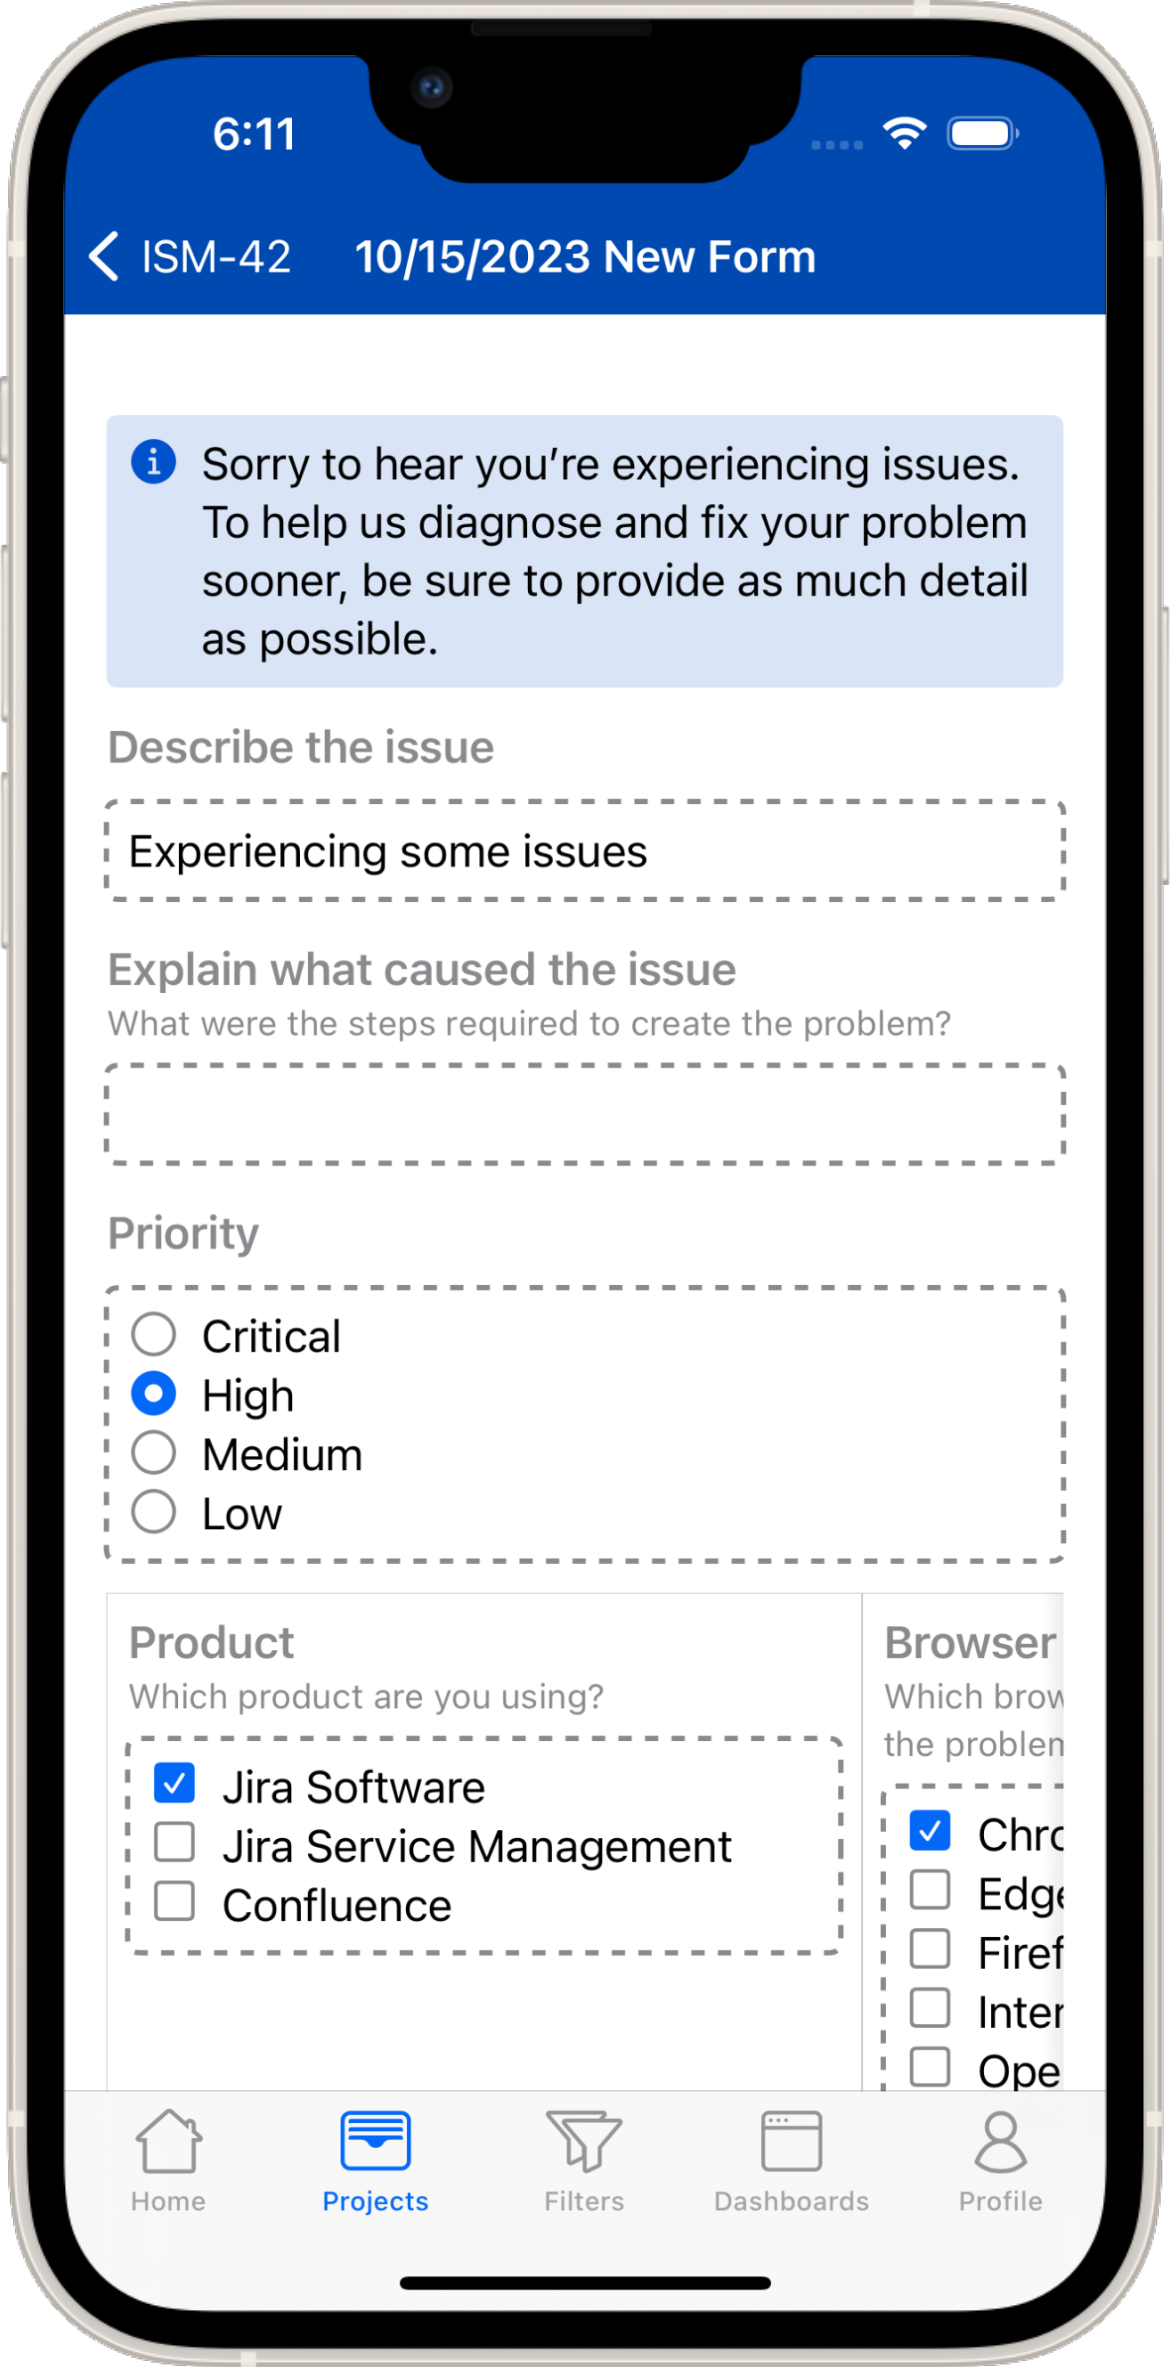
Filled out form
To attach a new form scroll to Forms > Add Forms then pick an available form. Once a form is filled out it can be closed for customer editing, submitted, made external/internal, deleted, or exported as a PDF or XLSX file.
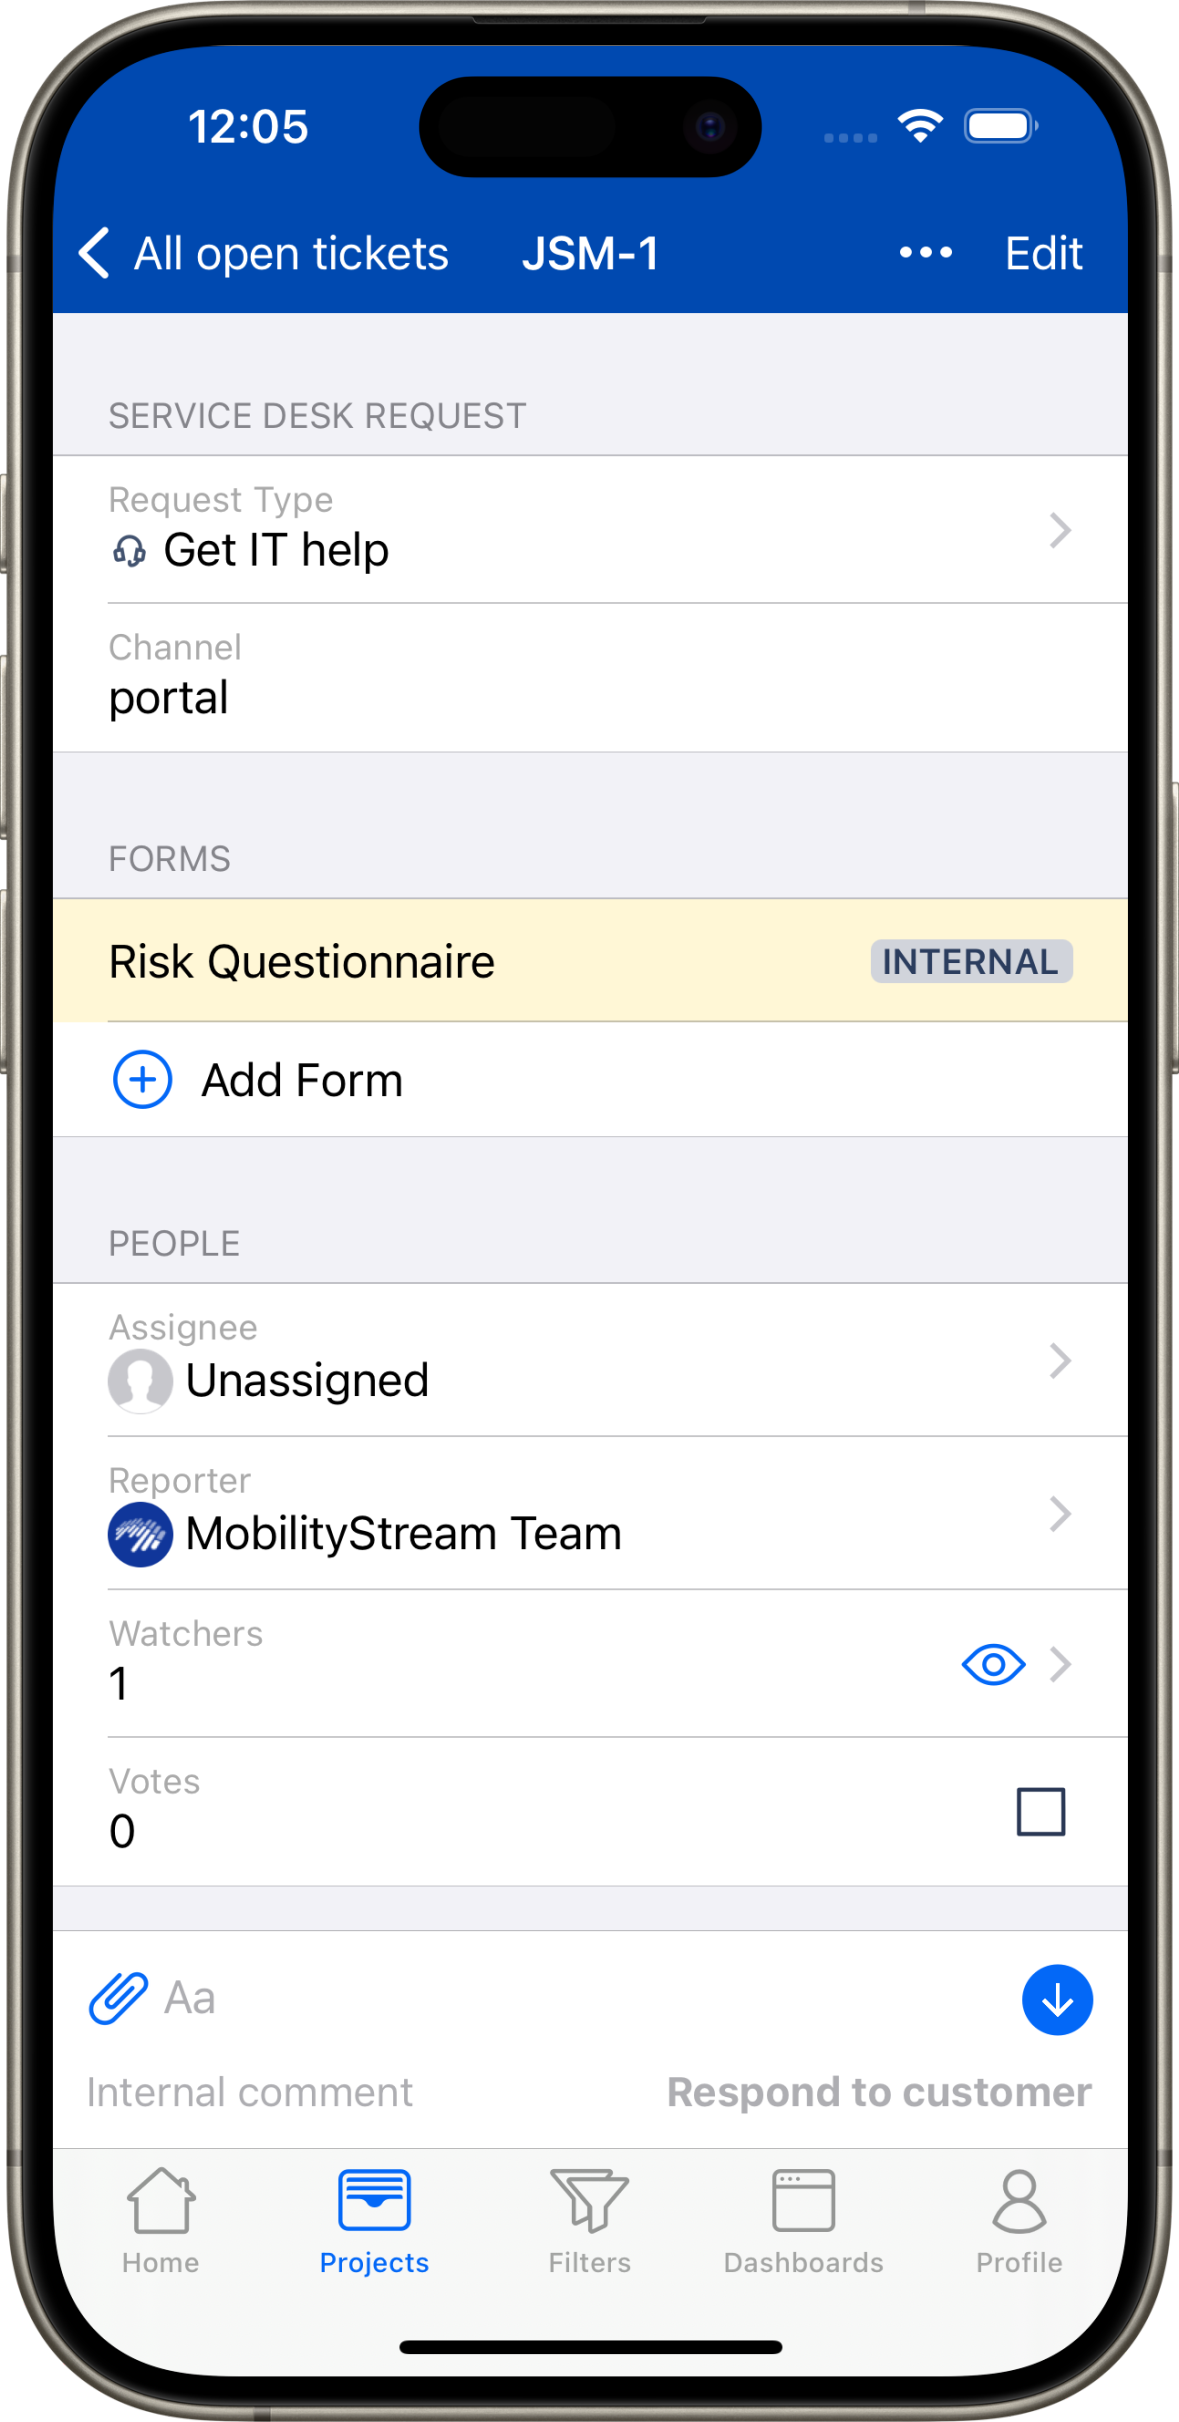
Add a new form by tapping Add Form
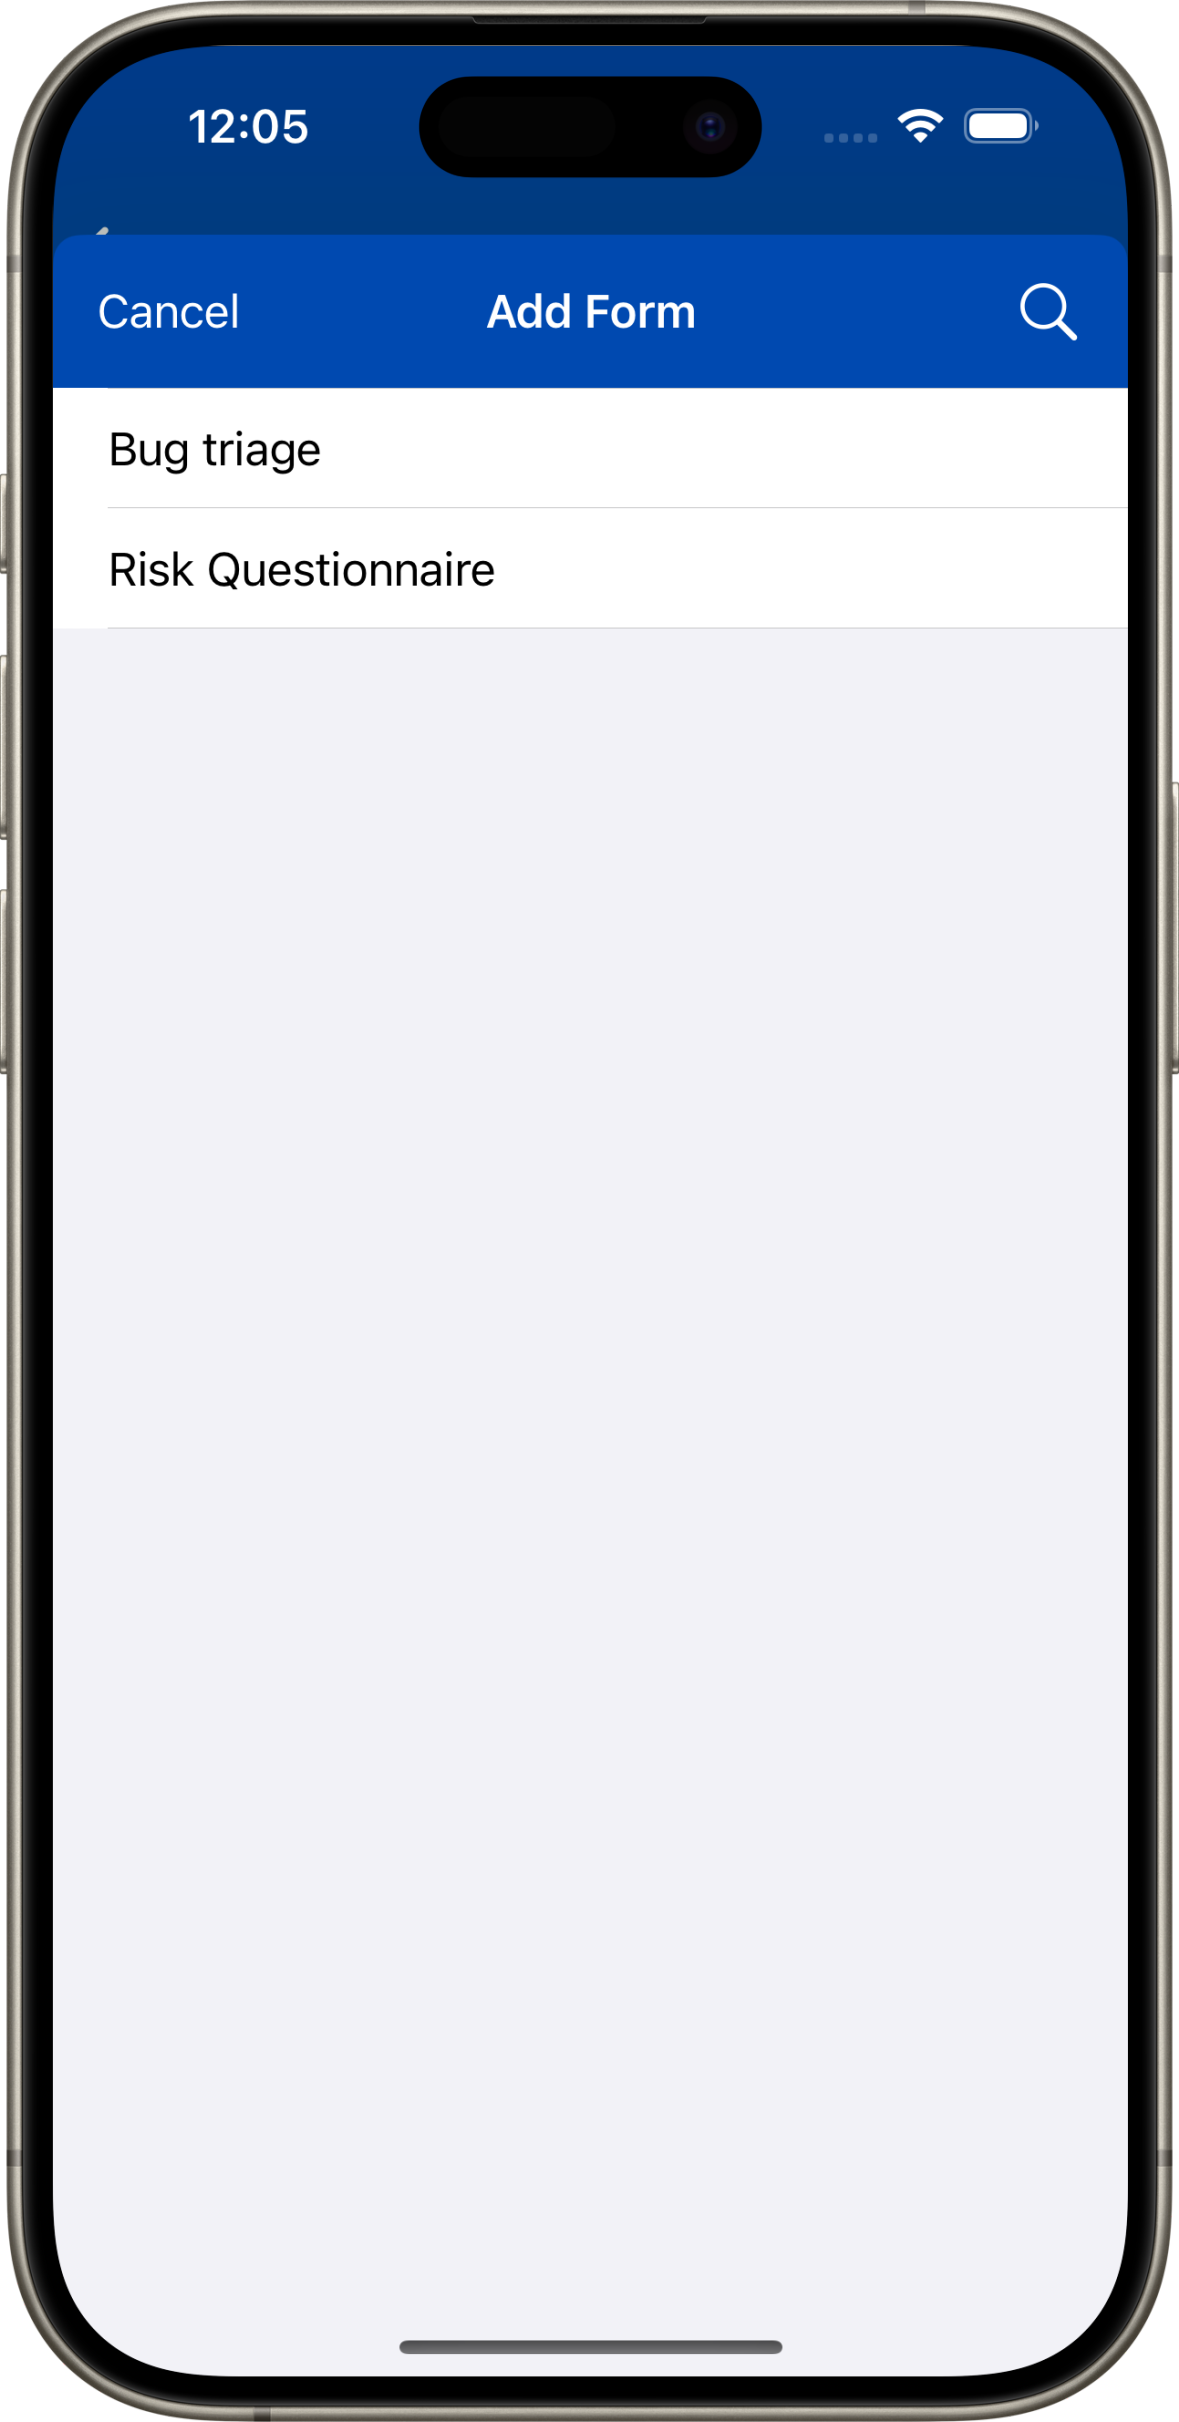
Pick from available forms
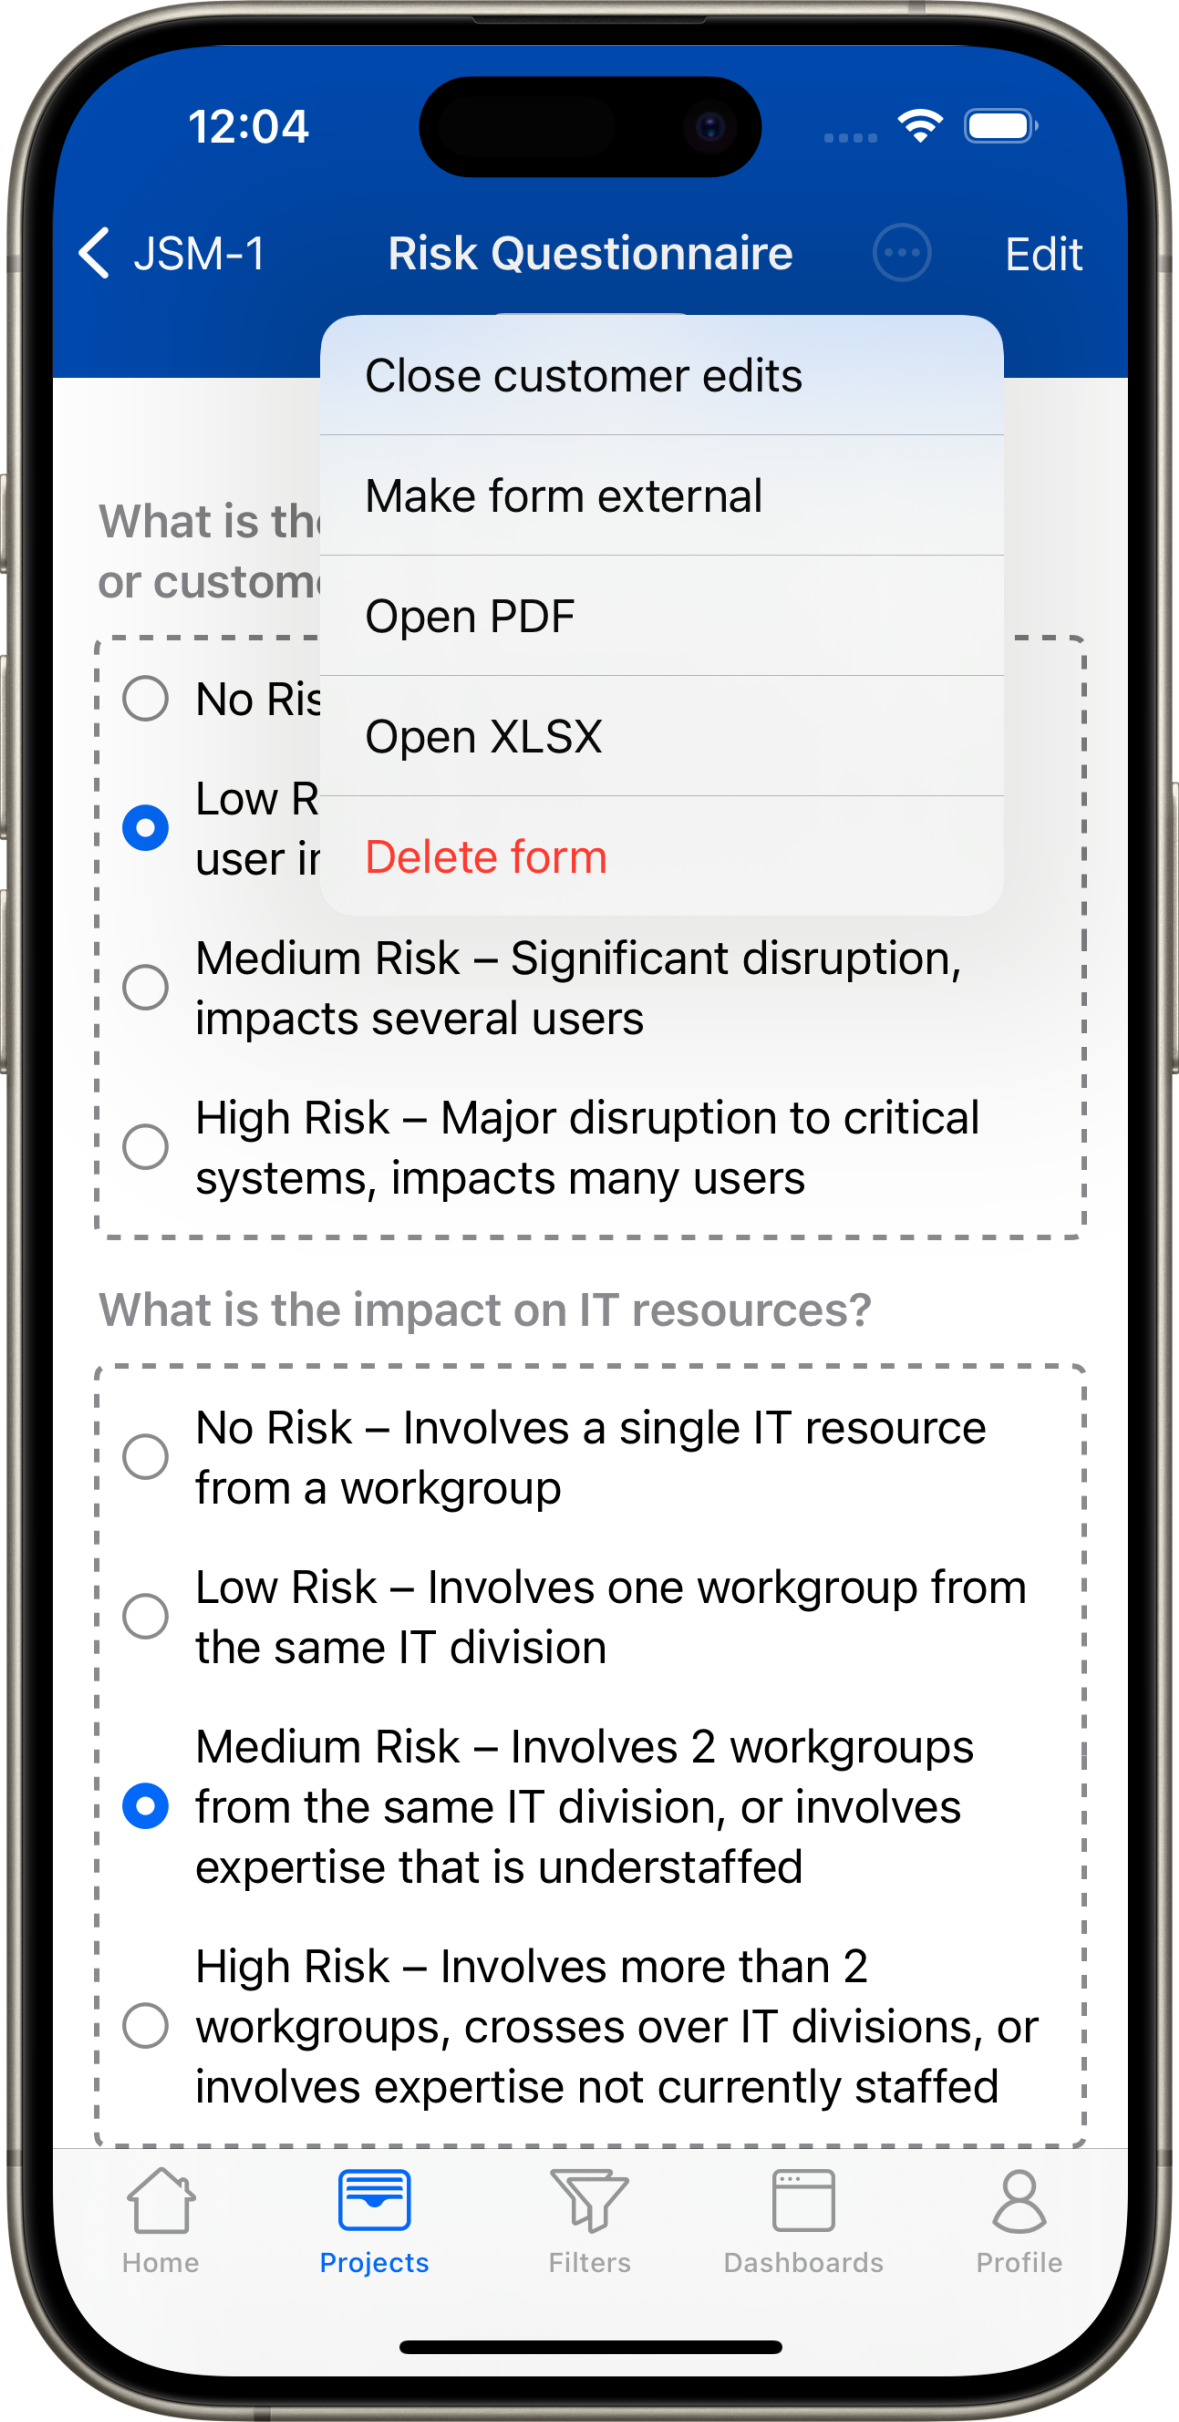
Form options
Geolocation
If you have issue fields that contain geolocations in latitude, longitude format (for example 41.882685, -87.623225), a location pin will be displayed next to it. By pressing the pin, a map is displayed containing the location. There is a share button that allows to share the location with installed apps such as Apple Maps, Google Maps, and Waze.
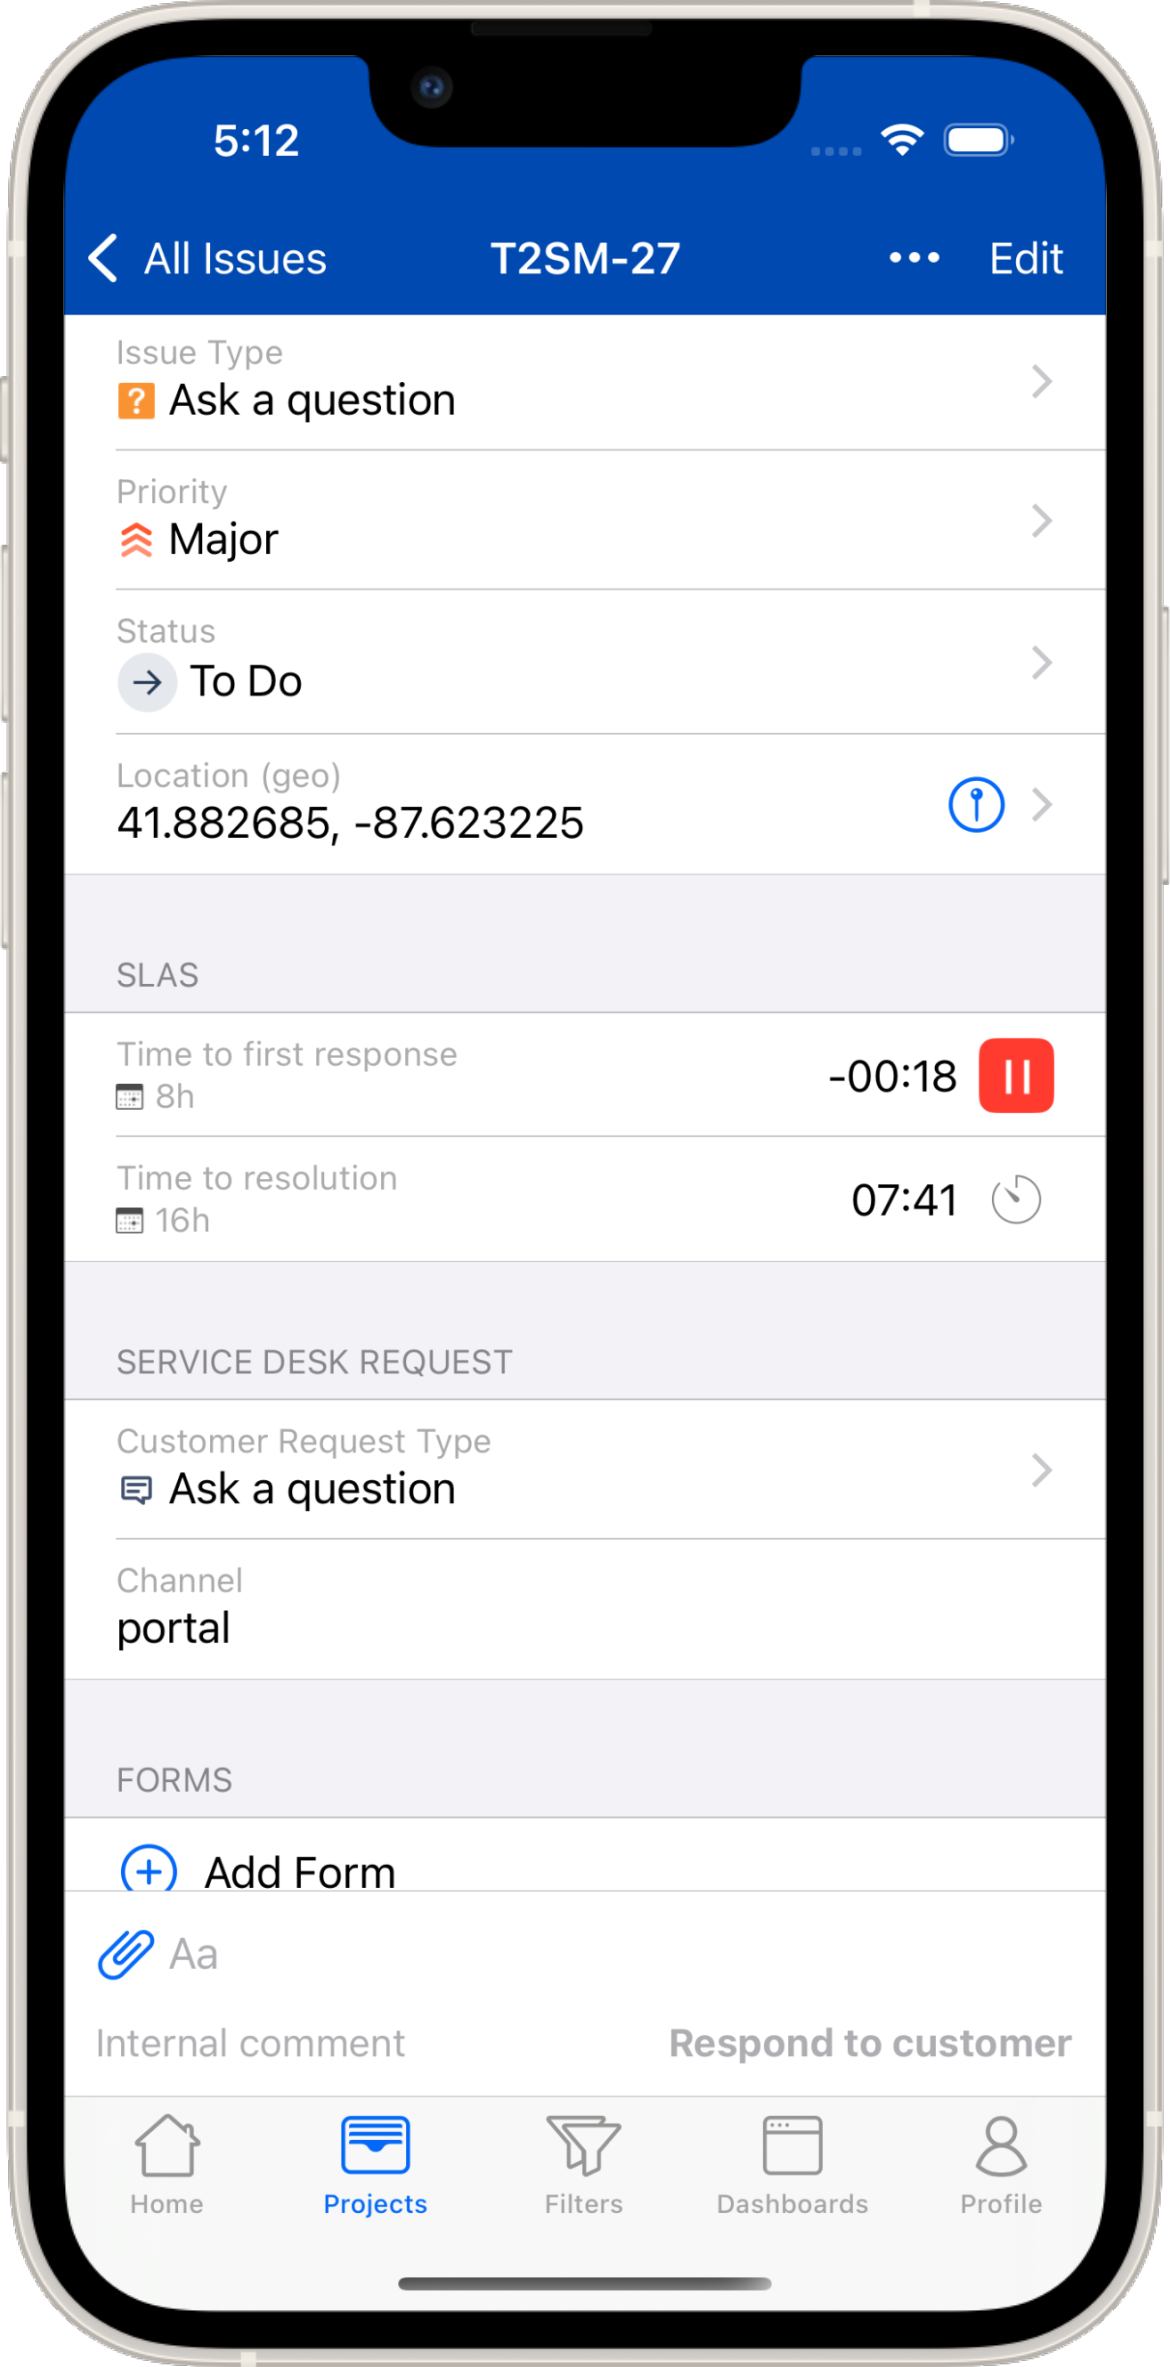
A Location Pin is displayed if a field contains location data
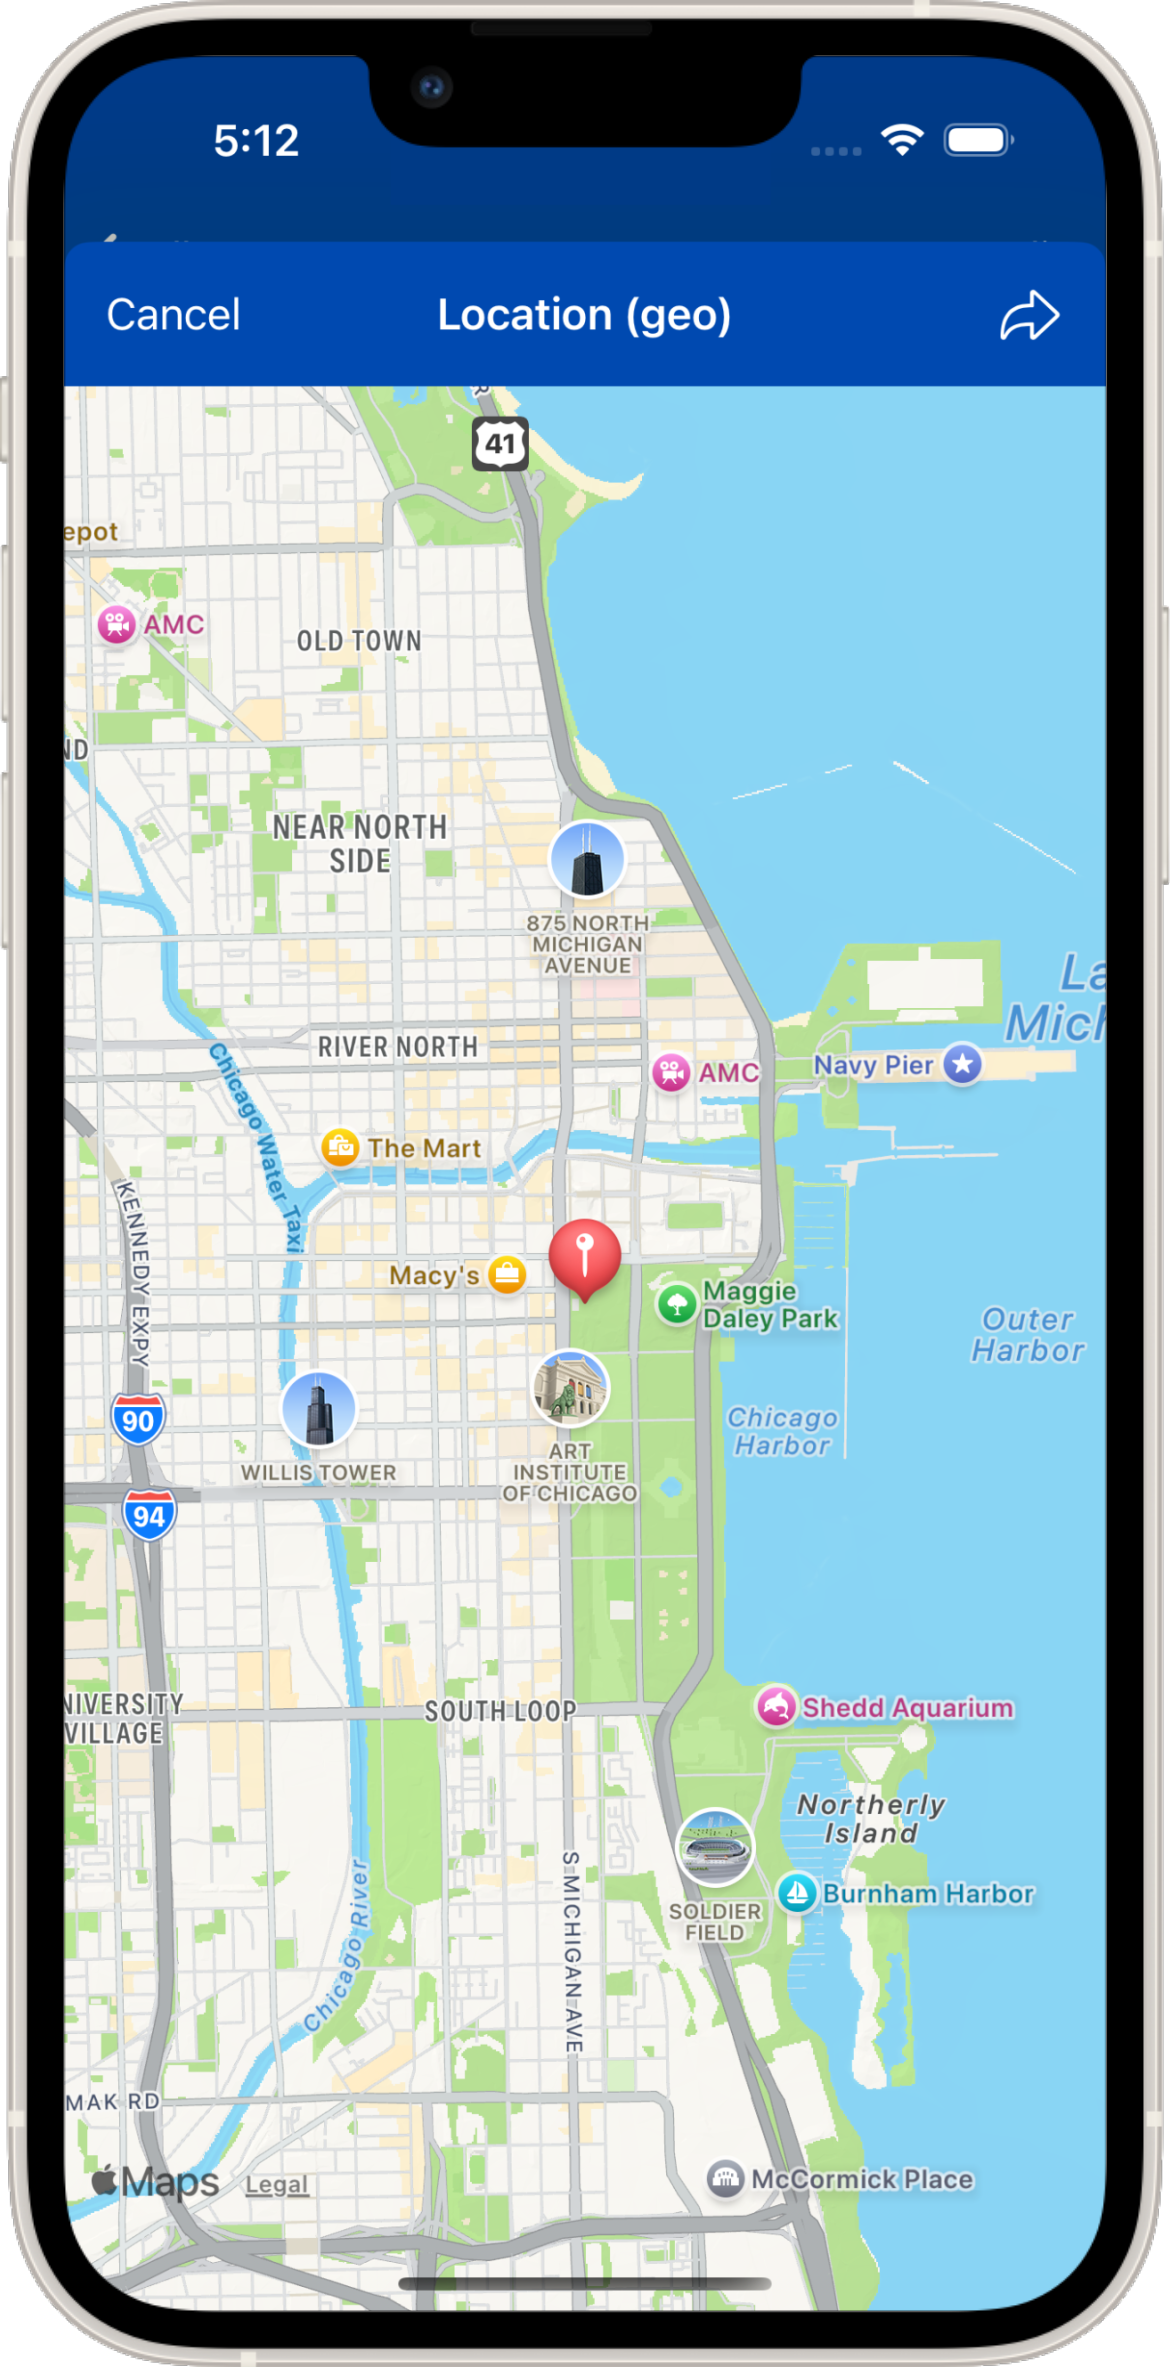
The location is displayed on a map and can be shared with another mapping application
Similar functionality is available for Jira Assets as well as within our Mobility for Jira - Portal app.
