Jira Add-On Configuration
The Jira add-on allows an administrator to control some features that affect the add-on's behavior. Most configuration options are available from the add-on's Configuration screen.
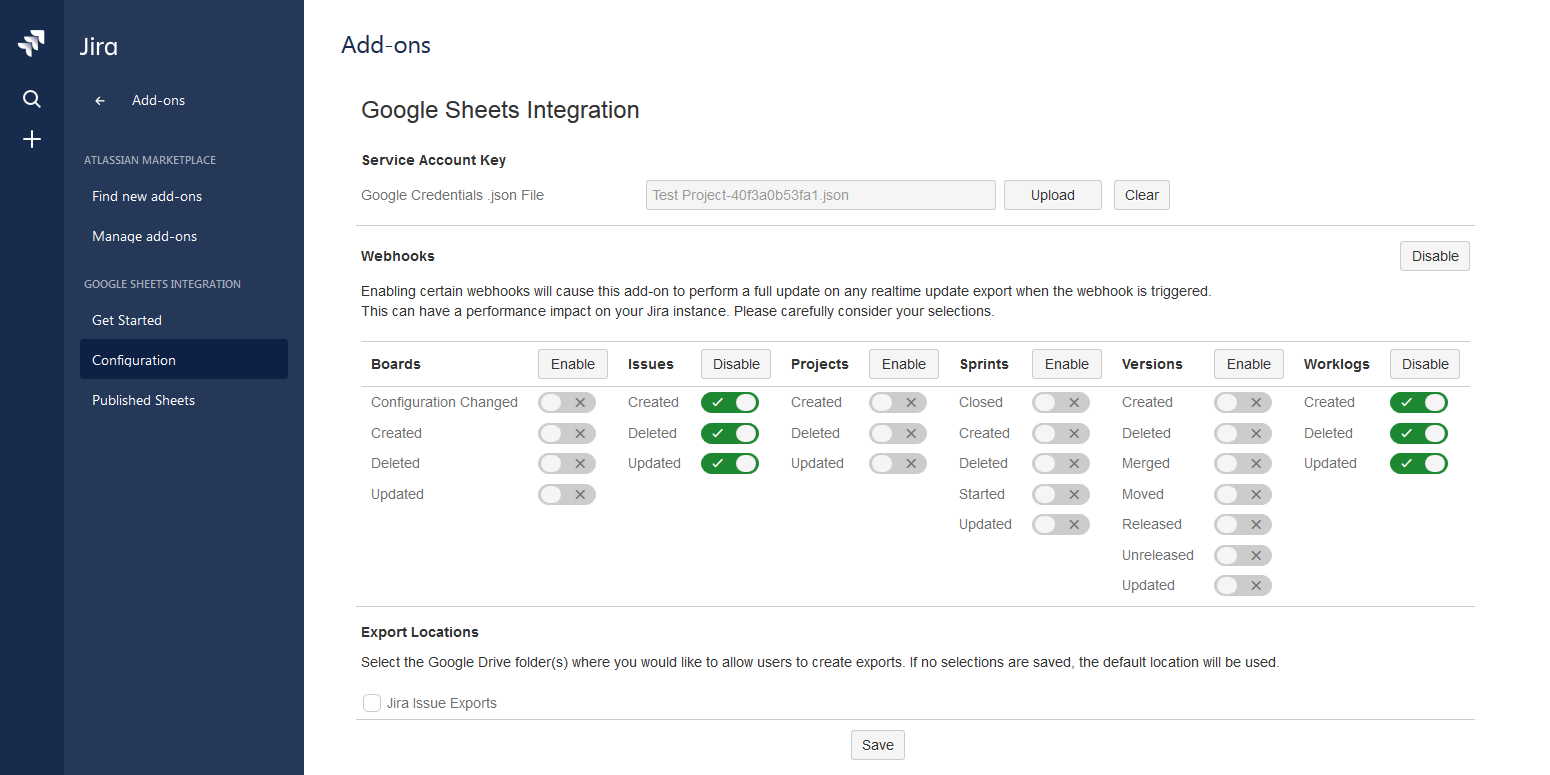
Webhooks
This section of the Configuration screen allows an administrator to toggle which Jira events will trigger updates to real-time update Google Sheets. By default, only issue- and worklog-related events are enabled. Most administrators find that the default configuration meets their needs, but there are cases where you may want to enable other webhooks. For instance, if you have an export that should update when a sprint is closed, an administrator would enable the "Sprint Closed" webhook so that your export is updated when the sprint is closed. It is also possible to disable all webhooks if you need to quickly stop updates to all of your sheets.

Toggle webhooks as necessary for your goals, and click the Save button to save your new selections. This change takes effect immediately for all sheets.
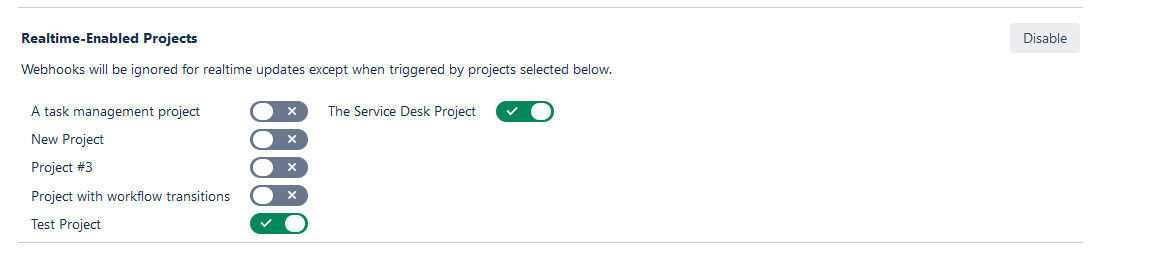
Realtime-Enabled Projects
This section allows an administrator to define which projects' Jira events will trigger updates to real-time update Google Sheets. By default, every project is enabled. Administrators may find that some projects do not need to update Google Sheets, and disabling those projects here may provide a performance benefit. Jira events fired from issues in projects that are not enabled here, will be ignored. Note that this section and the Jira Add-On Configuration#Webhooks section work together; the add-on will only process enabled events on realtime-enabled projects. Users are still able to export issues from projects that are not enabled here, but changes to issues in those projects will not trigger real-time updates, even if the sheet itself is realtime-enabled.
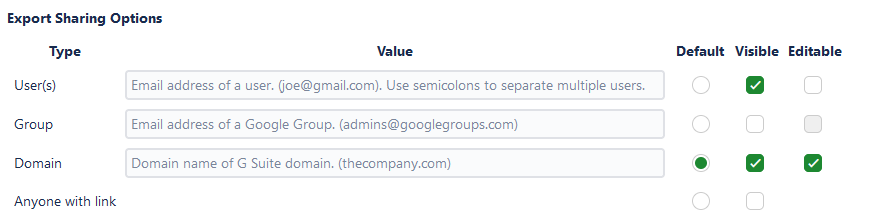
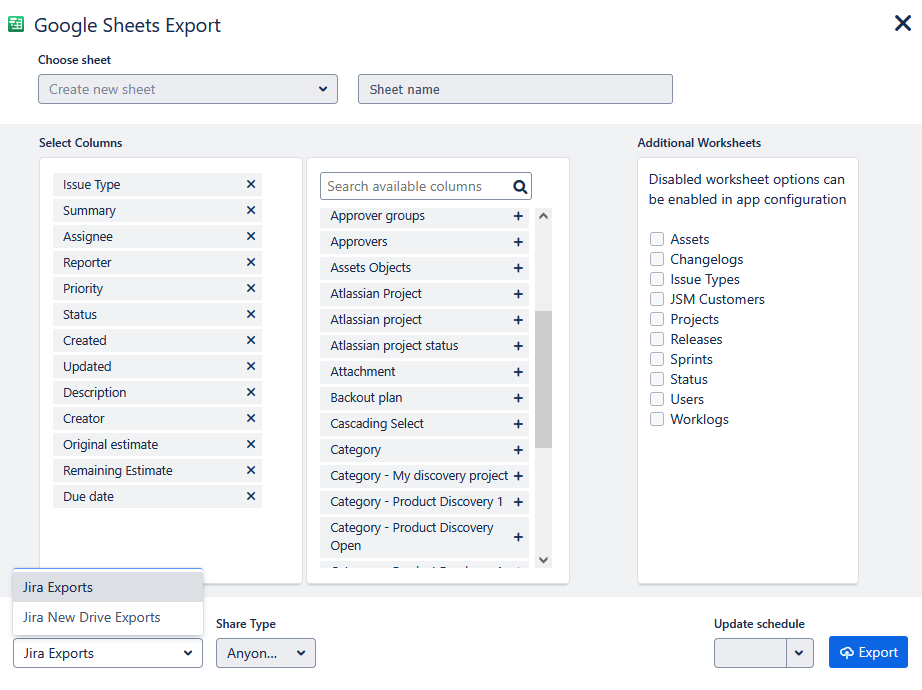
Export Sharing Options
This section allows an administrator to define the export sharing options available to users when they export data from Jira. If this section is not configured, all exports will be viewable by any user with a link to the export by default. To change this, tick the appropriate radio button and checkboxes to configure which options will appear in the drop down on the Export screen, and whether the value for each option is editable. Click the Save Configuration button at the bottom of the screen when you are finished. Note: The Default option will be pre-selected for the user on the Export screen, but the user can still choose another sharing option if there are other visible options. Also, the Default option will be used by the Restore Default Sharing feature on the Published Sheets screen.
Issue Key Link
This section allows an administrator to define the hyperlink for issue keys displayed in exports. The default value is View Issue, so that clicking on an issue key in an export will take the user to that issue's View Issue screen in Jira. An administrator can choose the alternative Edit Issue option to load the Edit Issue screen in Jira, or define a custom hyperlink.

Issue Export Limit
This section allows an administrator to set a limit on the number of issues that can be exported to a single sheet. Since larger sheets take more time and resources to generate and update, limiting the number of issues in the sheets can help improve performance. The default limit matches your Jira instance's setting (jira.search.views.max.limit in Jira Server or Data Center, or 1,000 in Jira Cloud). To allow an unlimited number of issues, set this value to -1. Any limit set here applies to all exports created by the add-on.

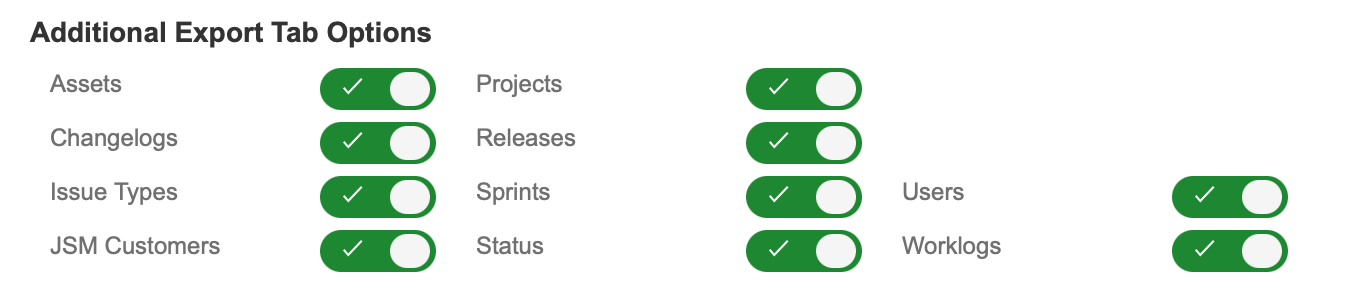
Additional Export Tab Options
This section allows an administrator to expose additional data export options for users to select on the Export screen. If any options are enabled here, a "Additional Export Tabs" item will appear on the Export screen, giving the user the option to export additional data to their sheet.
Export Locations
This section allows an administrator to define Google Drive folders and Google Shared Drive folders where users can store their exports. If this section is not configured, all exports will be stored your in Service Account's default location, if the Service Account has storage available. Service Accounts created after April 15, 2025 are not given any storage and must use Shared Drives and folders. To define which folders users may store their exports in, perform the steps below.
Create Shared Drives
This step is only necessary if you are using a new Service Account created after April 15, 2025. Service Accounts created after this date are not given any storage by Google, and must use Shared Drives instead. If you are using an older Service Account, or have already created a shared drive for your Service Account to use, skip to the Create Folders step.
Go to https://drive.google.com/ and sign in with the Google account associated with your organization.
Right-click on Shared drives on the left and select New Shared drive...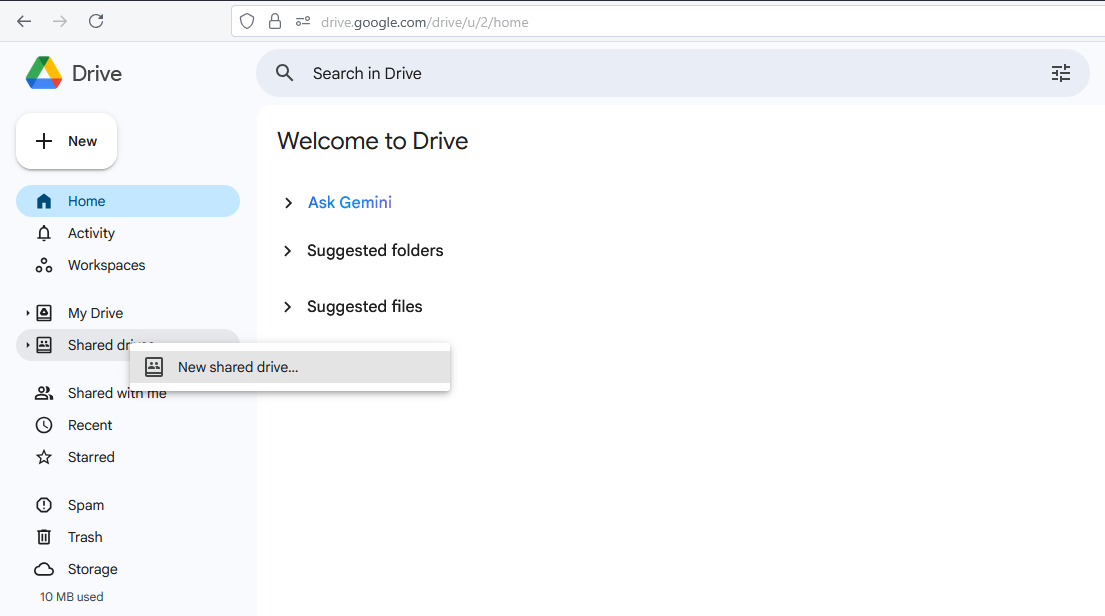
Enter the name of your new shared drive and click the Create button.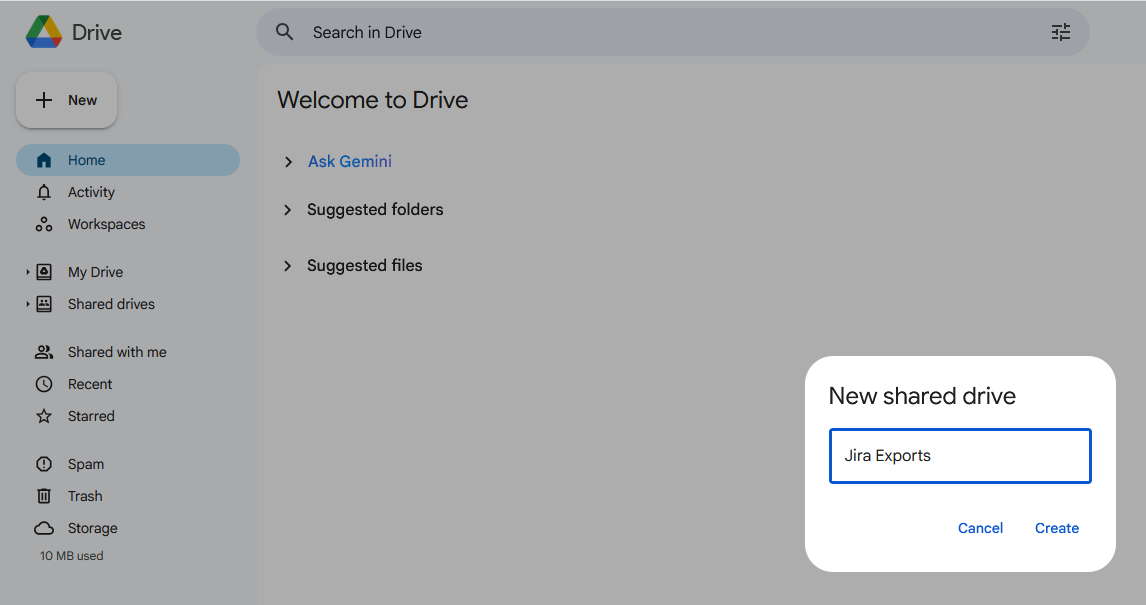
Create Folders
If you have not already created the folders you want to use, create them in Google Drive or a Shared Drive (formerly Team Drive). If you have already created the folders, skip to the Folder Sharing step.
Go to https://drive.google.com/ and sign in with your Google account.
Right-click on My Drive on the left (or Shared Drives, if using Shared Drives), and select New Folder.
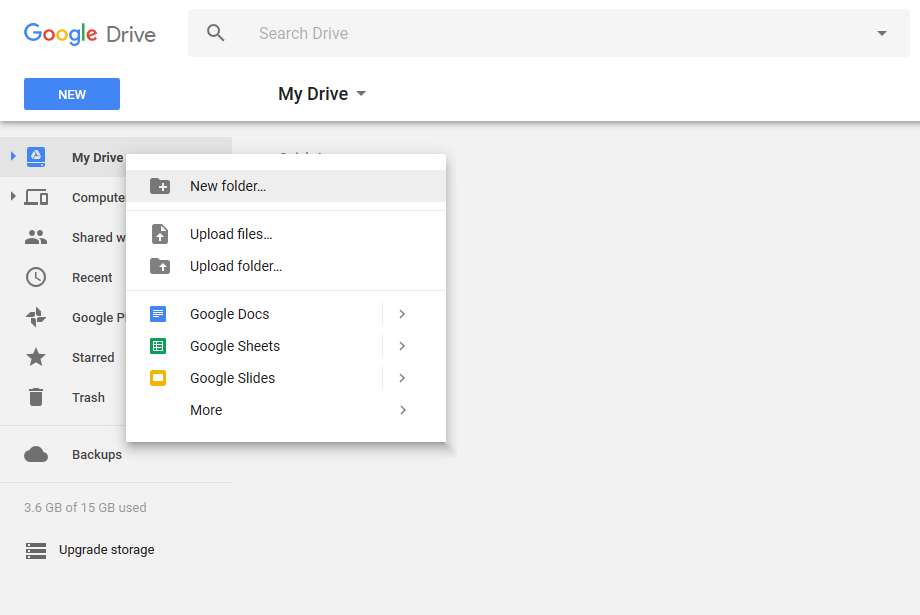
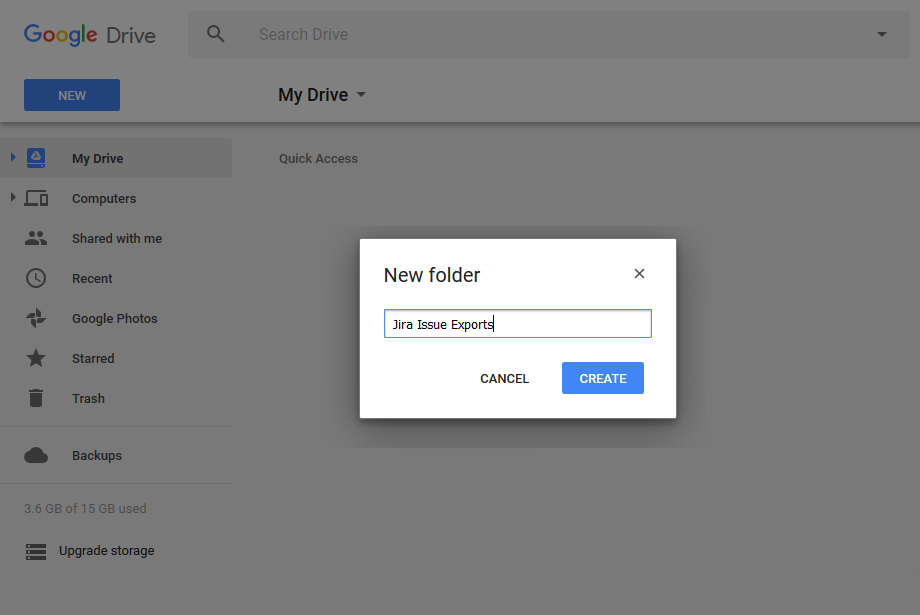
Enter the name of your new folder and click the Create button.
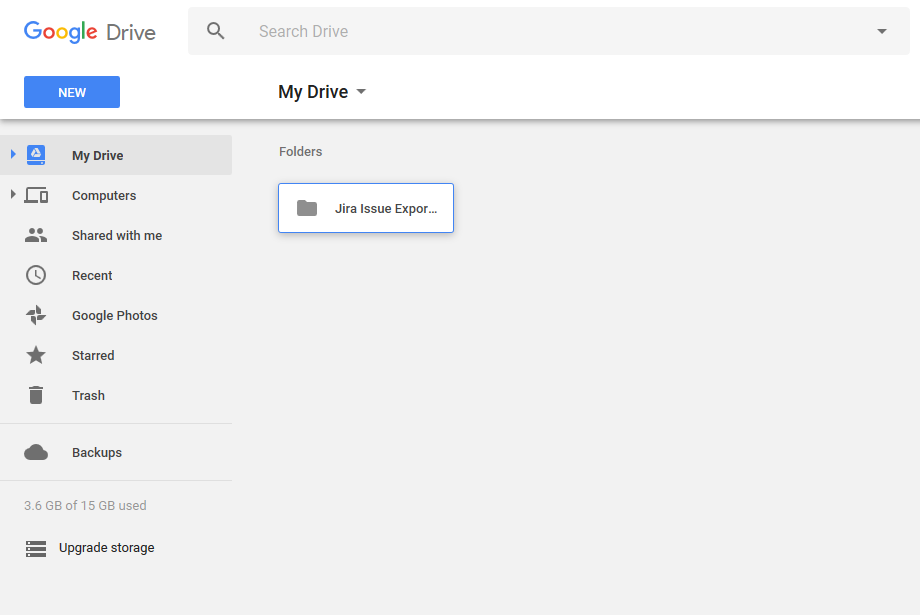
Repeat this process as many times as necessary to create your folders.
Share Google Drive Folders with Service Account
Each folder you want to use will need to be shared with the Service Account you are using for the add-on.
If you have not done so already, go to https://drive.google.com/ and sign in with your Google account.
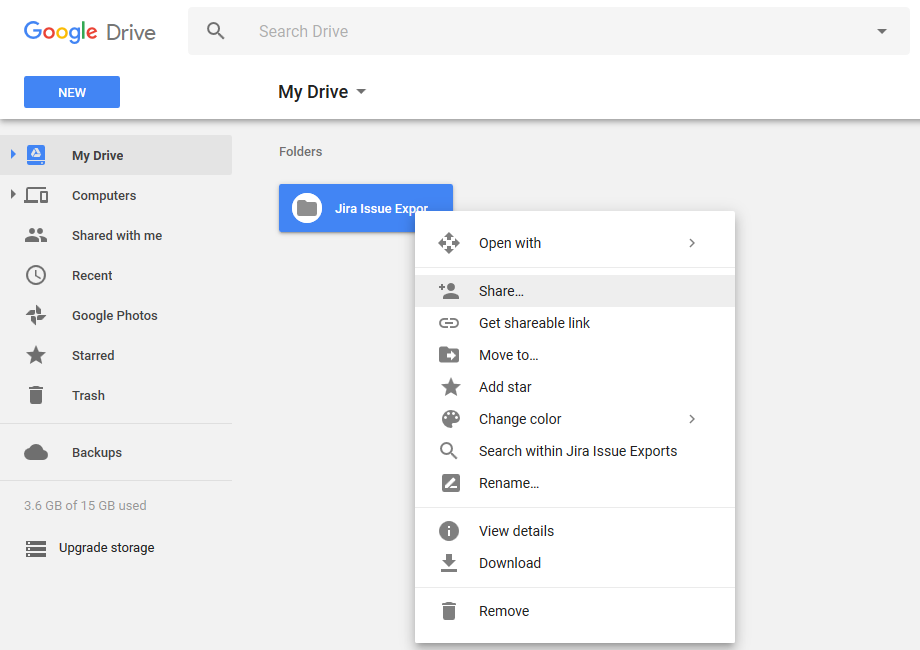
From your list of folders, right click on each folder you would like to share, and click the Share... item.
In the Share with others dialog that appears, enter the email address associated with your Service Account. If you are not sure what this address is, it can be found in your Service Account's credentials JSON file. Do not enter your own Google account address here.
When using shared drives, be sure to give the Service Account a Manager role in the drive or the shared folders within the drive. Without the Manager role, the Service Account will not be able to delete any Google Sheets exports it creates.
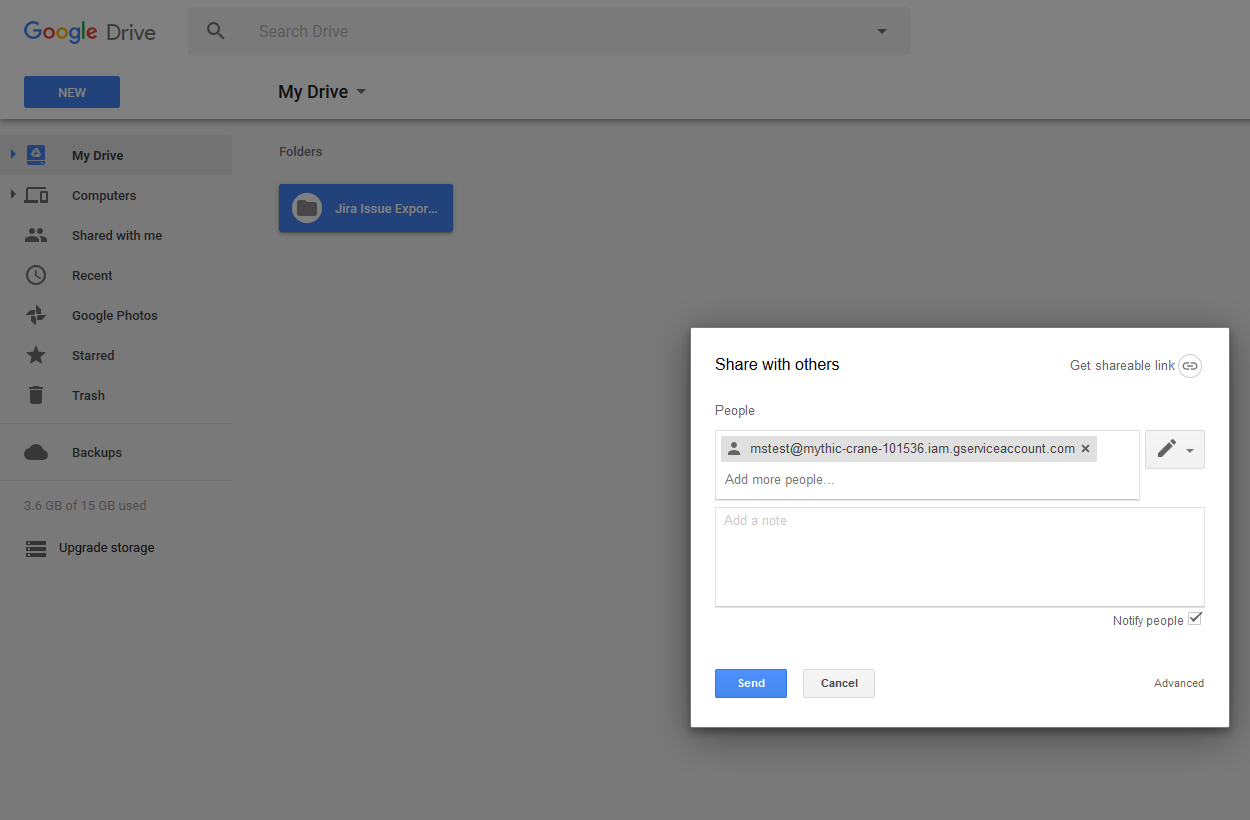
After entering your Service Account's email address, click the Send button. Repeat this process for all folders you want to use for storing exports.
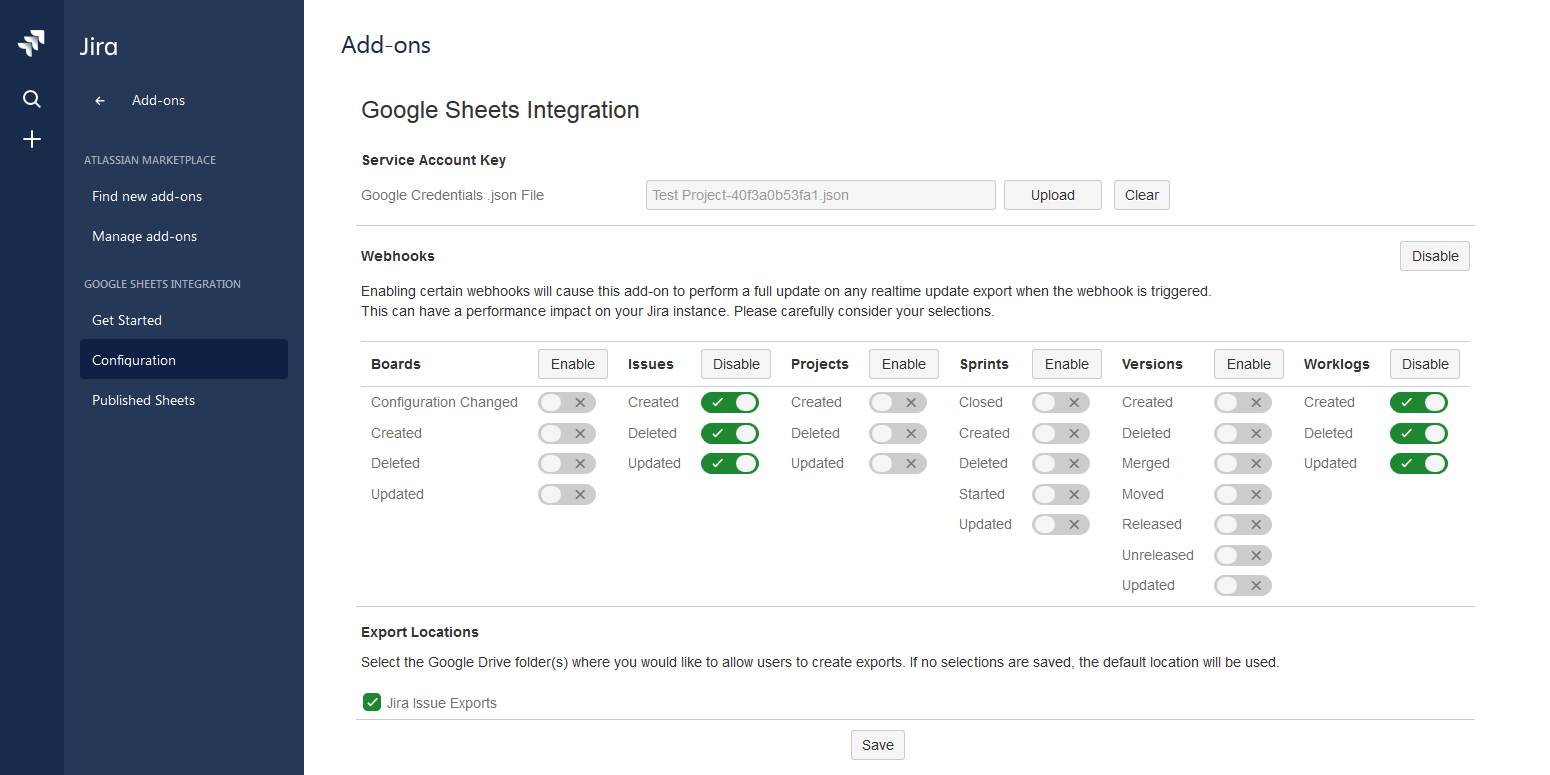
Choose Export Locations
Return to the add-on's Configuration screen, and refresh the screen if necessary. In the Export Locations section, you should now see your shared folders from the previous steps, with checkboxes next to them. Locations in Shared Drives will appear beneath the Shared Drive name.
If you do not see your folders, check to ensure the folders have been shared properly with your Google Service Account's email address. It may take a couple minutes for your sharing changes to take effect.
Check the box for each folder where users should be able to store their exports, and click the Save button to save your new selections.
After saving your Export Locations selections, users will see a new Folder item on the Export screen that, when clicked, will display a folder selection drop down with the folders you specified.
If a user does not pick a folder from this drop down when creating a new export, the export will be stored in the Service Account's default location, if the Service Account has storage. If the Service Account does not have storage, the user must pick a folder from the drop down.
Workflow Transition Post Function
Administrators may want to trigger sheet updates only when certain workflow transitions occur, instead of triggering updates every time an issue is created or edited. The add-on exposes a workflow transition post function to accomplish this goal. Since issue fields are typically edited during workflow transitions, we recommend you carefully consider your configuration of workflow transition post functions and how they may overlap with configured webhooks, since they present the possibility of firing multiple update events for a single change.
To configure a workflow transition that will call the post function, navigate to the workflow administration area by clicking on the Gear Icon in the top right, then selecting Issues and selecting Workflows on the left side.
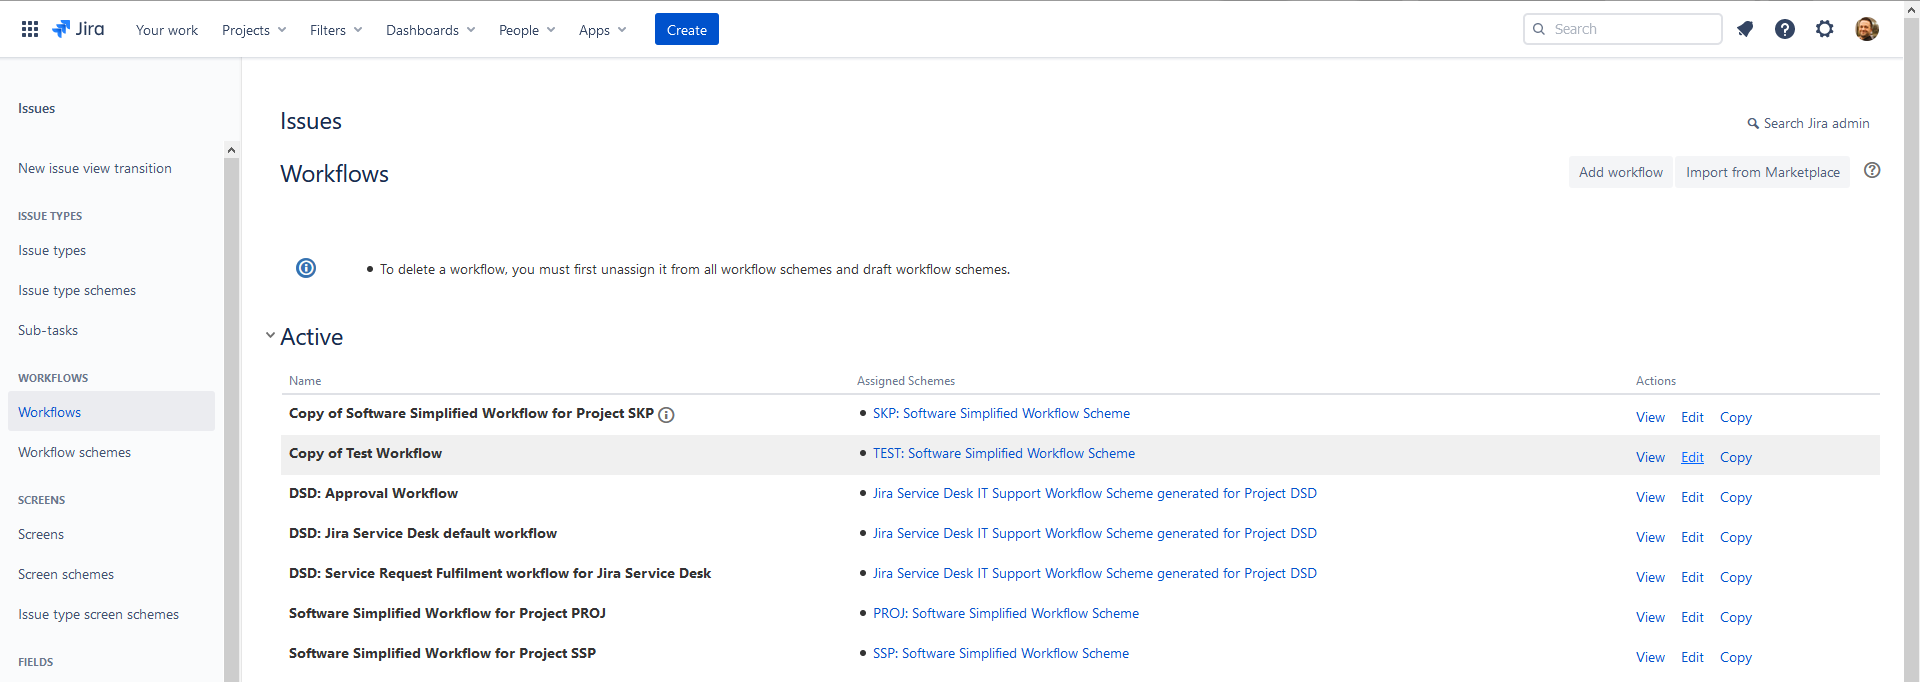
Find the workflow you want to configure, and click the Edit item for that workflow.
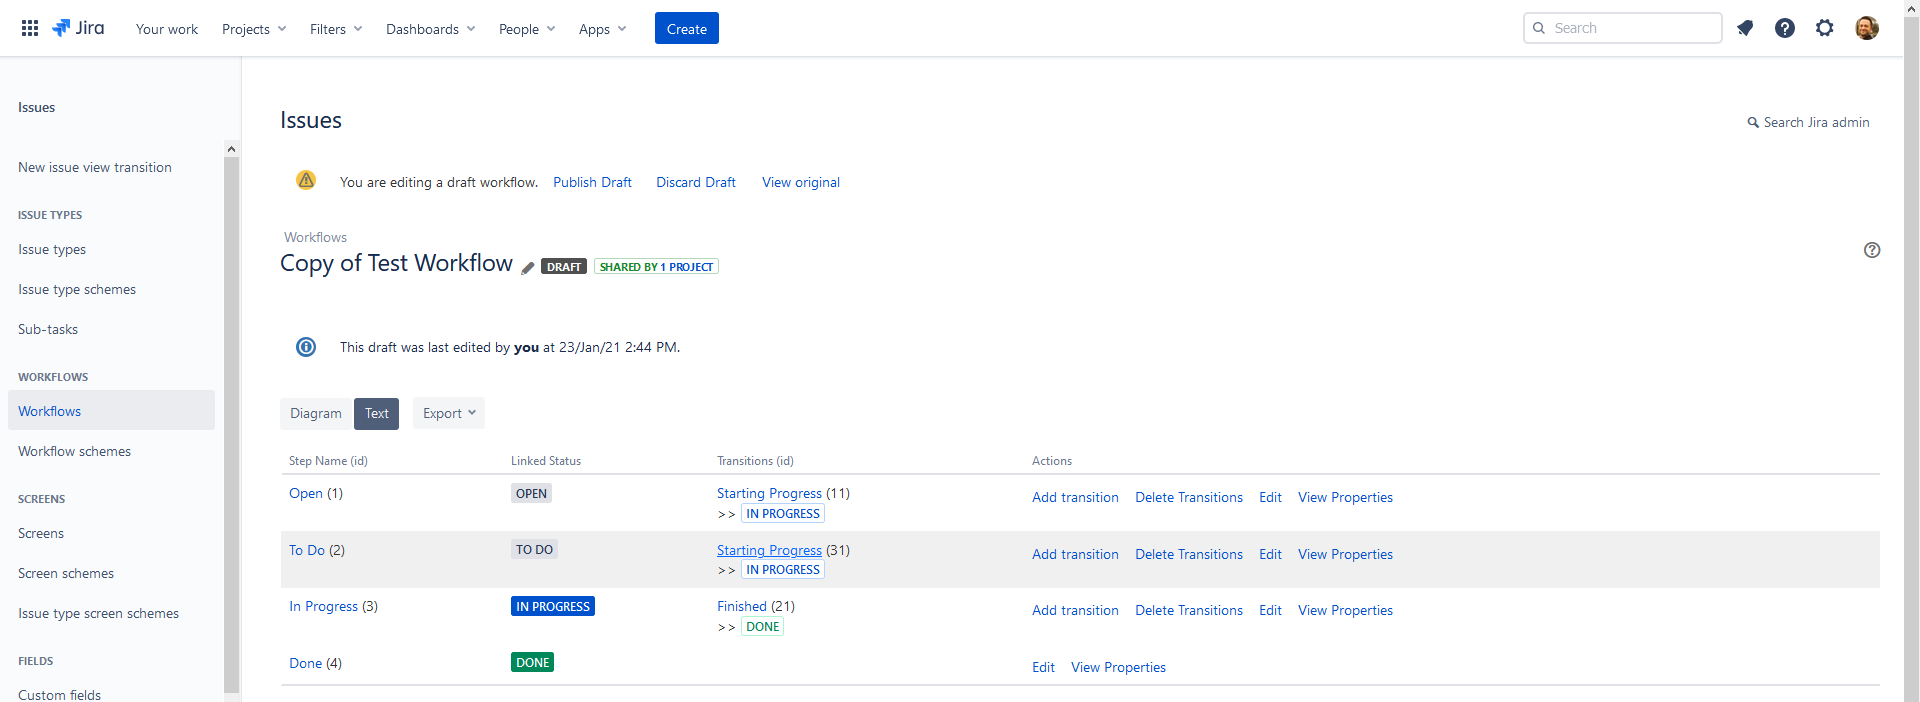
In the workflow edit screen, find the transition you want to configure, and click the transition's name in the Transitions (id) column.
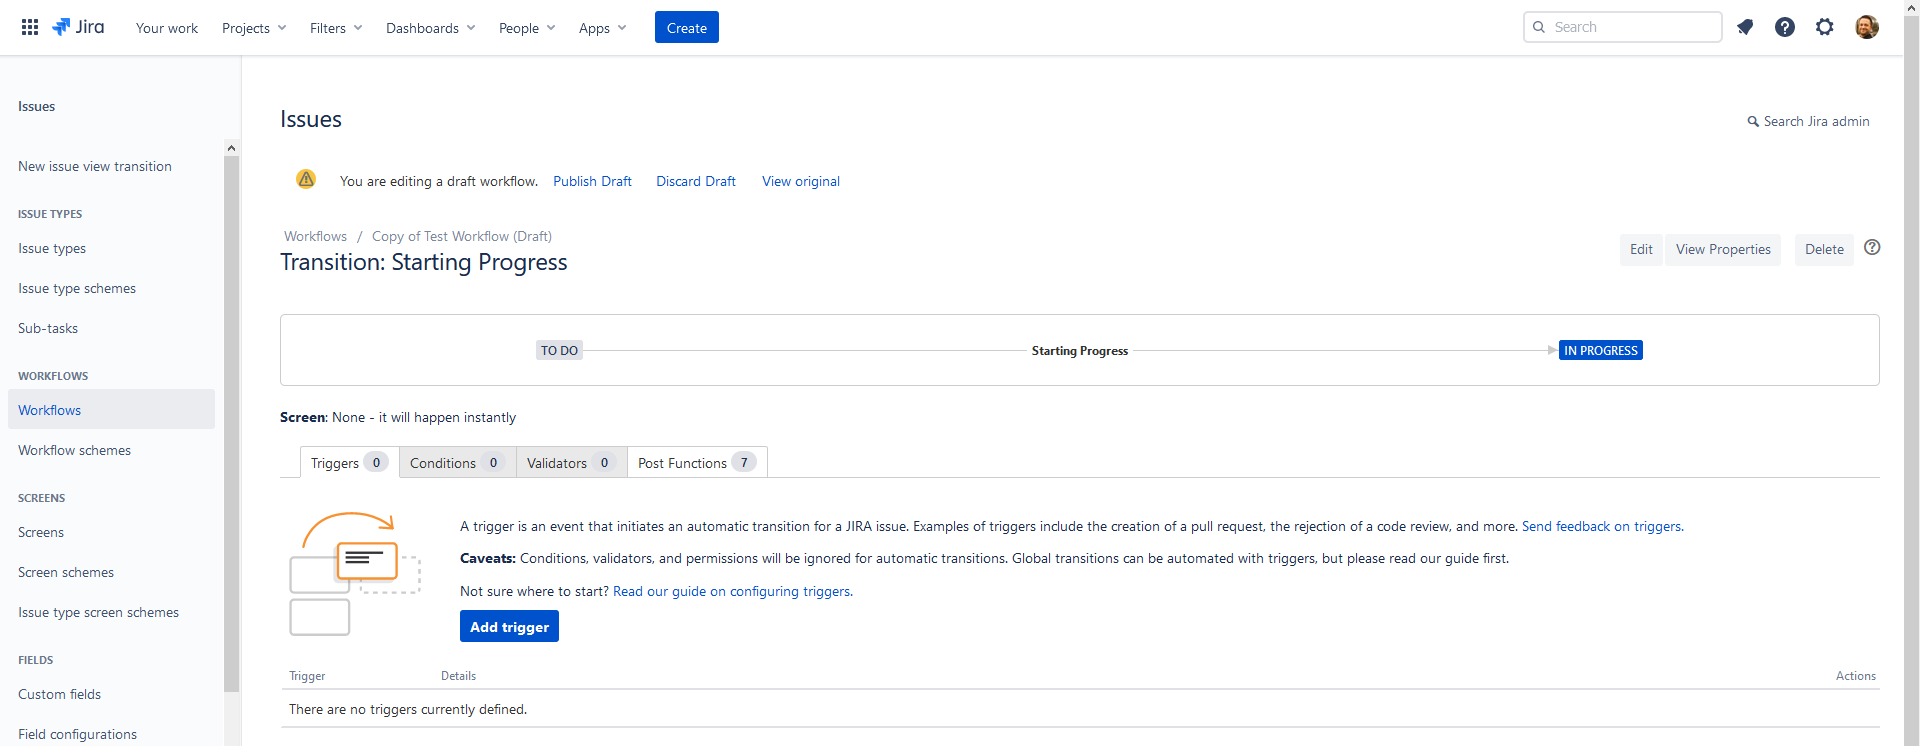
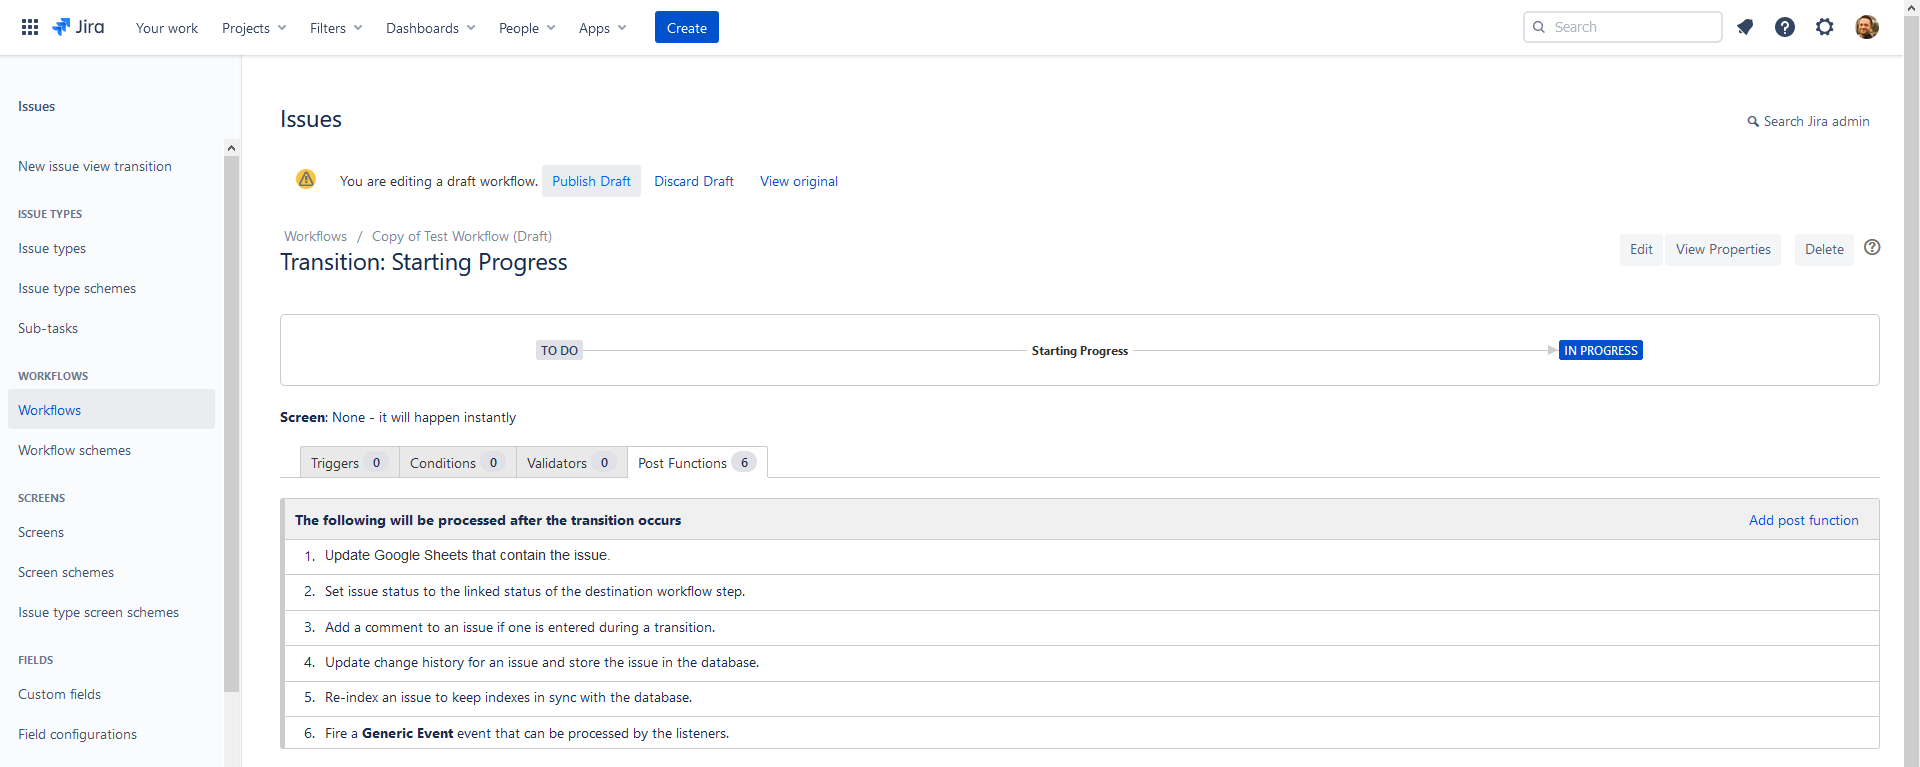
Click on the Post Functions tab for the transition, and then click Add post function.
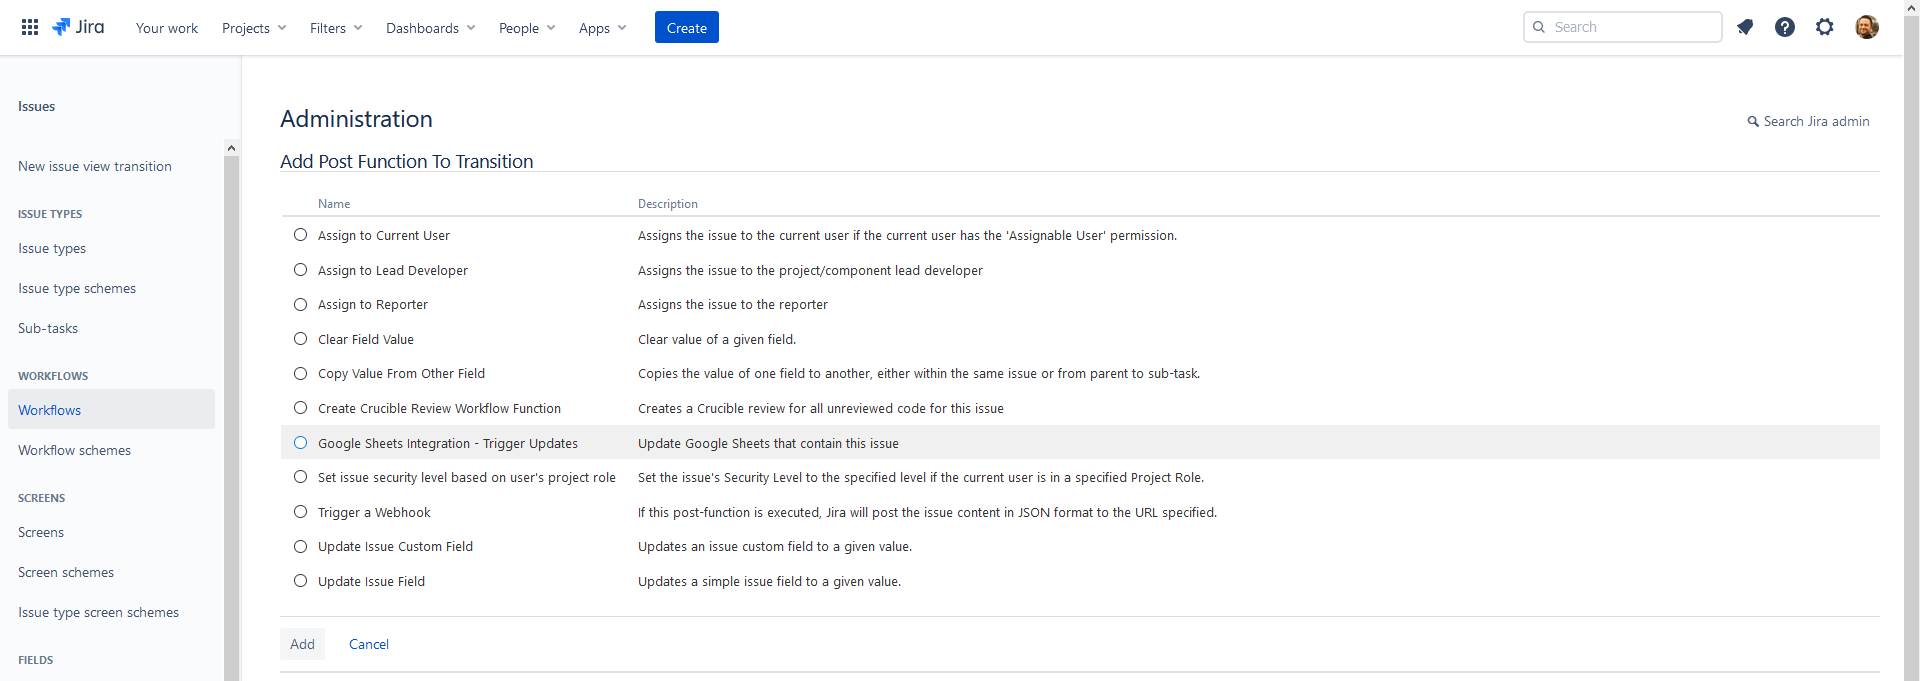
Find the Google Sheets Integration - Trigger Updates post function, and tick the radio button next to it, then click Add.
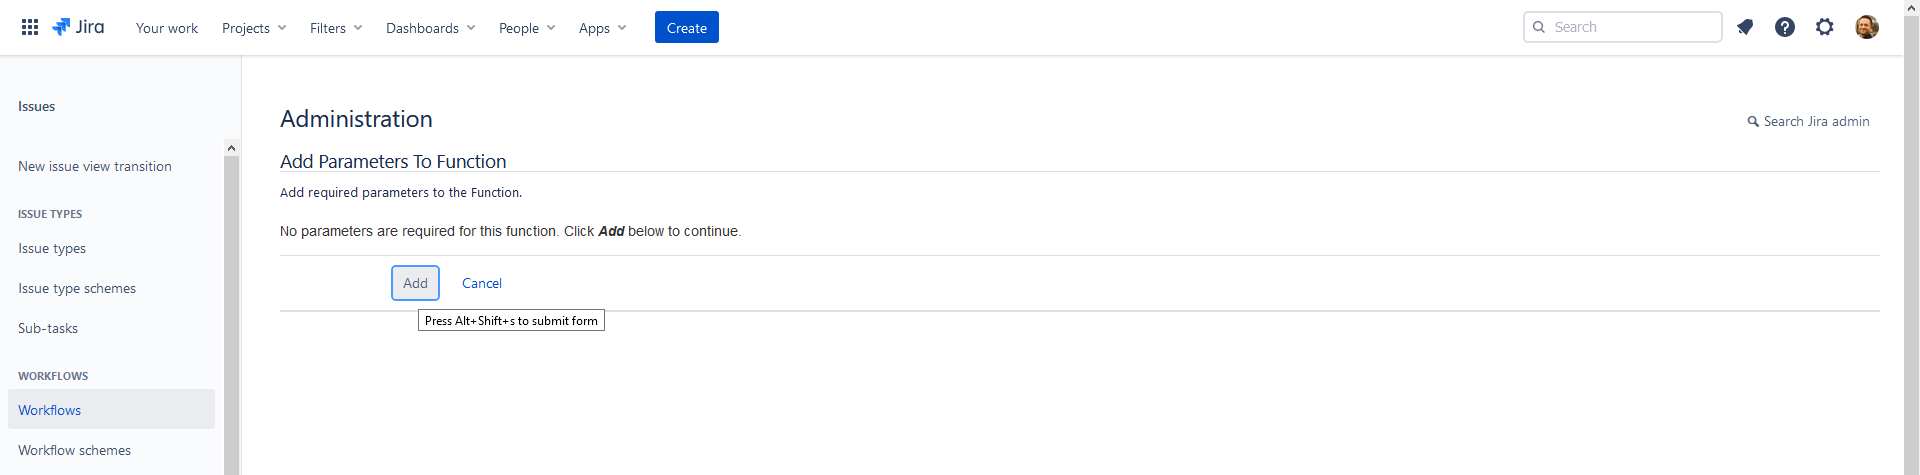
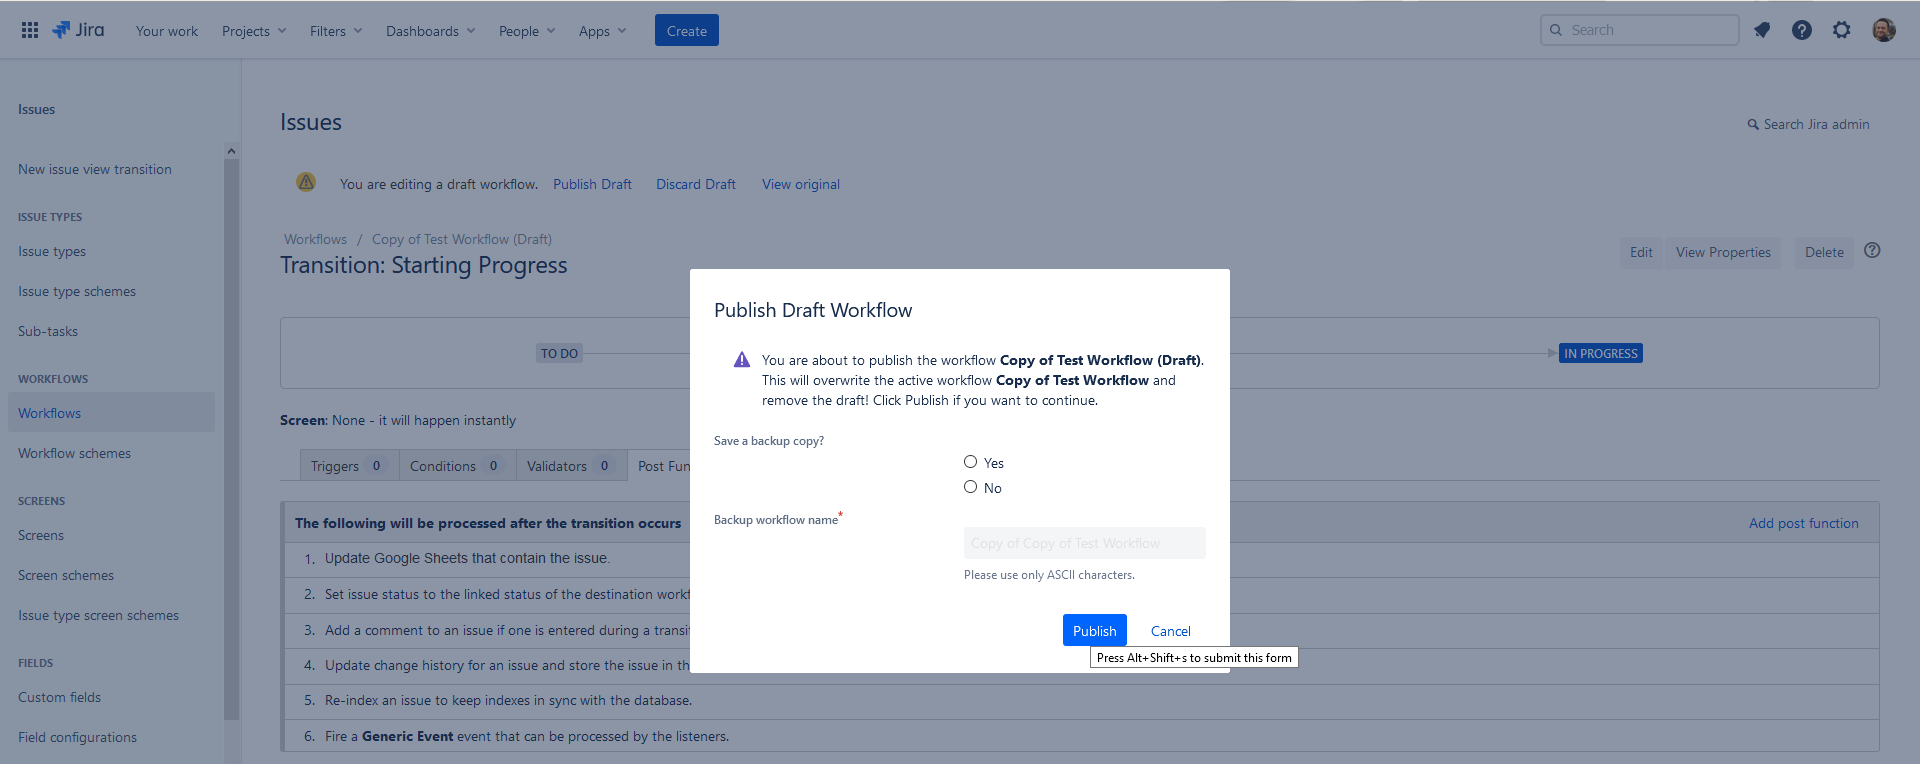
Click through the remaining screens as instructed. When you are finished making changes, click on the Publish Draft item at the top of the screen.
Complete the optional workflow backup steps and click Publish to finish your changes.