Jira Service Management
Mobility for Jira is specifically designed to provide strong support for Jira Service Management (JSM). This includes access to Agent functionality as well as mobile access to the JSM Portal.
If you are a JSM Client, you can use our Mobility for Jira - Portal app to access the JSM Portal. Find more information here.
Queues
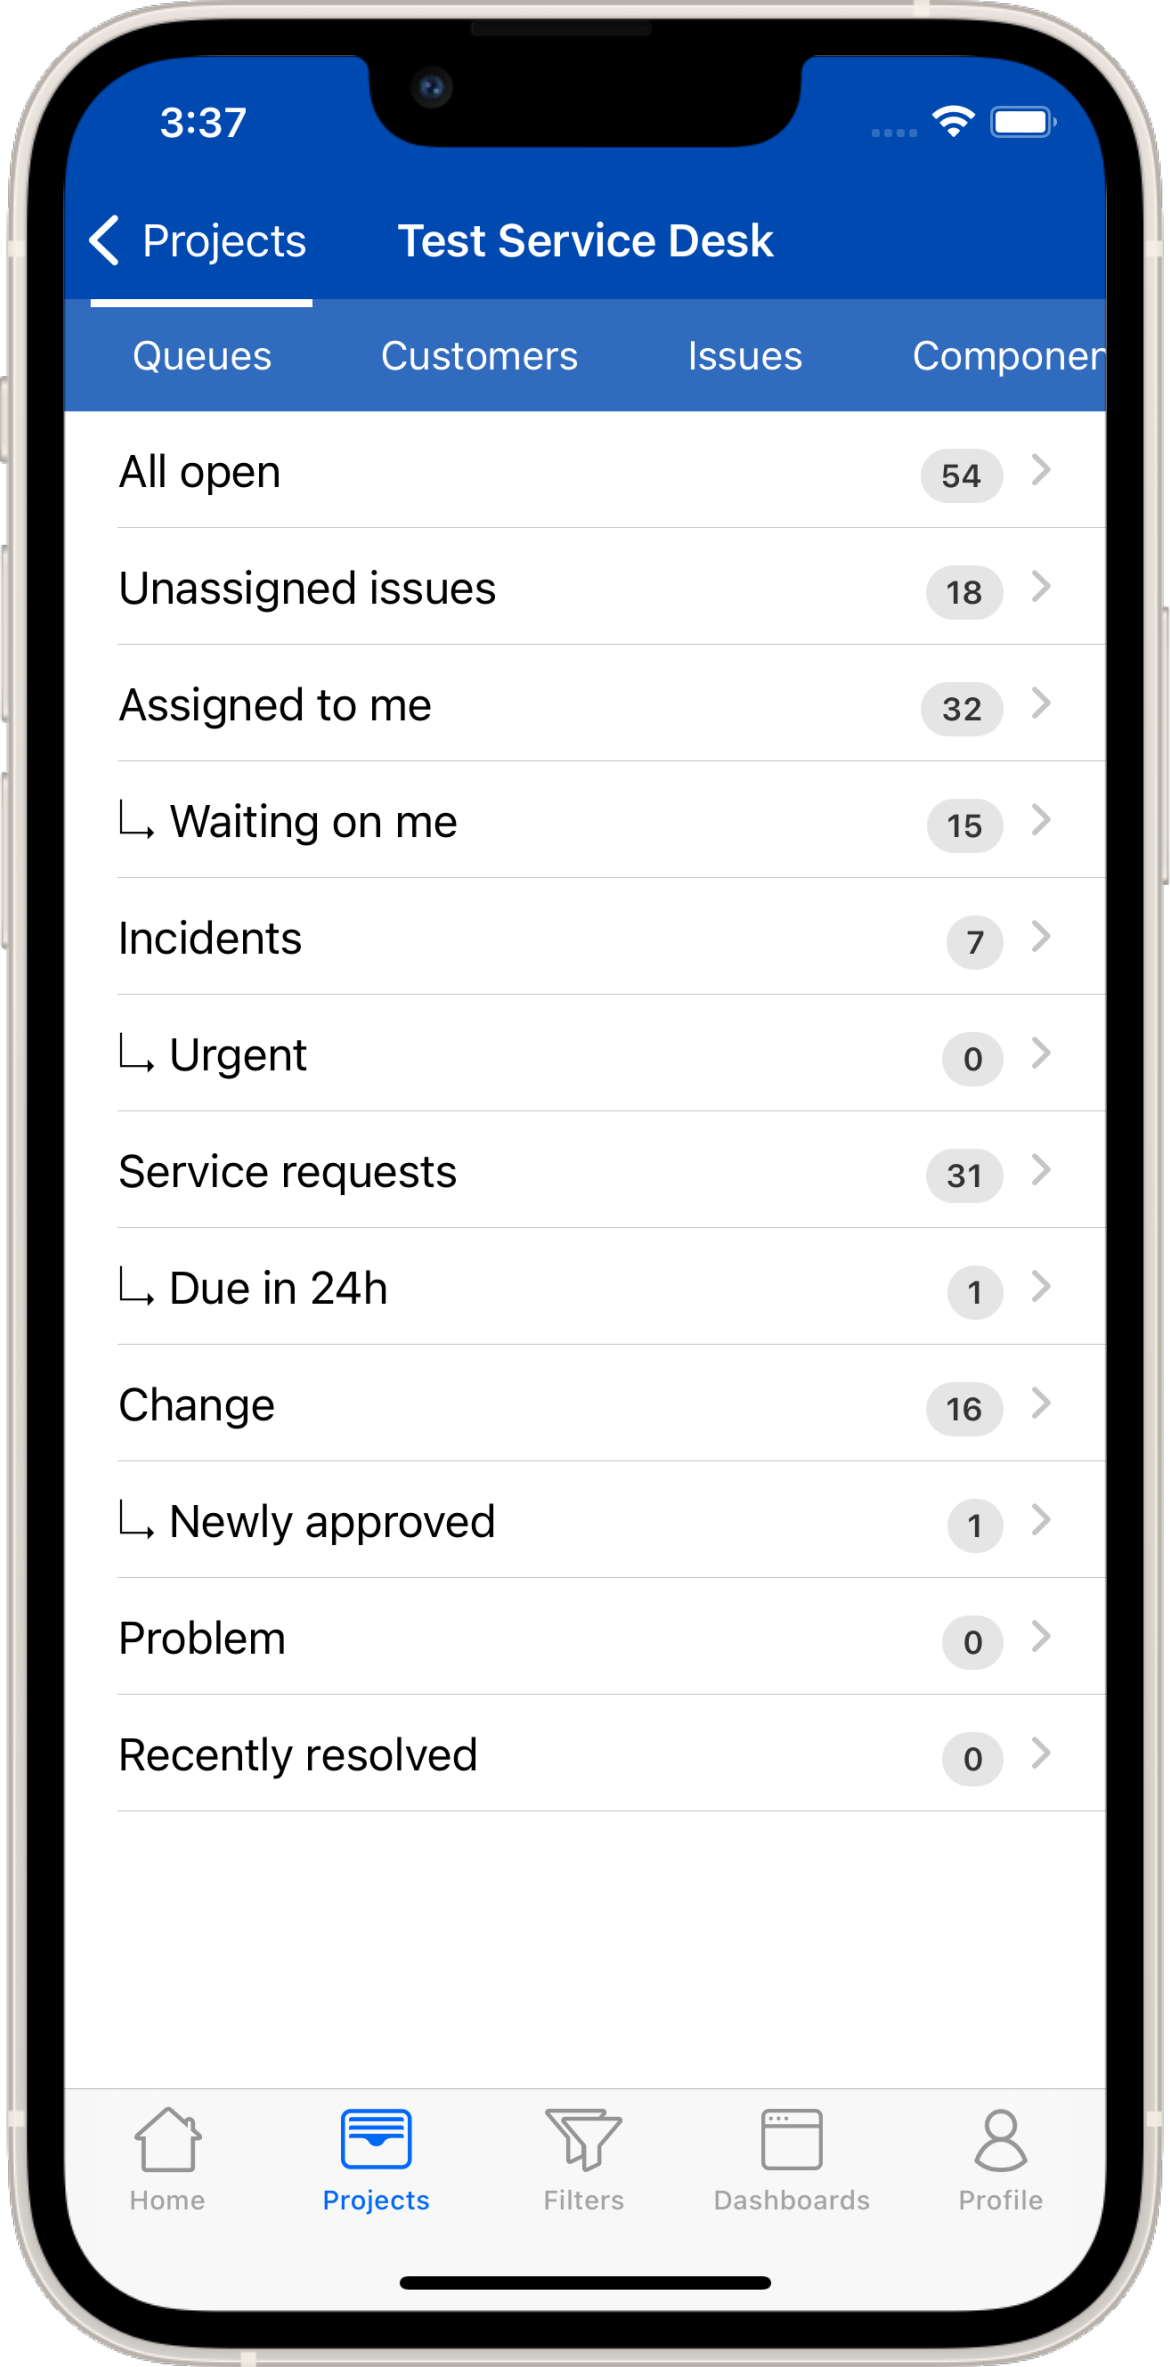
Queues are displayed as defined in the Jira web version. If you would like to add an additional queue, this needs to be done in the Jira web version but will show up immediately in Mobility for Jira. Since Mobility for Jira caches some of the data, the queue view may need to be pulled down to be refreshed. Each Queue shows the number of Jira issues it includes. Tapping a queue displays a issue list.
JSM Request
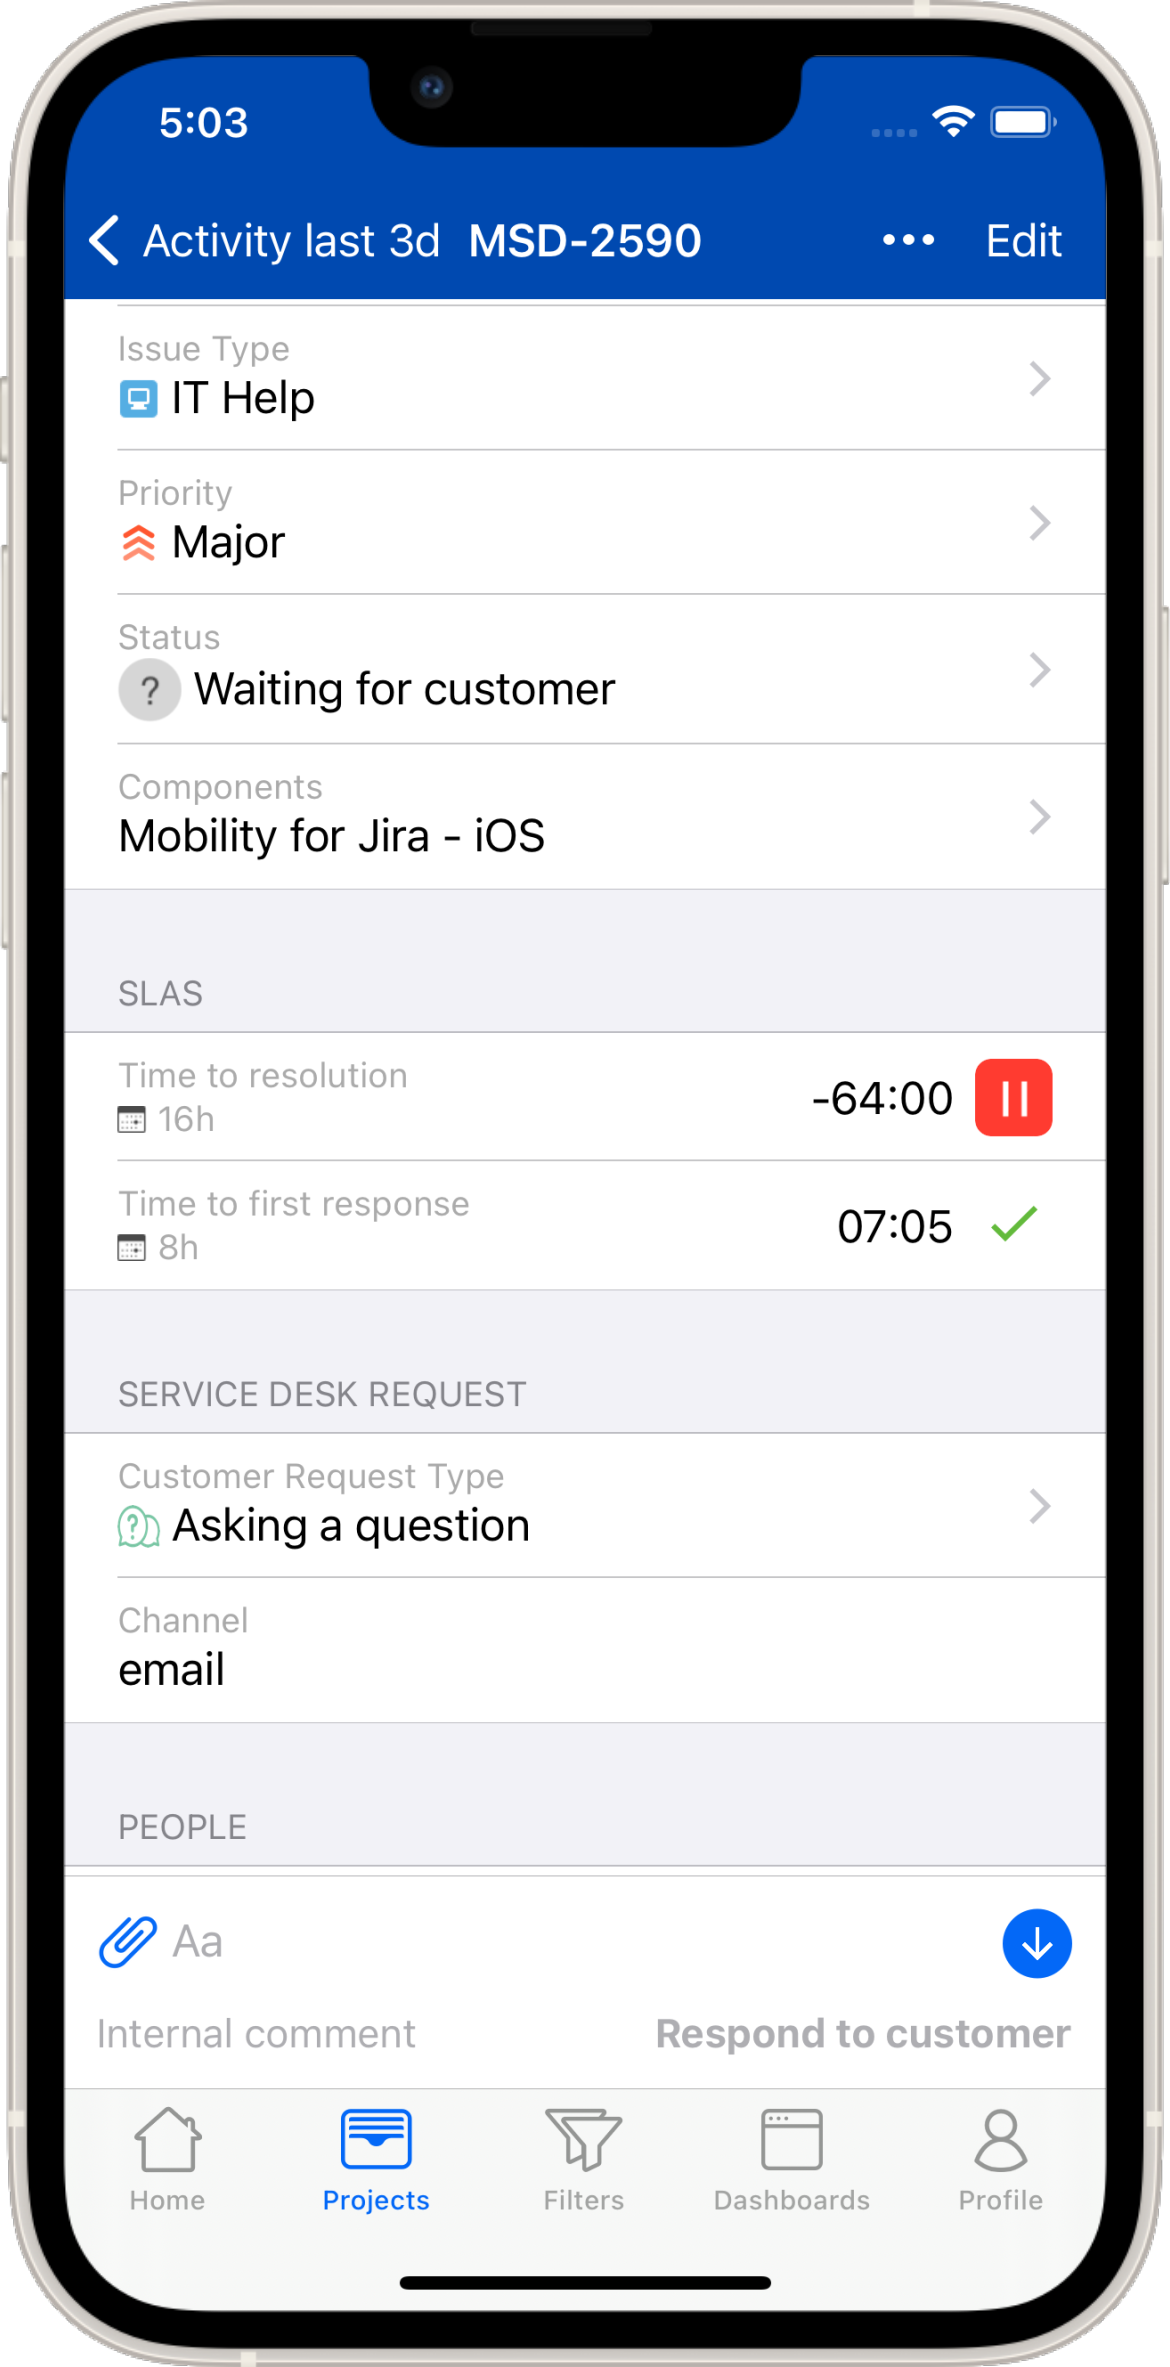
Jira issues for a JSM project include a section for SLAs and Service Management Request. The SLA section includes all SLAs for that specific issue. If you need to add additional SLAs you need to do this in Jira itself.
The JSM Request section includes a request type field. A request type can also be selected in Mobility for Jira. The channel field indicates through which channel the issue was reported. This field is not editable.
Approvals
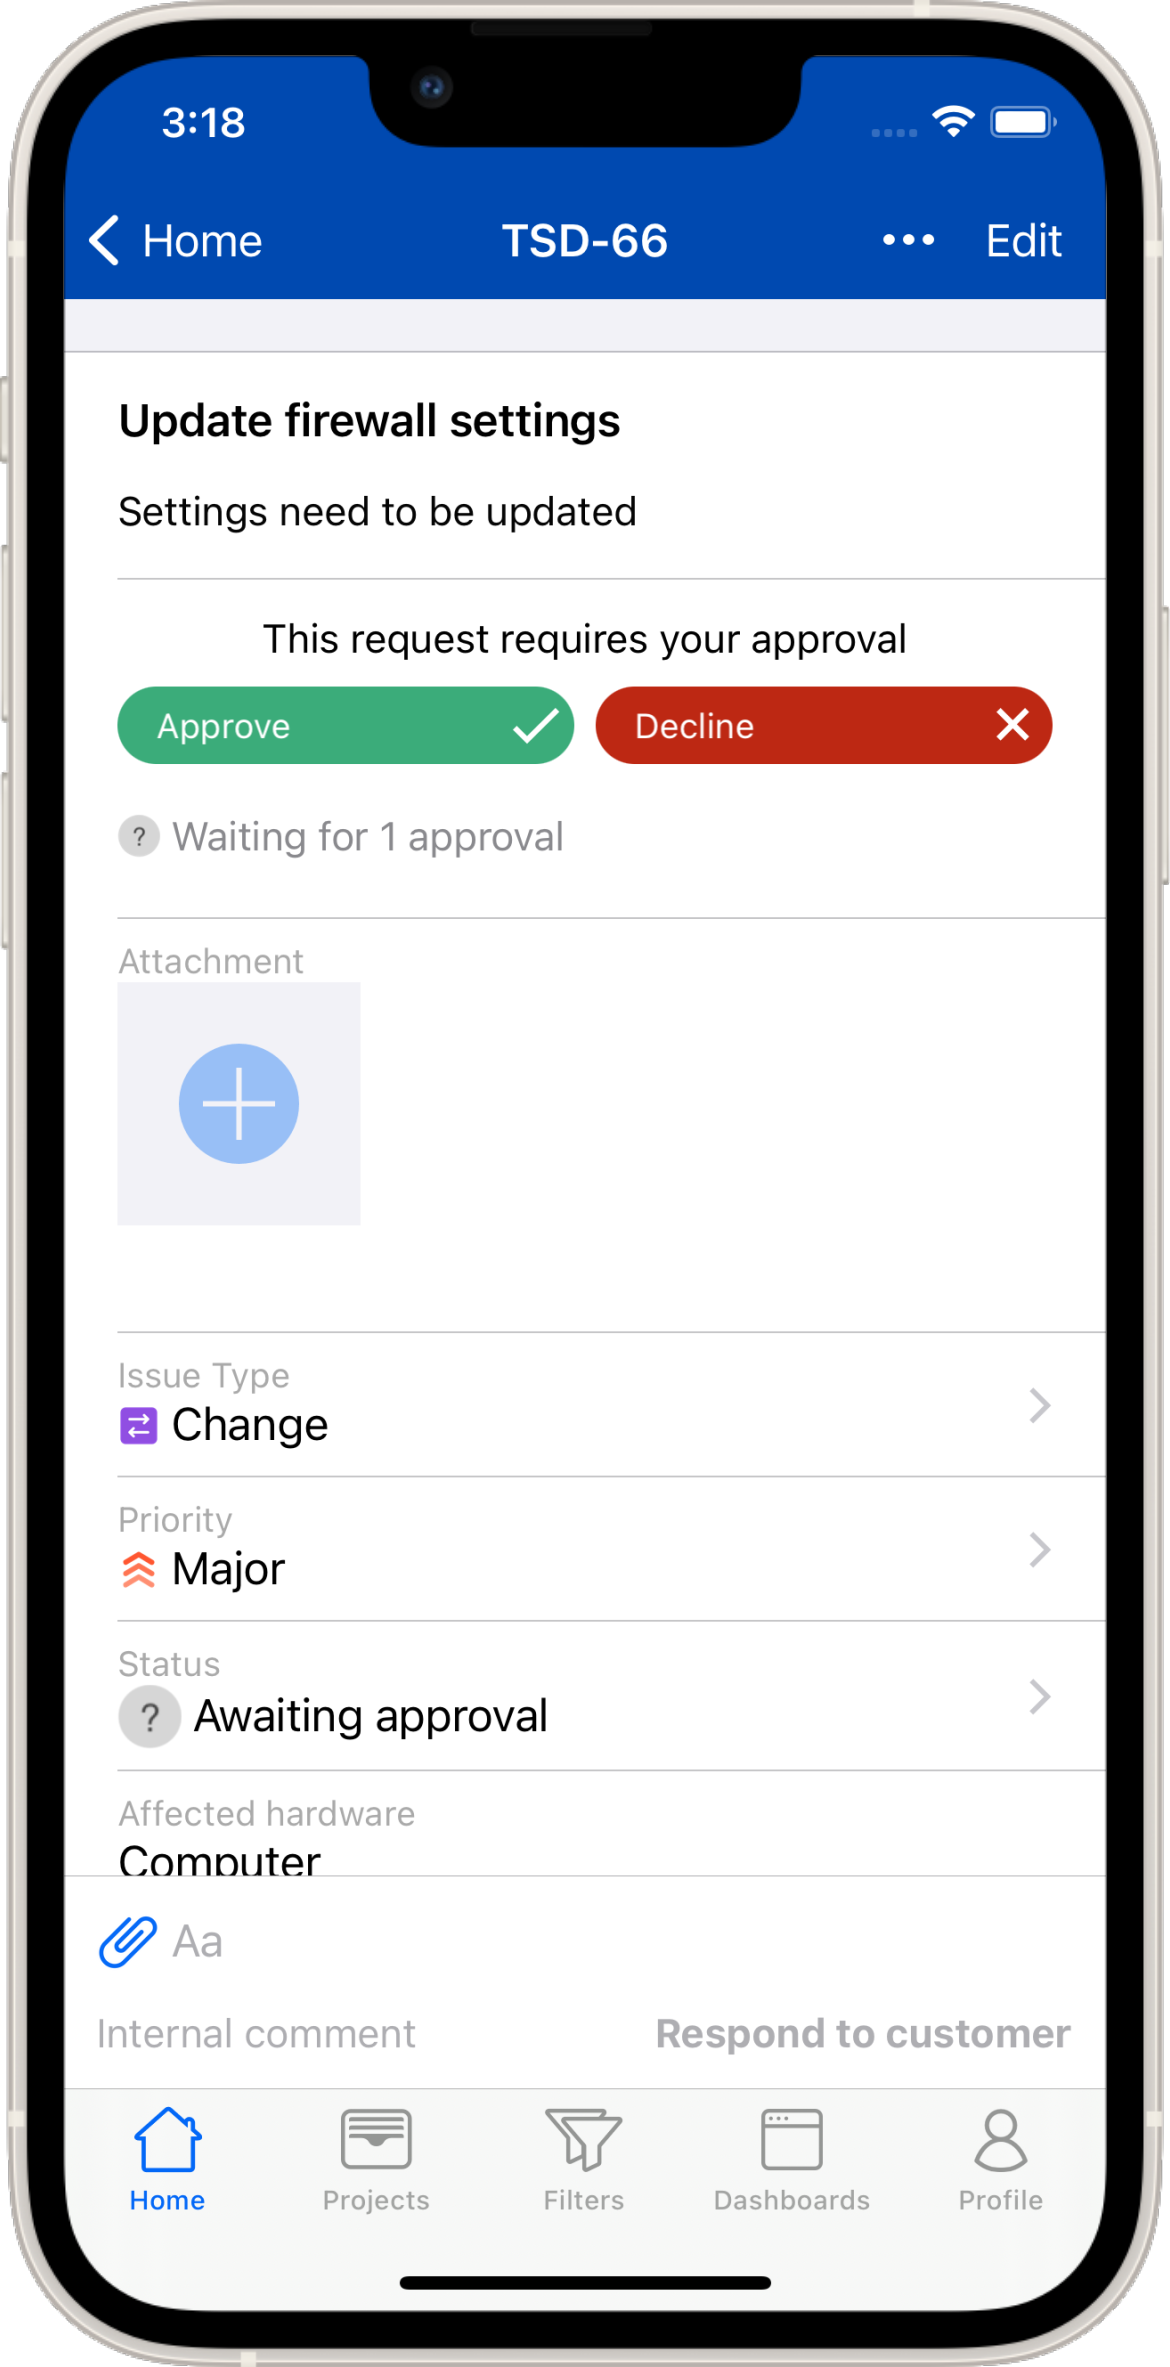
When you are the approver of a Jira issue, this will be indicated in the header section of an issue. You can simply press Approve or Decline directly on the notification buttons.
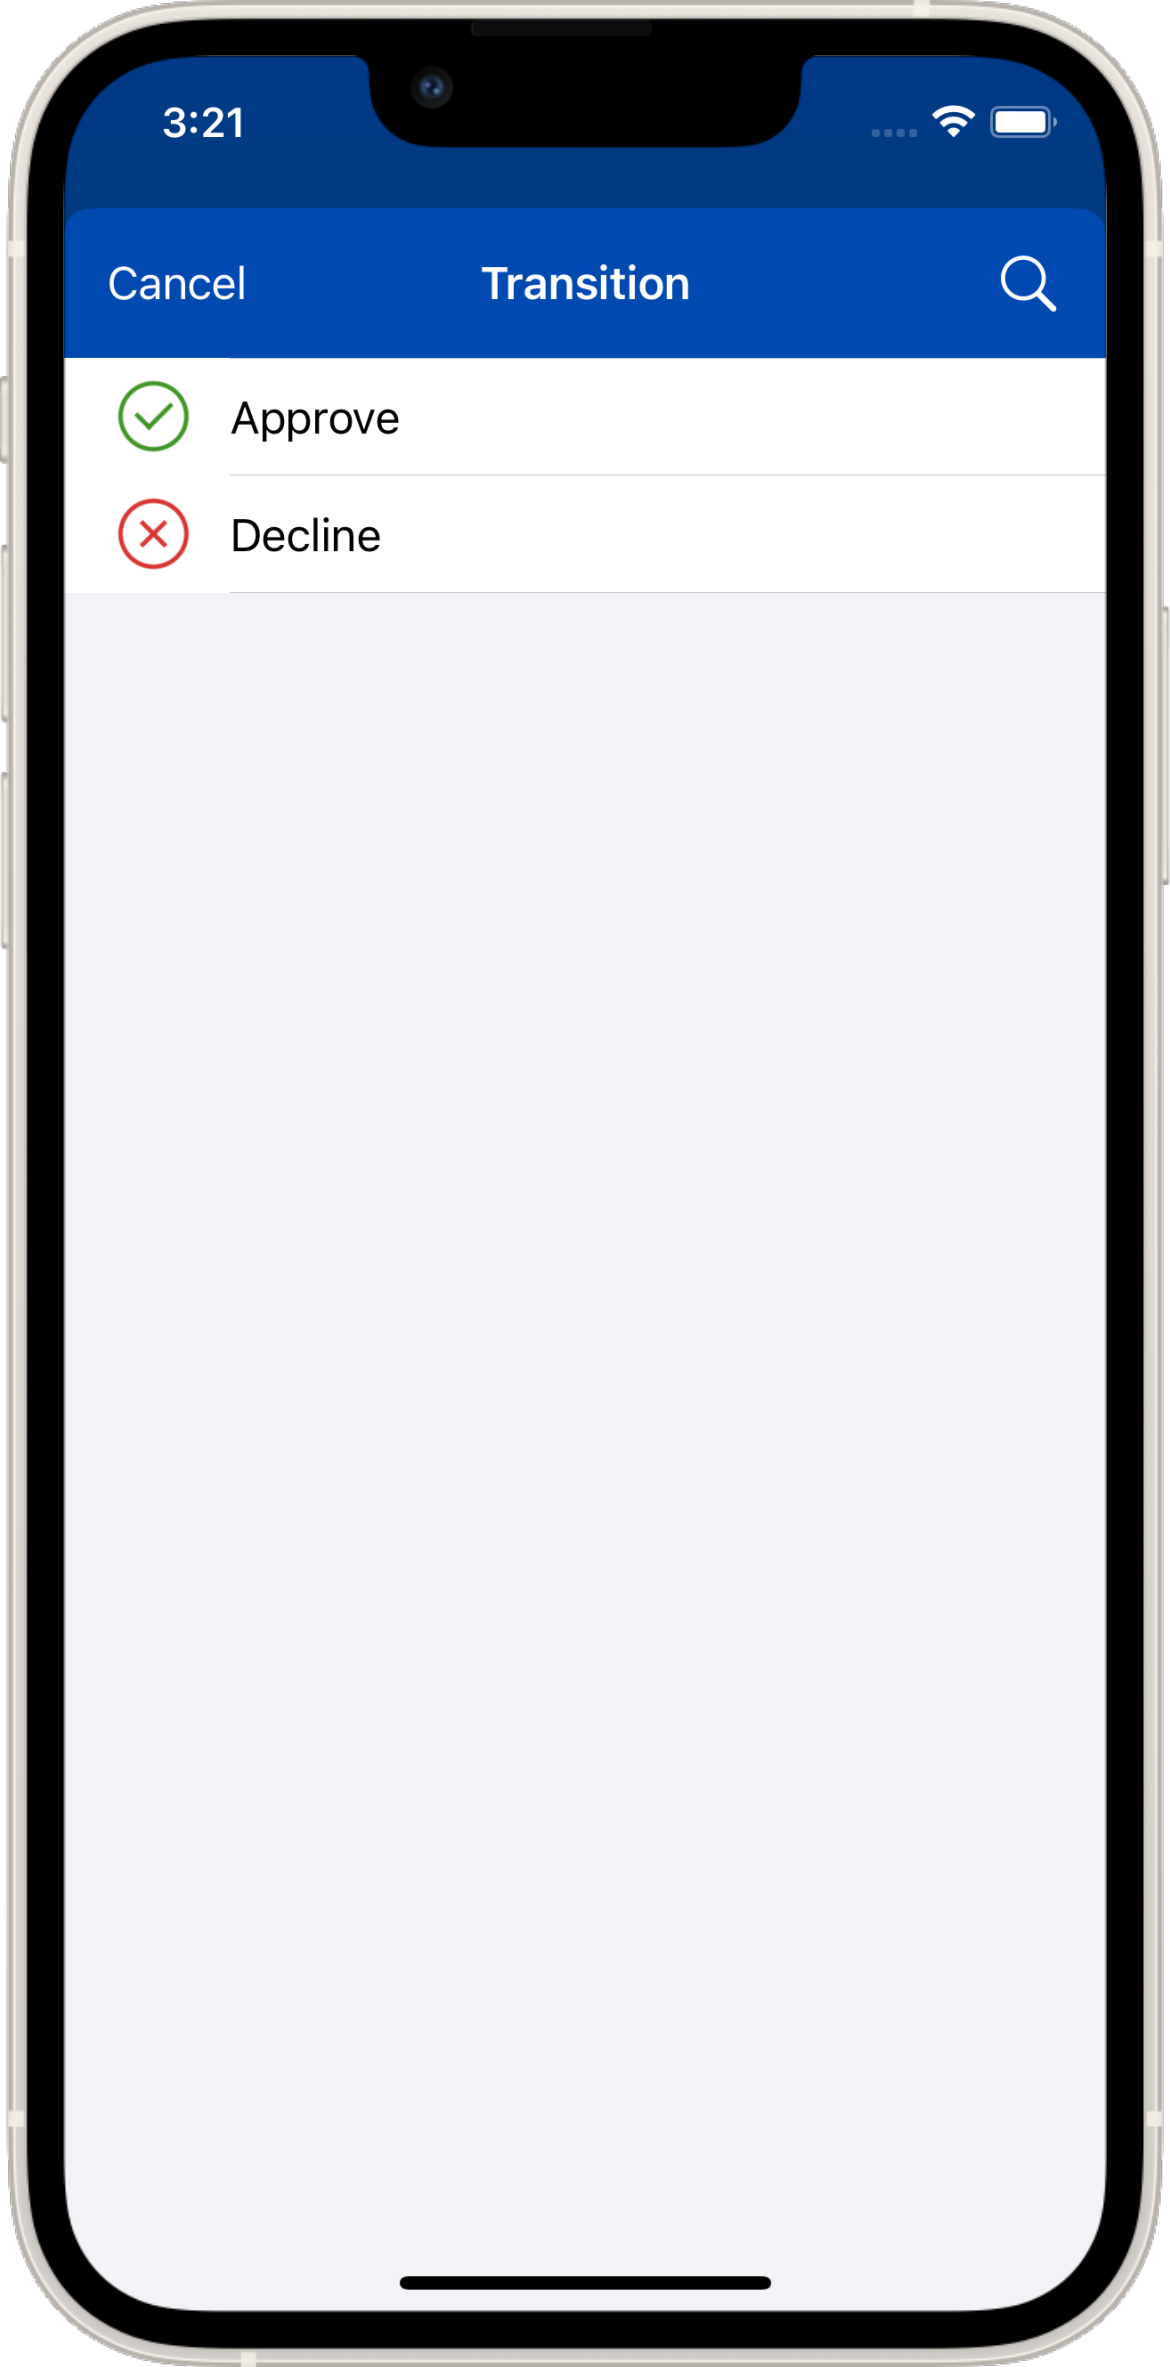
Alternatively, you can tap the Status field, which will open up the Transition screen as usual, then select Approve or Decline.
Asset Management
We support Jira Assets. You can display and edit an Asset, can navigate through the hierarchy, scan a QR code associated with an Asset to either find it or select it as a field option. Watch our Video Tutorial.
Display and Edit Assets
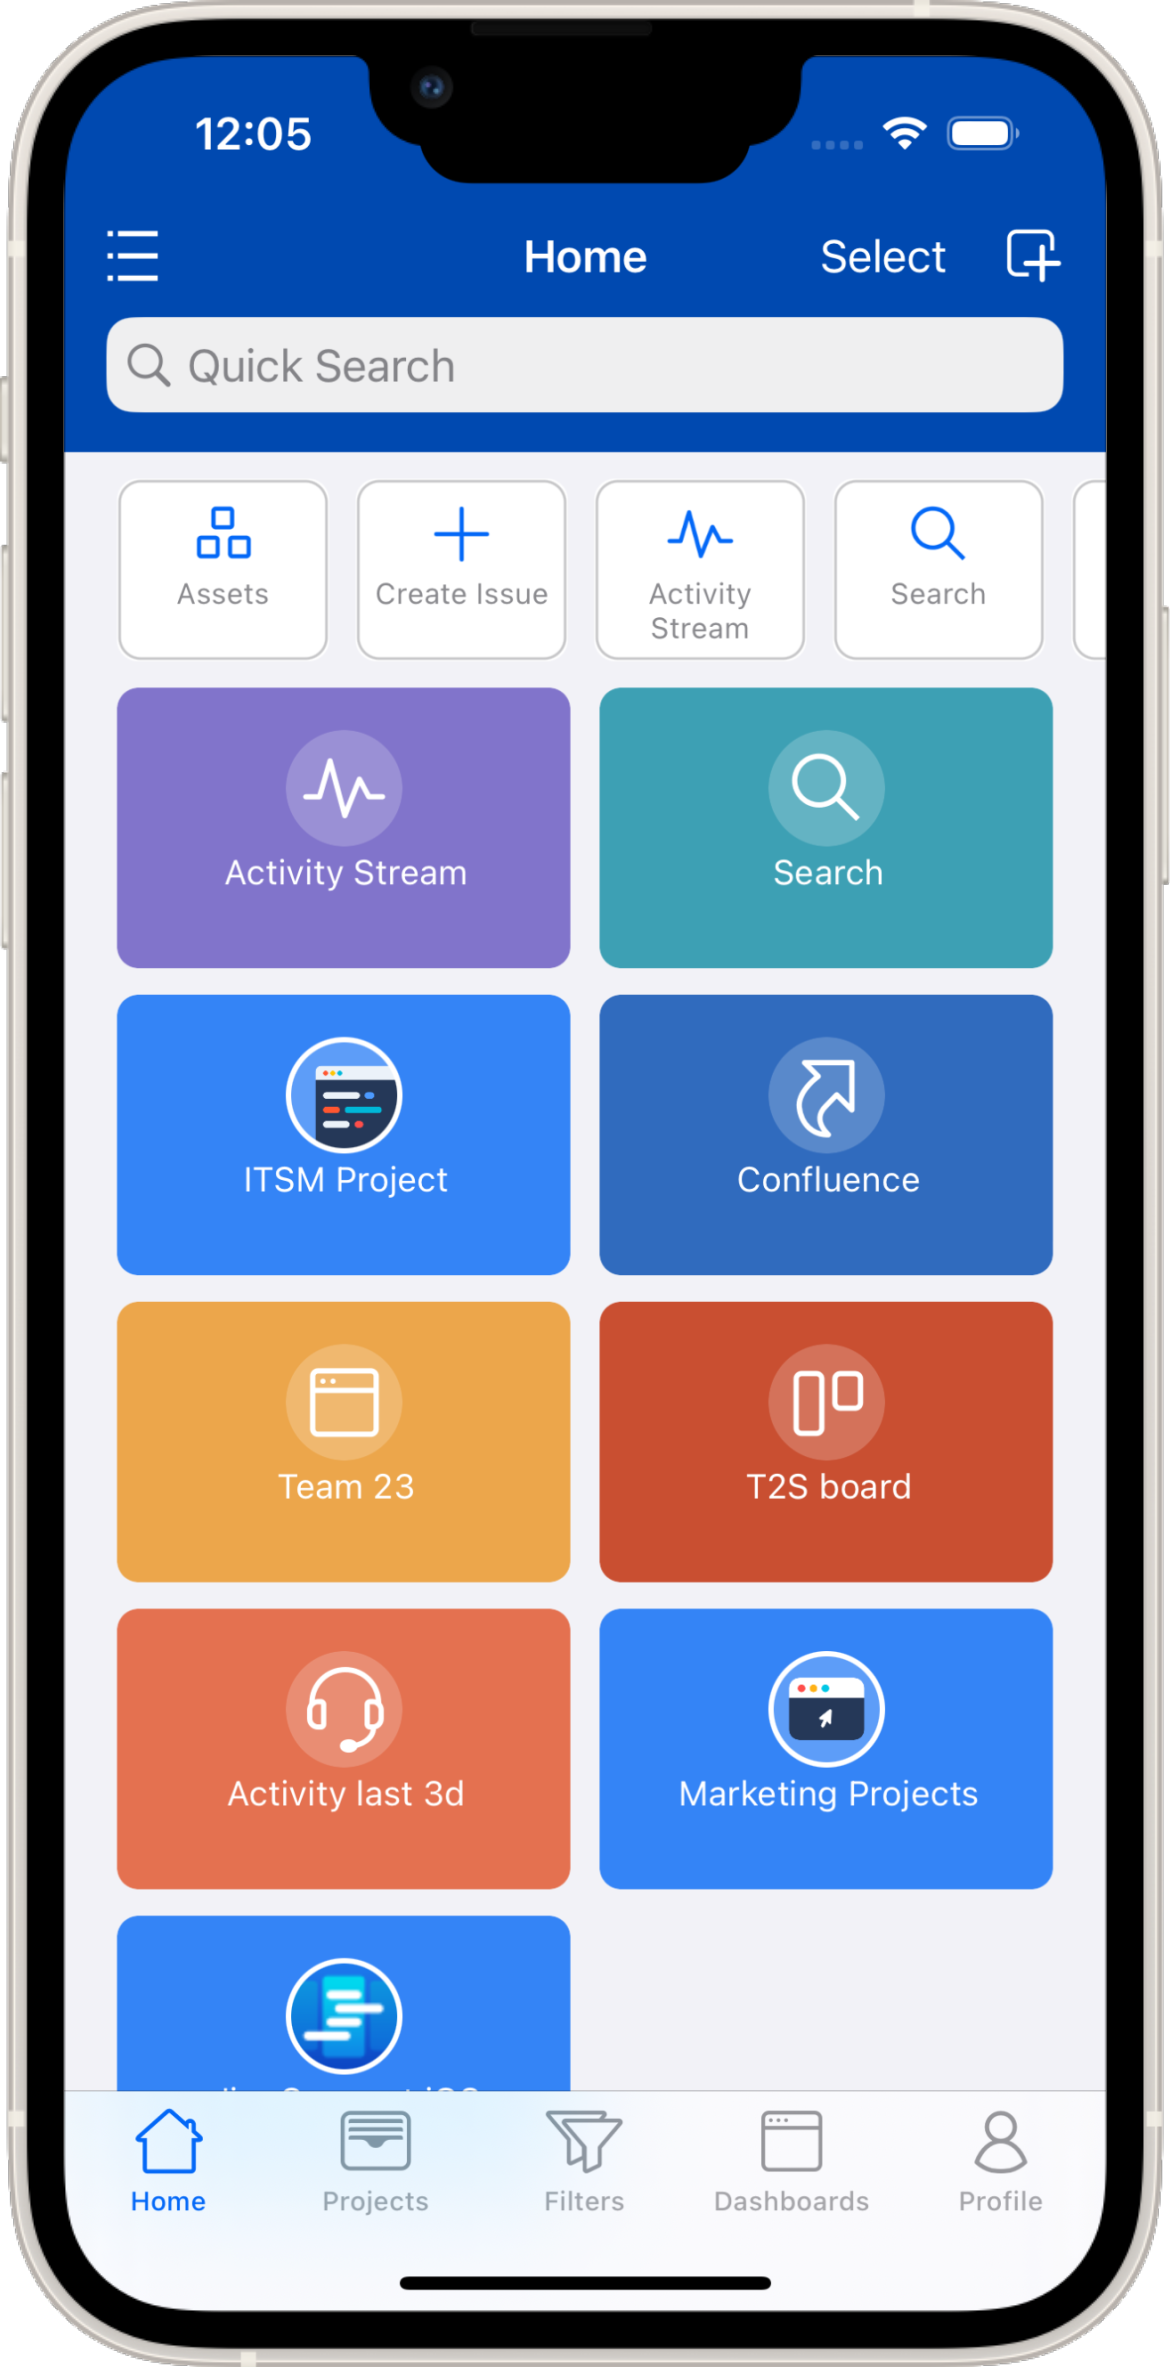
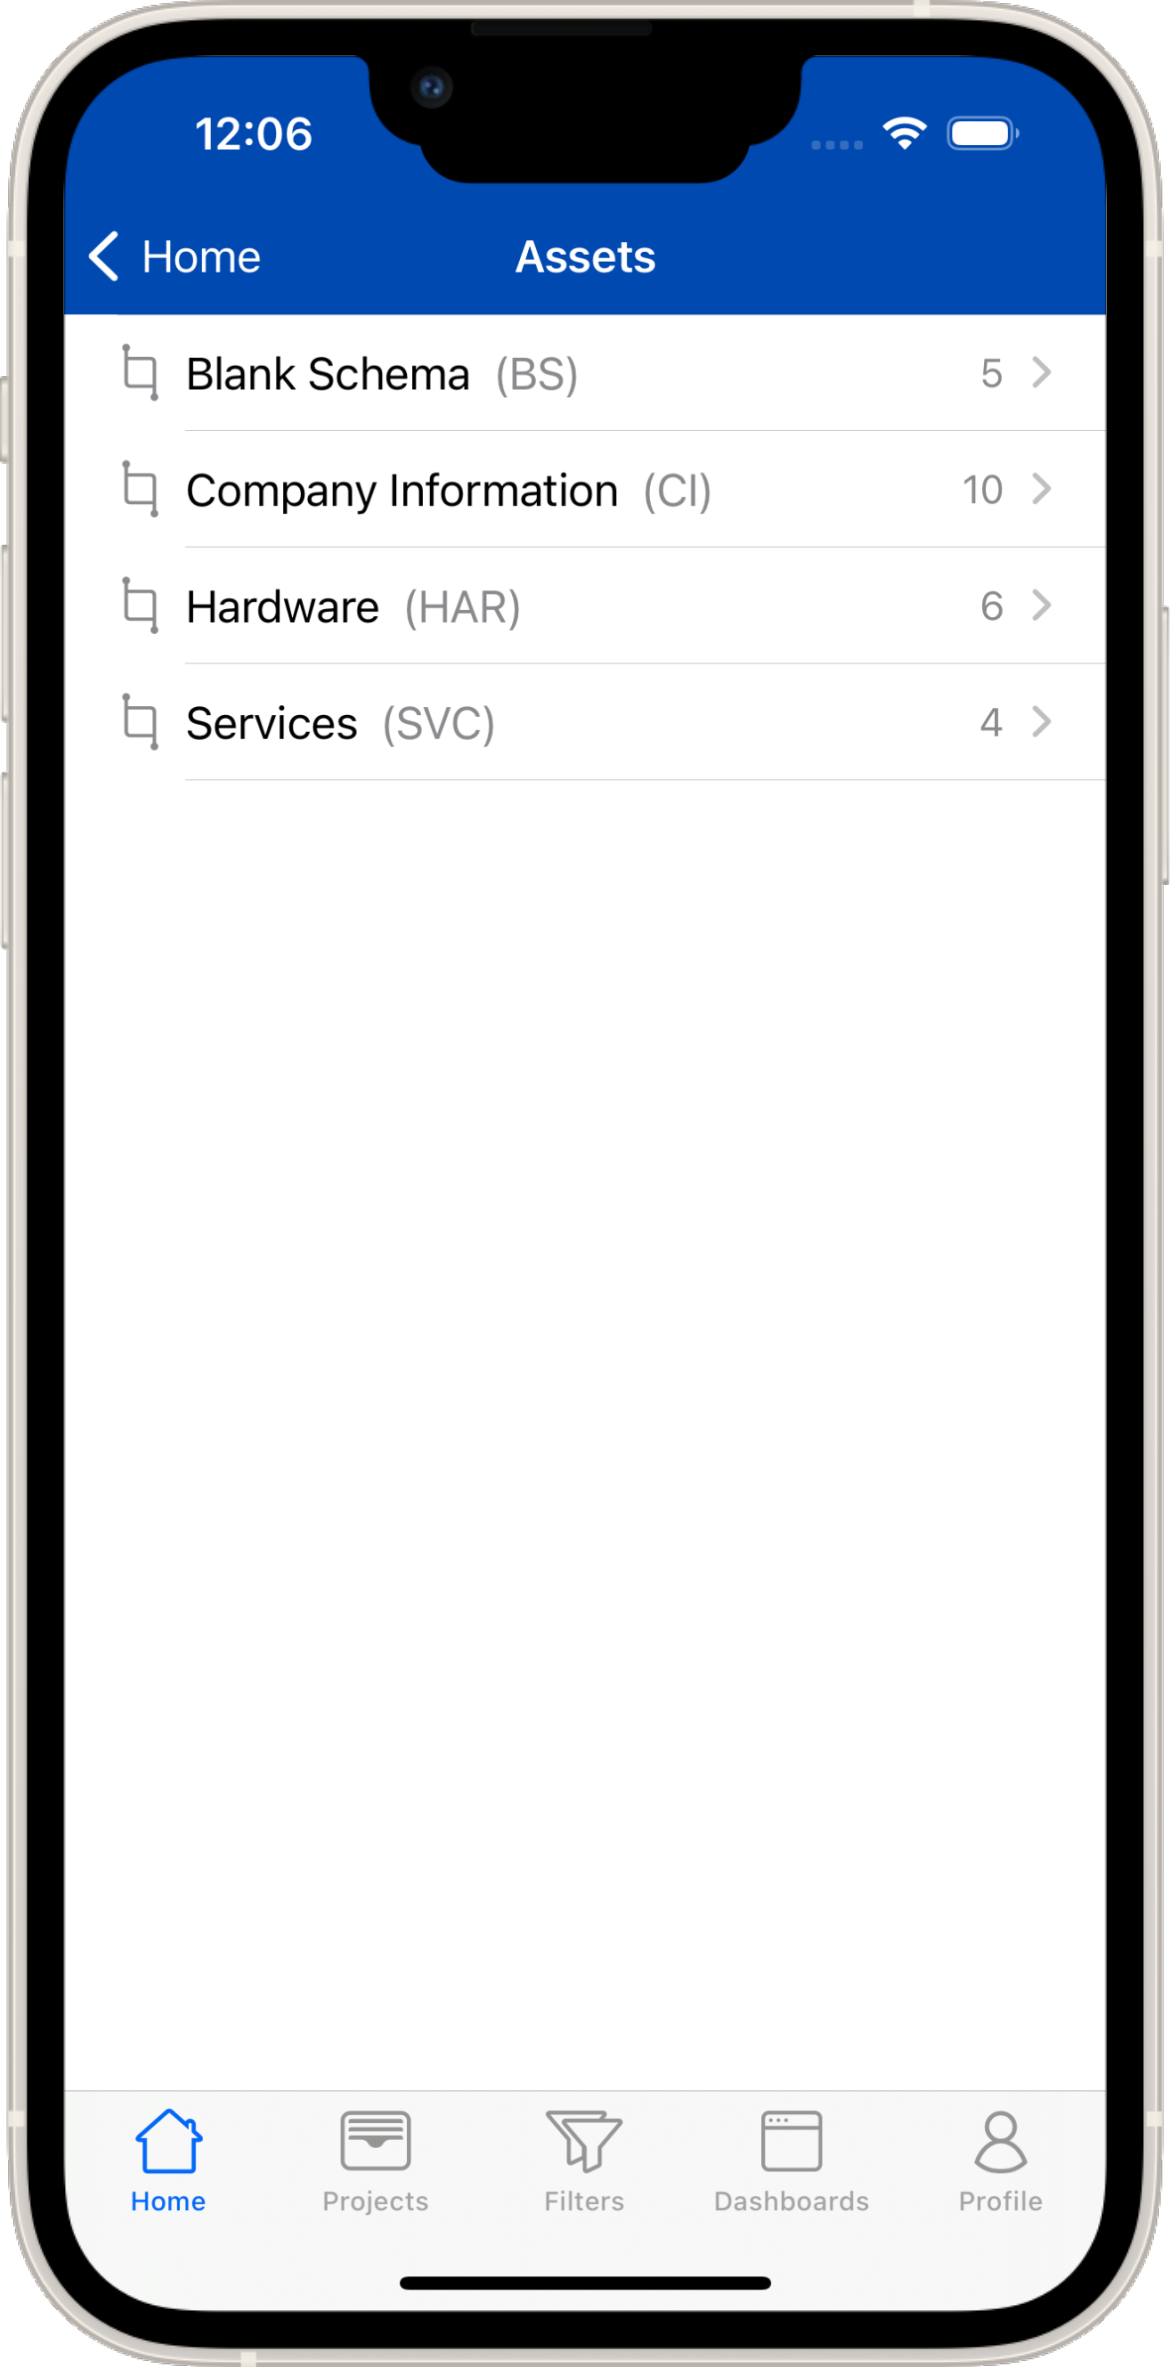
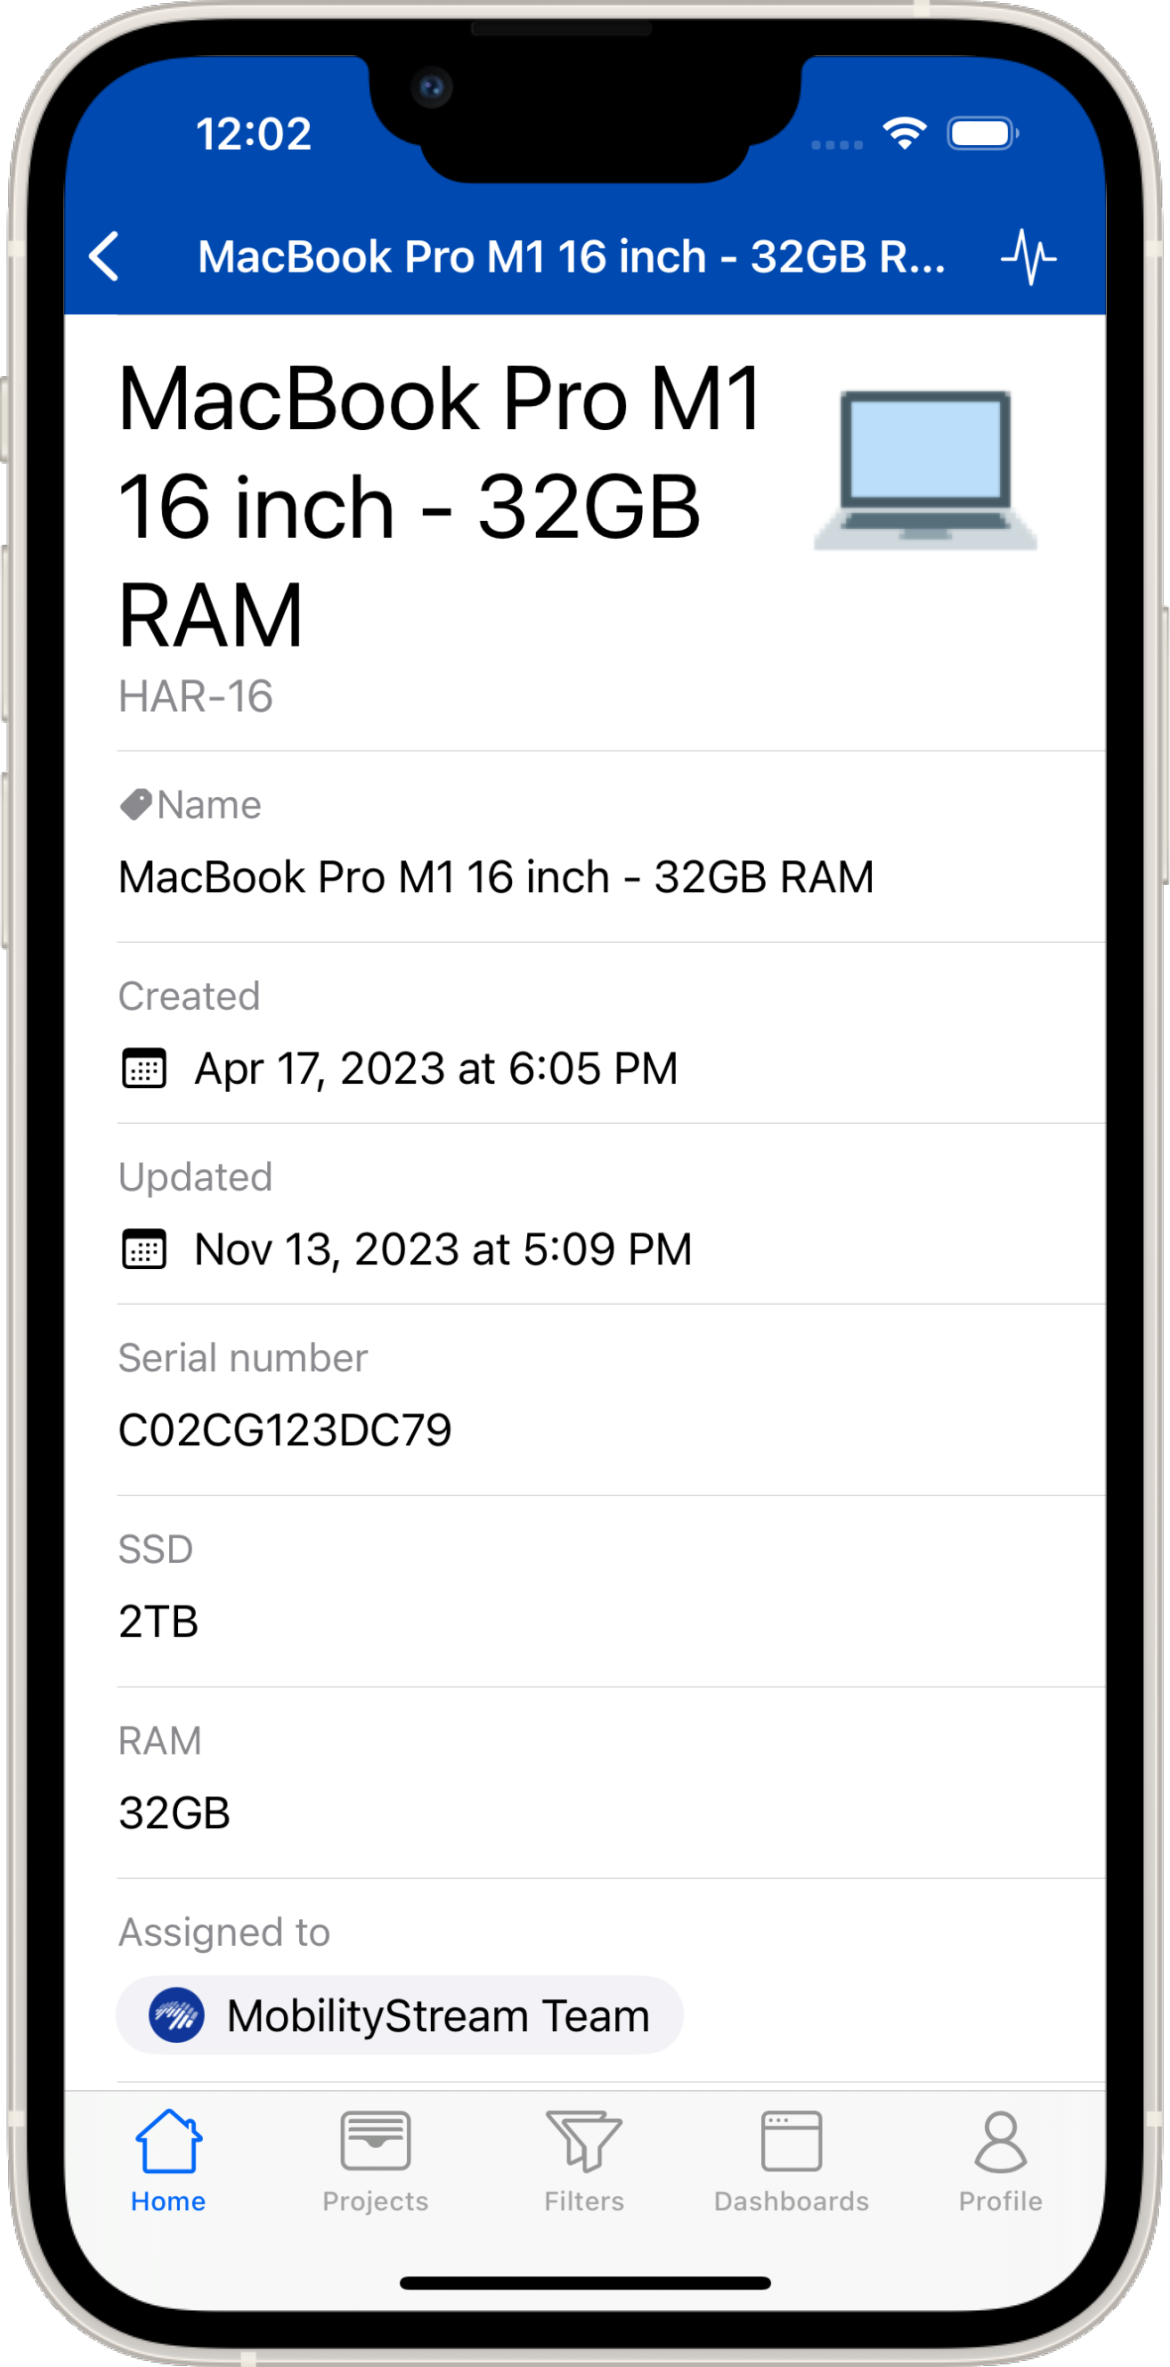
To display an existing Asset, tab on the preconfigured Assets icon on the Home Screen (Home > Assets) or scan an associated QR code (Home > Scan). Also, the Quick Search includes now matching Assets objects. You can navigate through the Asset schema hierarchies. Once the Asset is displayed, most fields can be edited by taping on the field.
Select an Asset as a Field Option
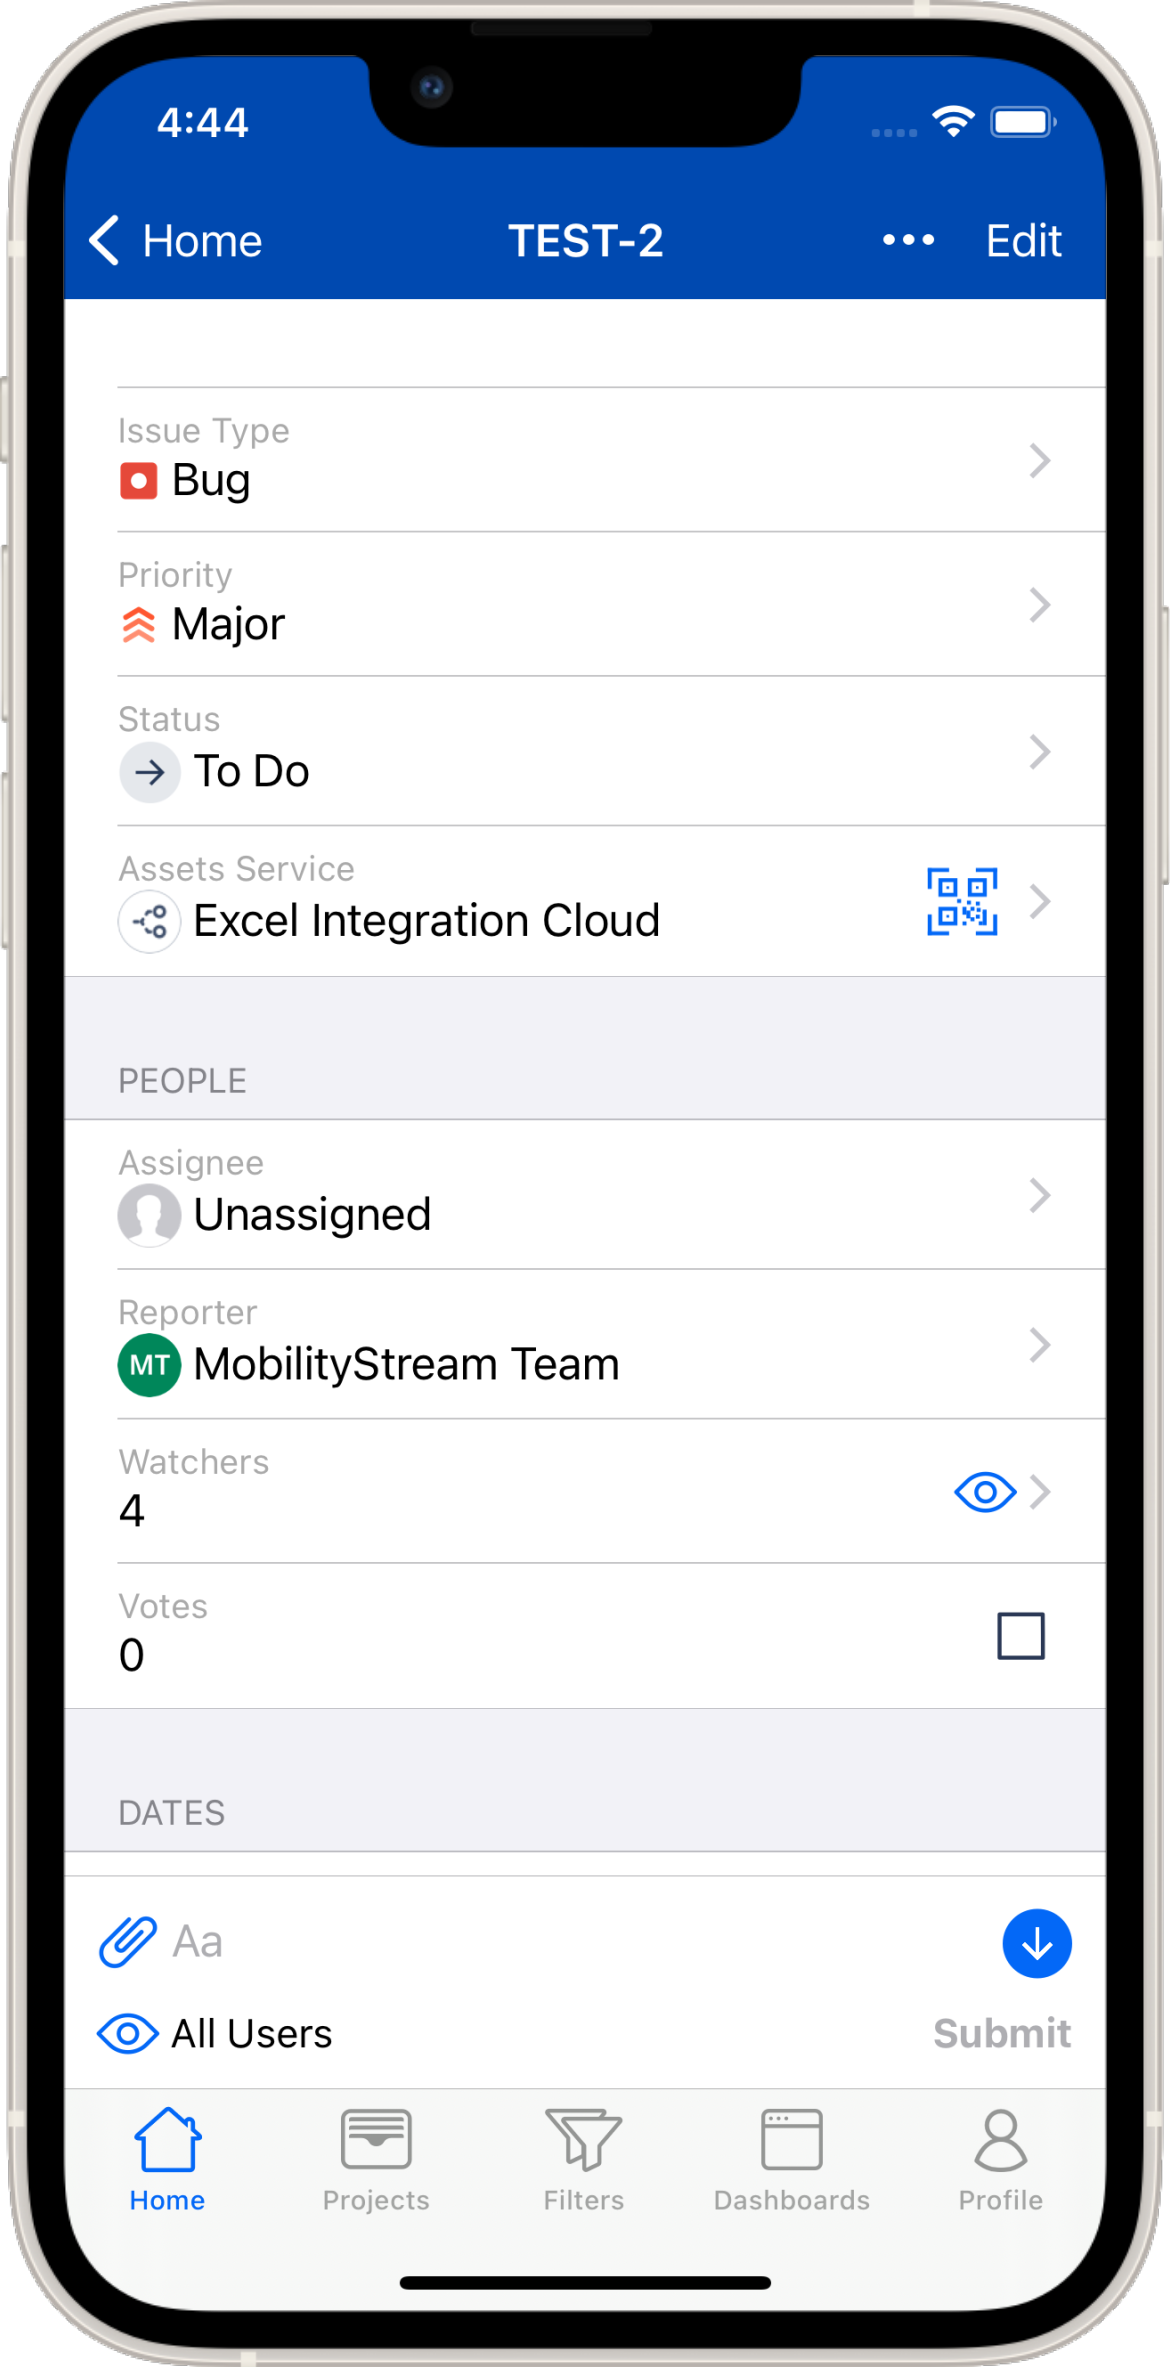
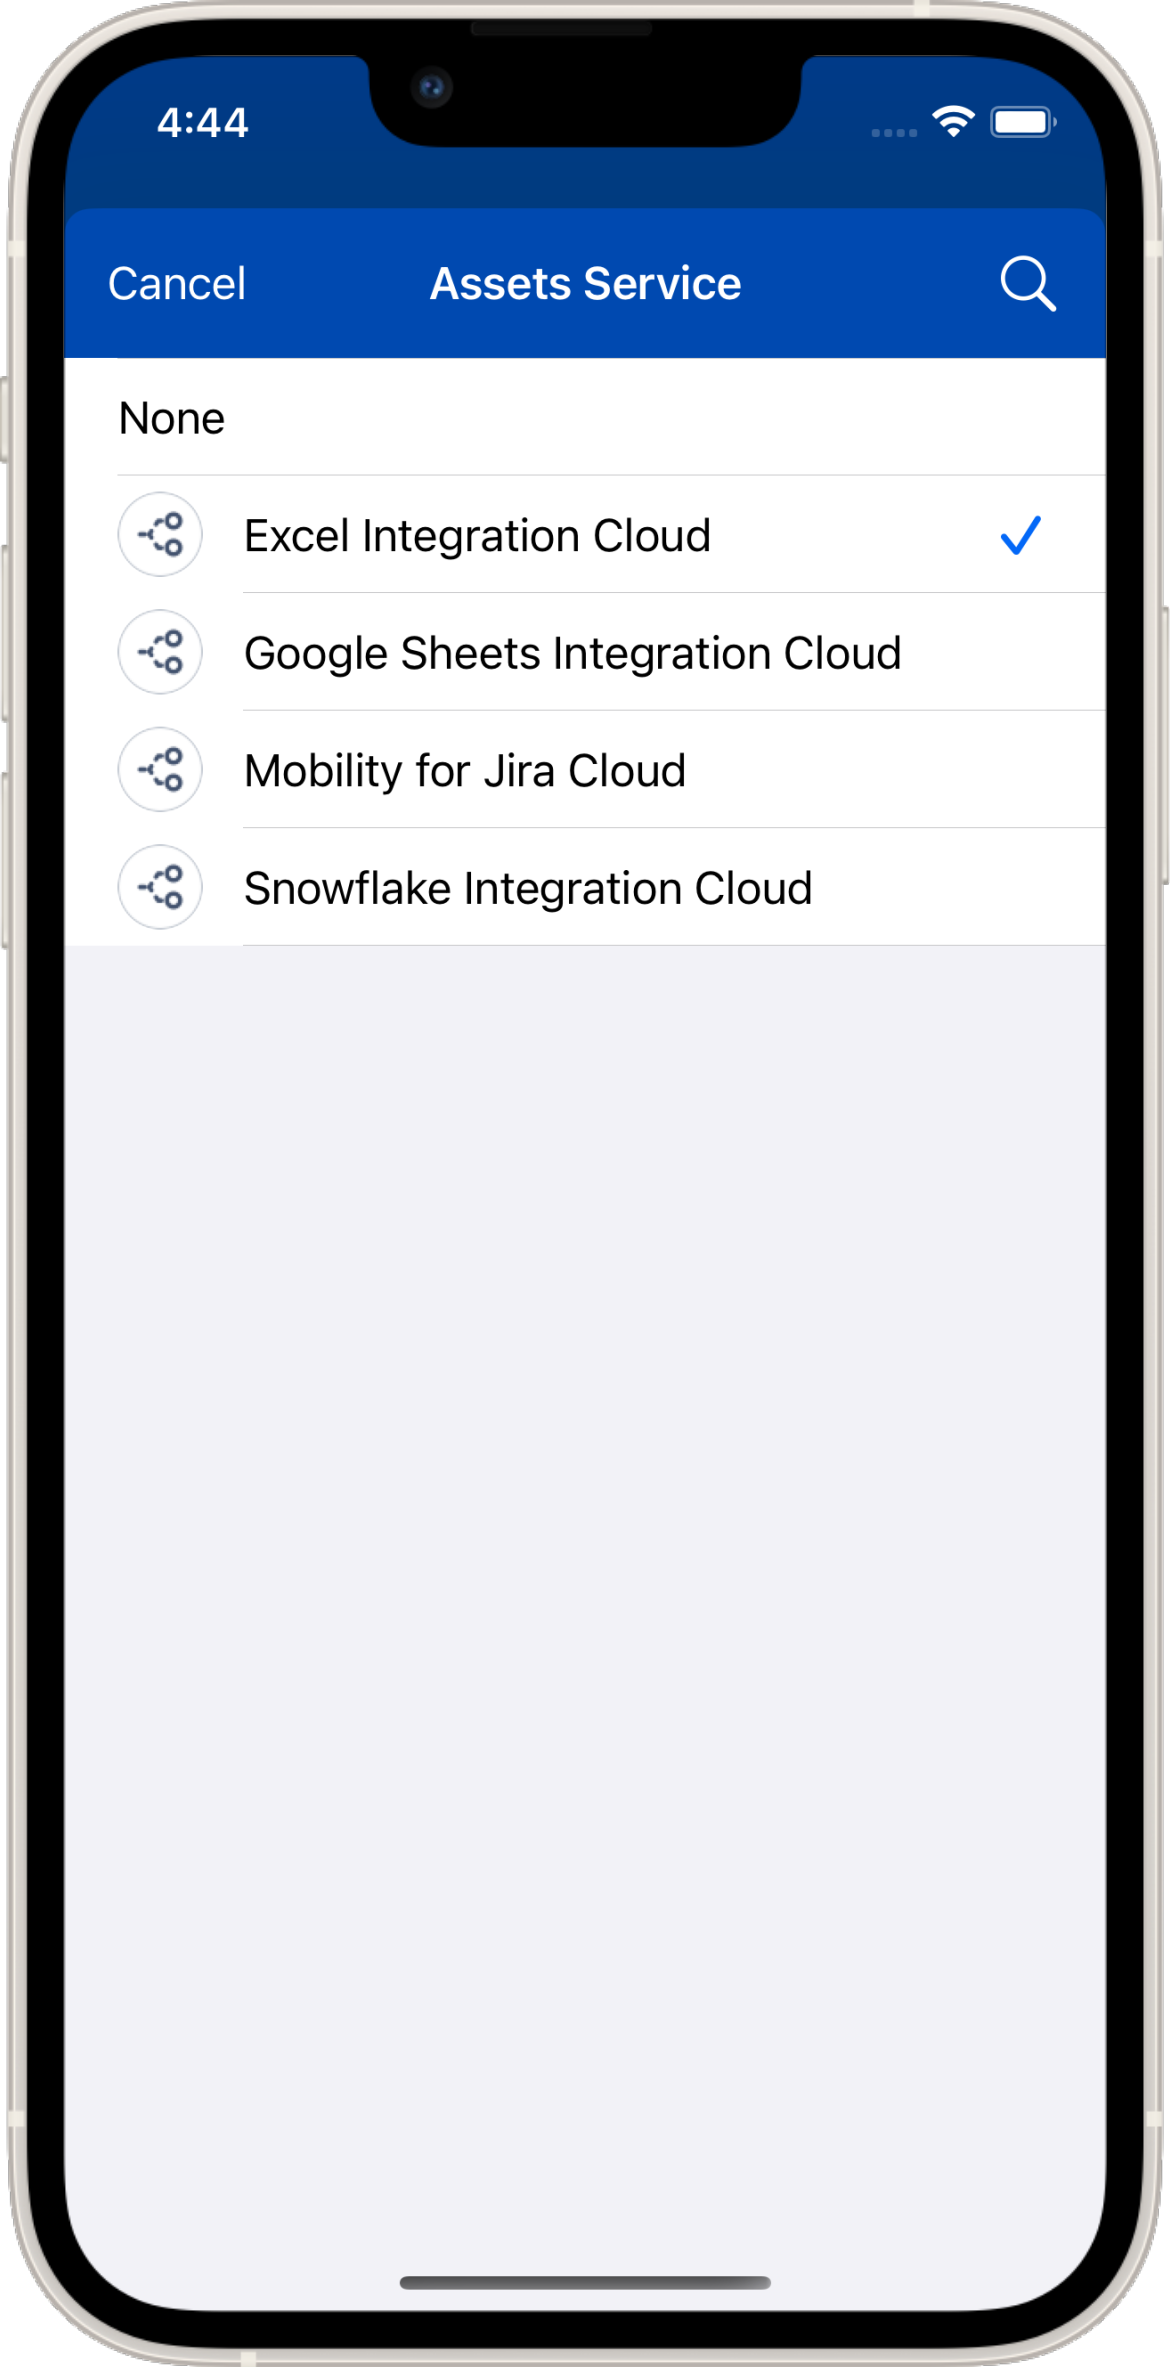
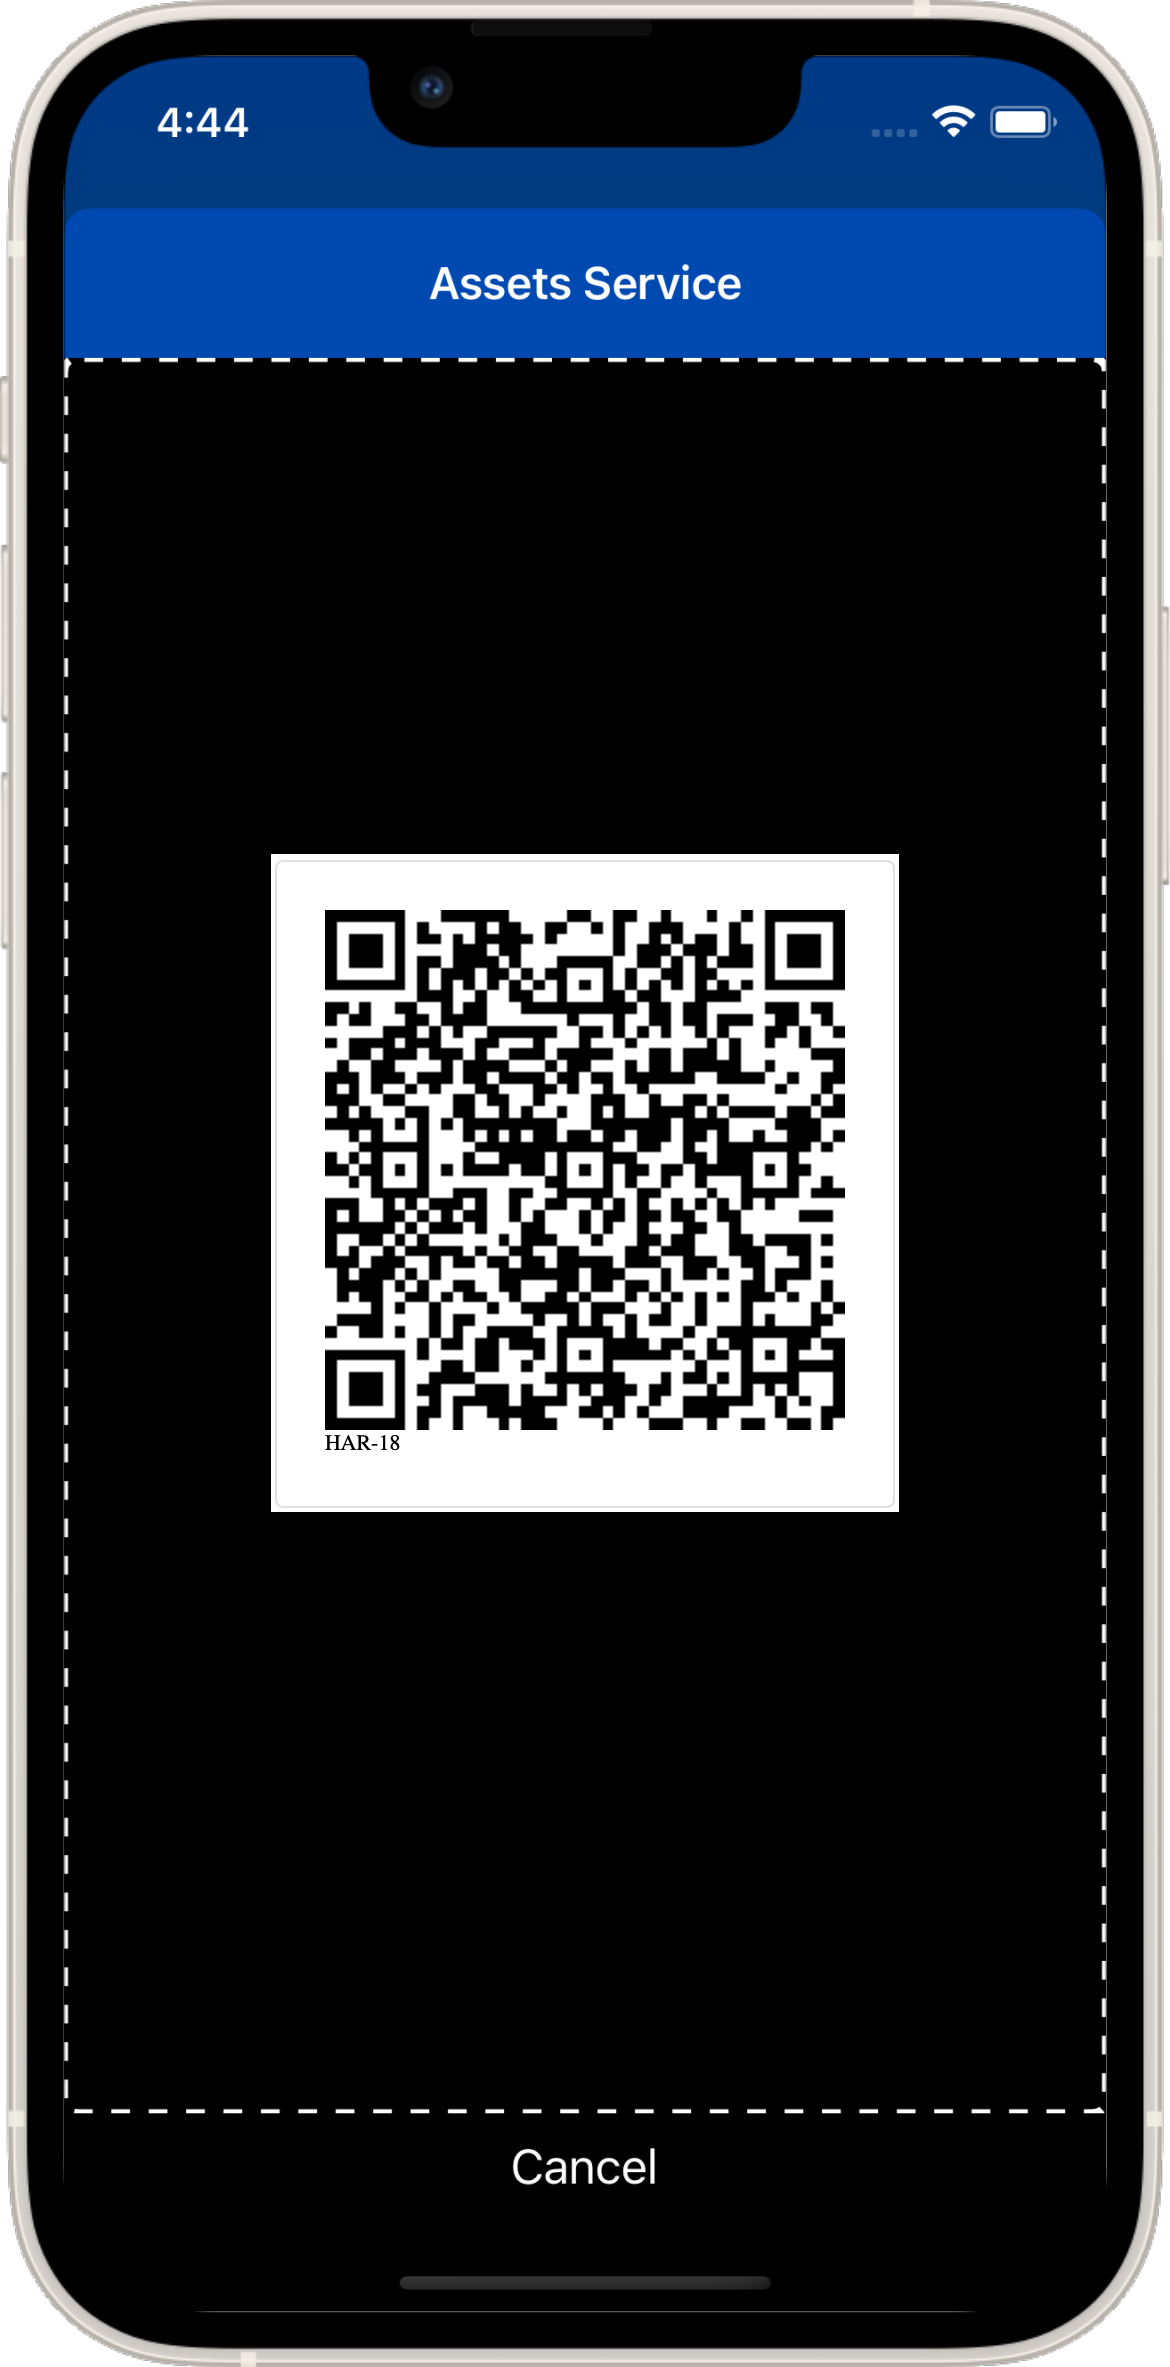
When you have a field from Jira Assets defined on your Jira Request form it will display the field name. You can now select any option available in Assets through the dropdown field. If your Asset Management supports QR codes, you can simply scan the QR code and the correct Assets option will be selected.
Work with Pre-existing Bar Codes
You might have objects that already come with pre-existing bar codes. Re-tagging all of these objects with the Jira Assets QR code might not be feasible or desired. The Mobility for Jira app allows you to work with your existing bar codes.
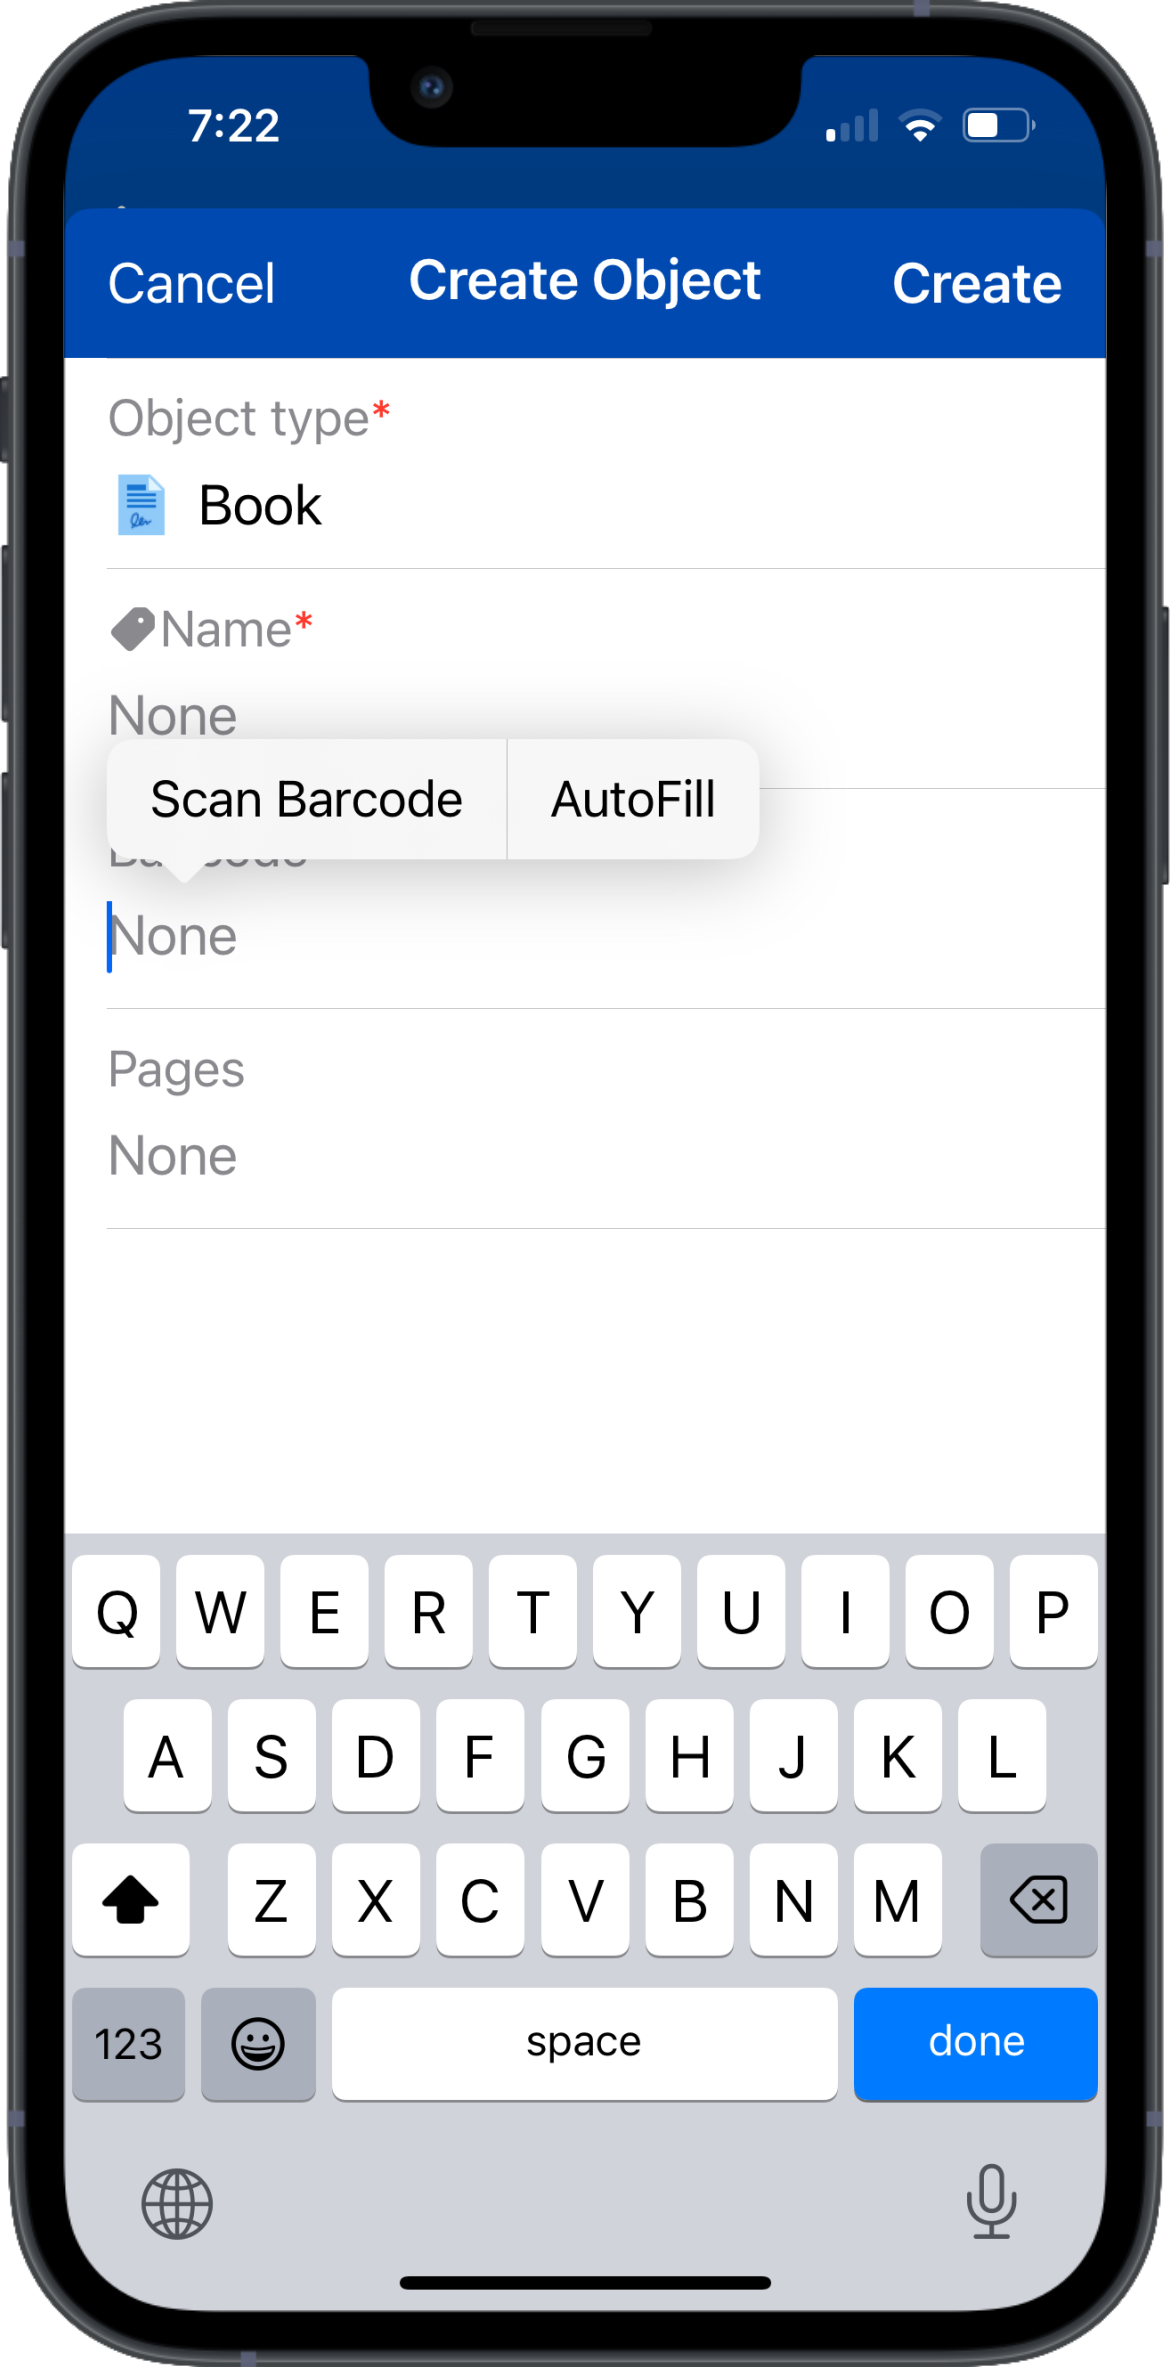
For each Jira Asset text field, you can invoke the bar code scanner by double taping on the field. When you tap the Scan Barcode option the camera scanner will come up and you can scan an existing bar code. The alpha-numeric representation of the bar code is saved in your text field. After you store it, it will be available for search.
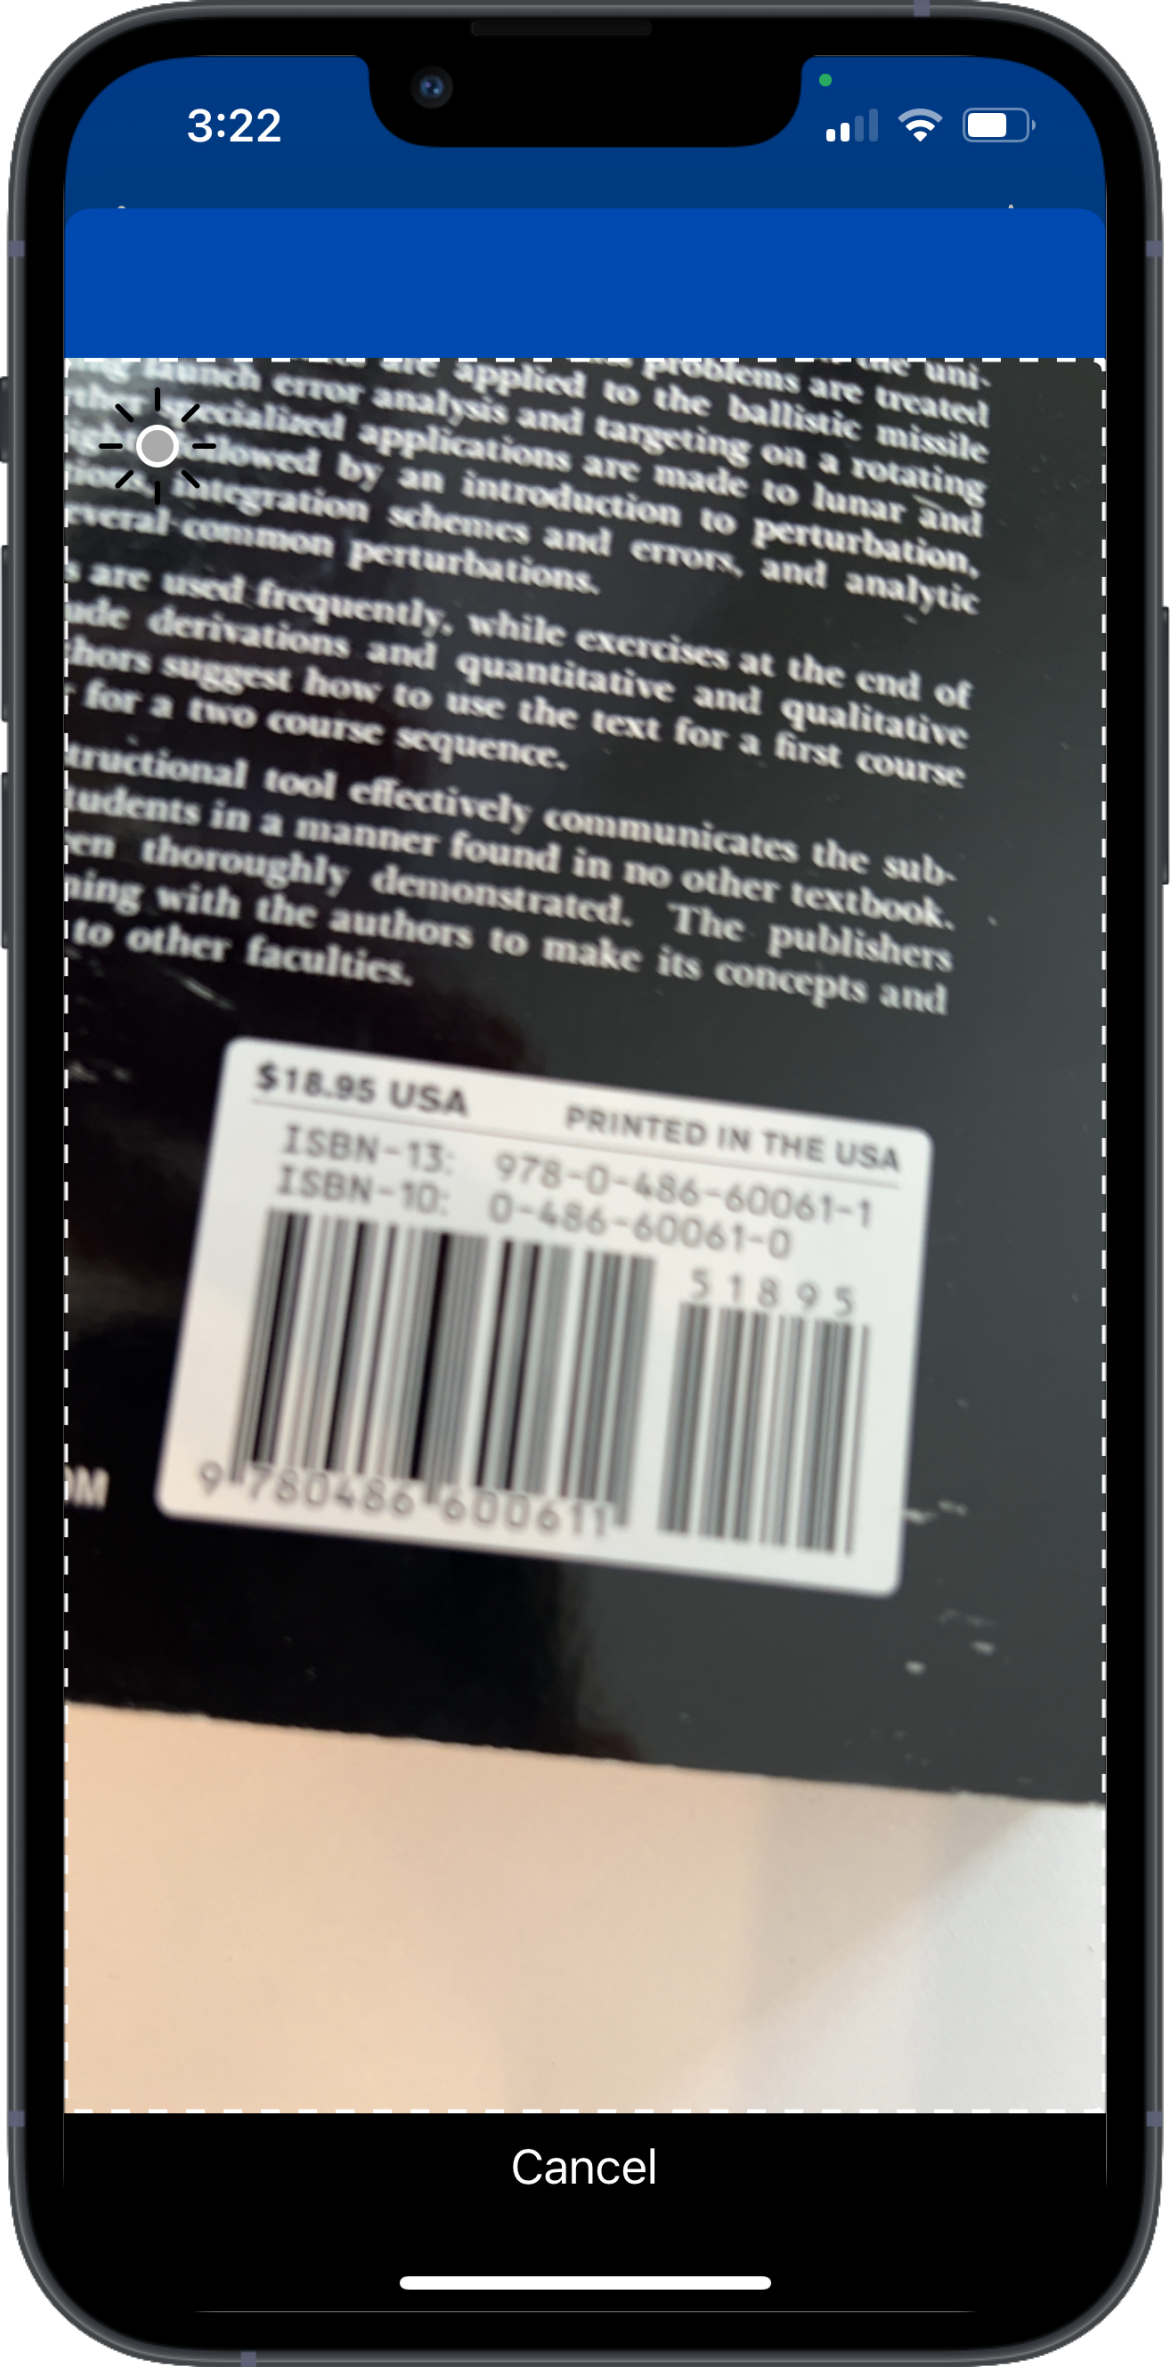
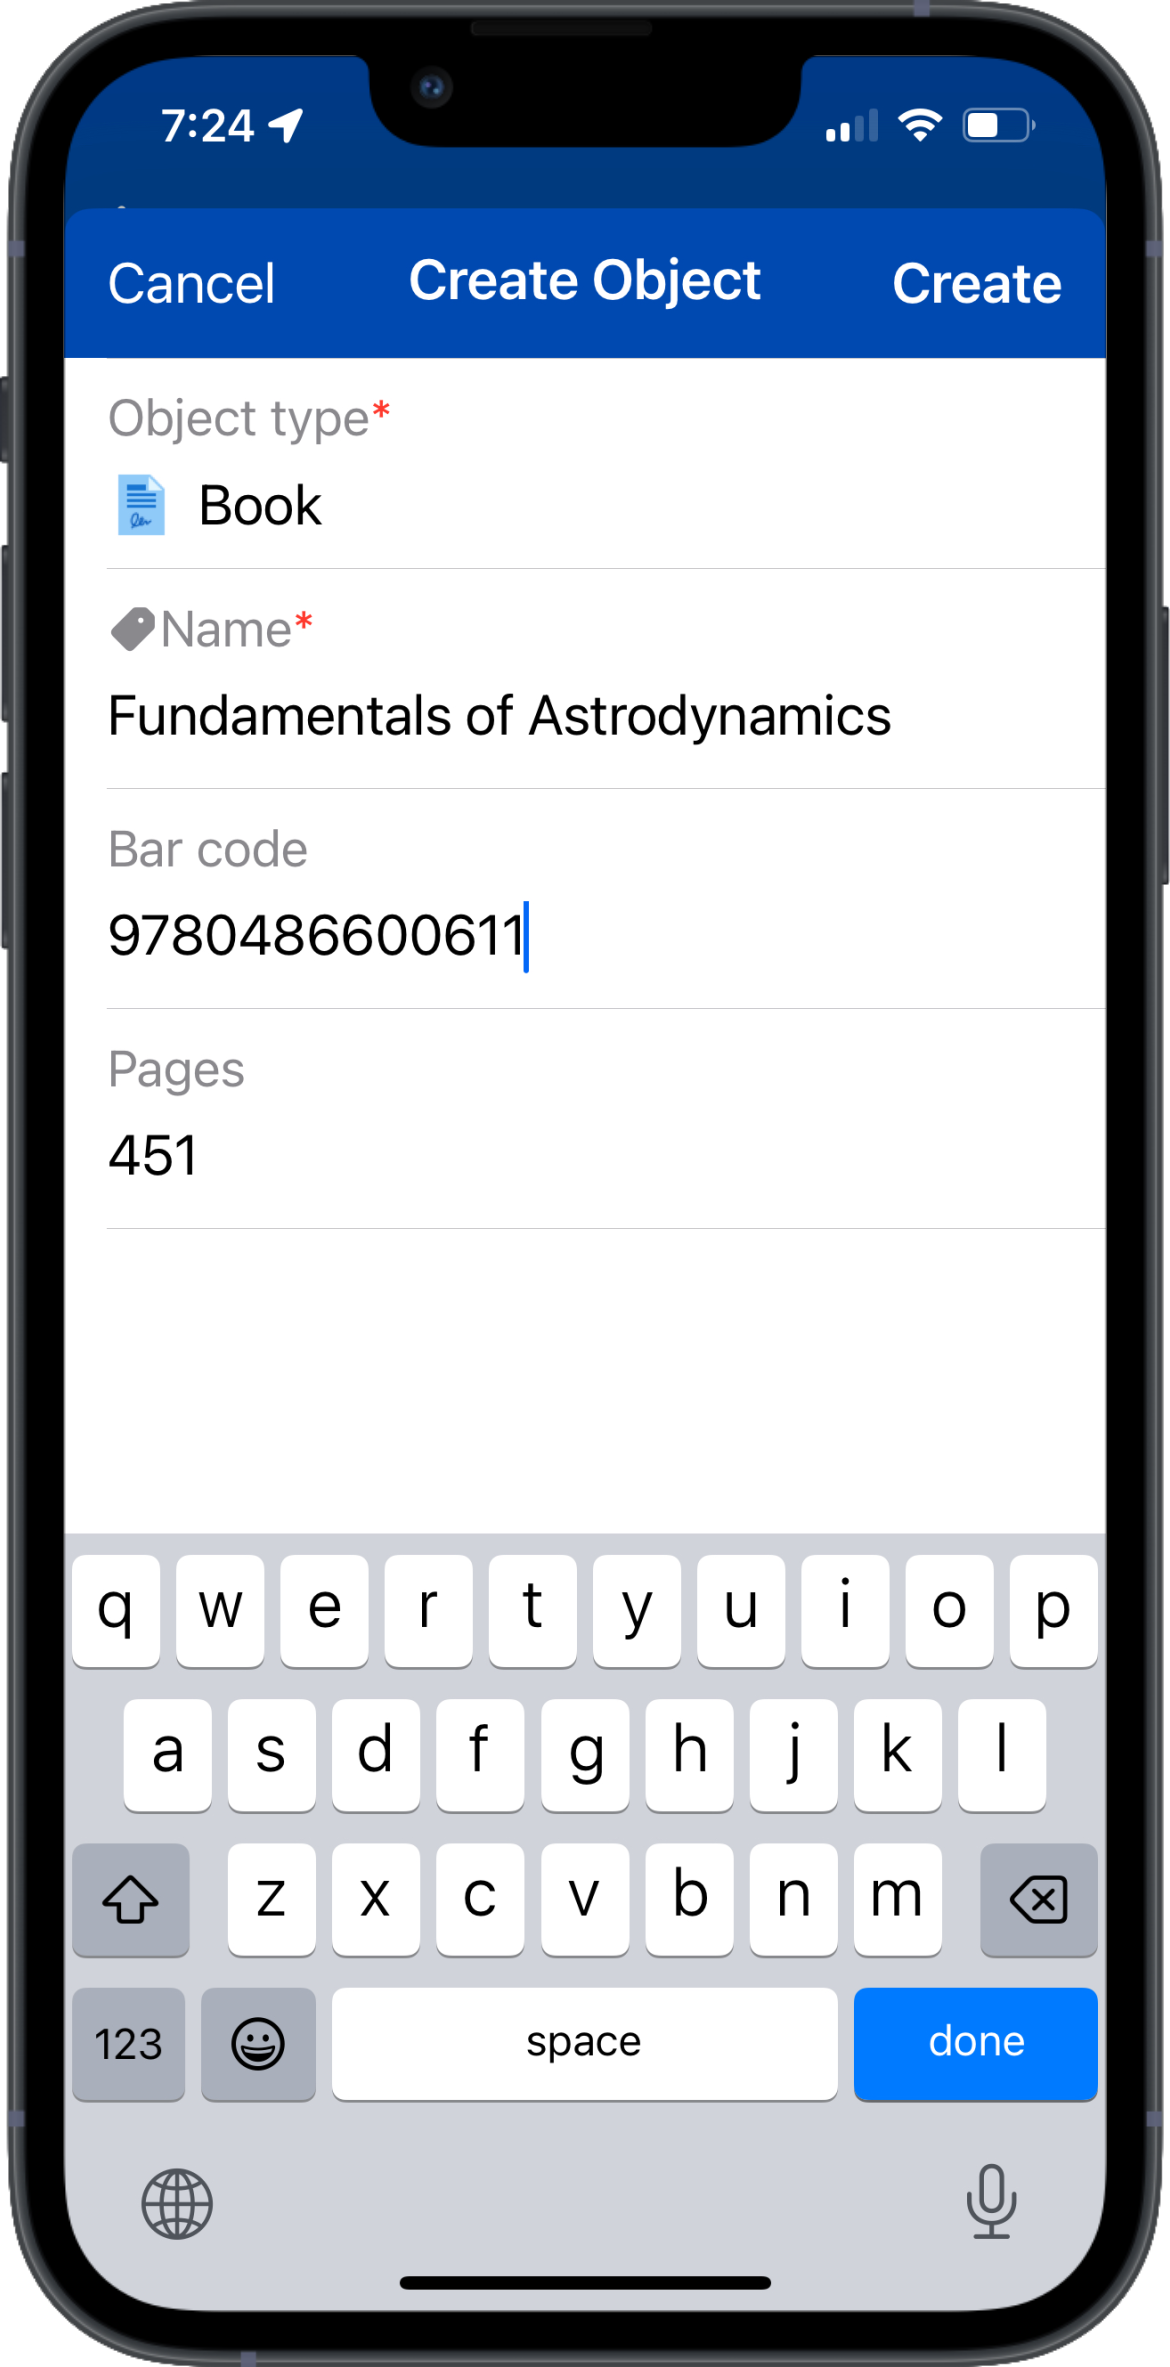
To find an Asset with a specific bar code, simply go to the schema, tap on the scanning icon on the top right of the screen. The camera will open, scan the bar code of the object you want to display on your mobile. If you stored this bar code in any text field in any object type of the schema, the correct object will be displayed.
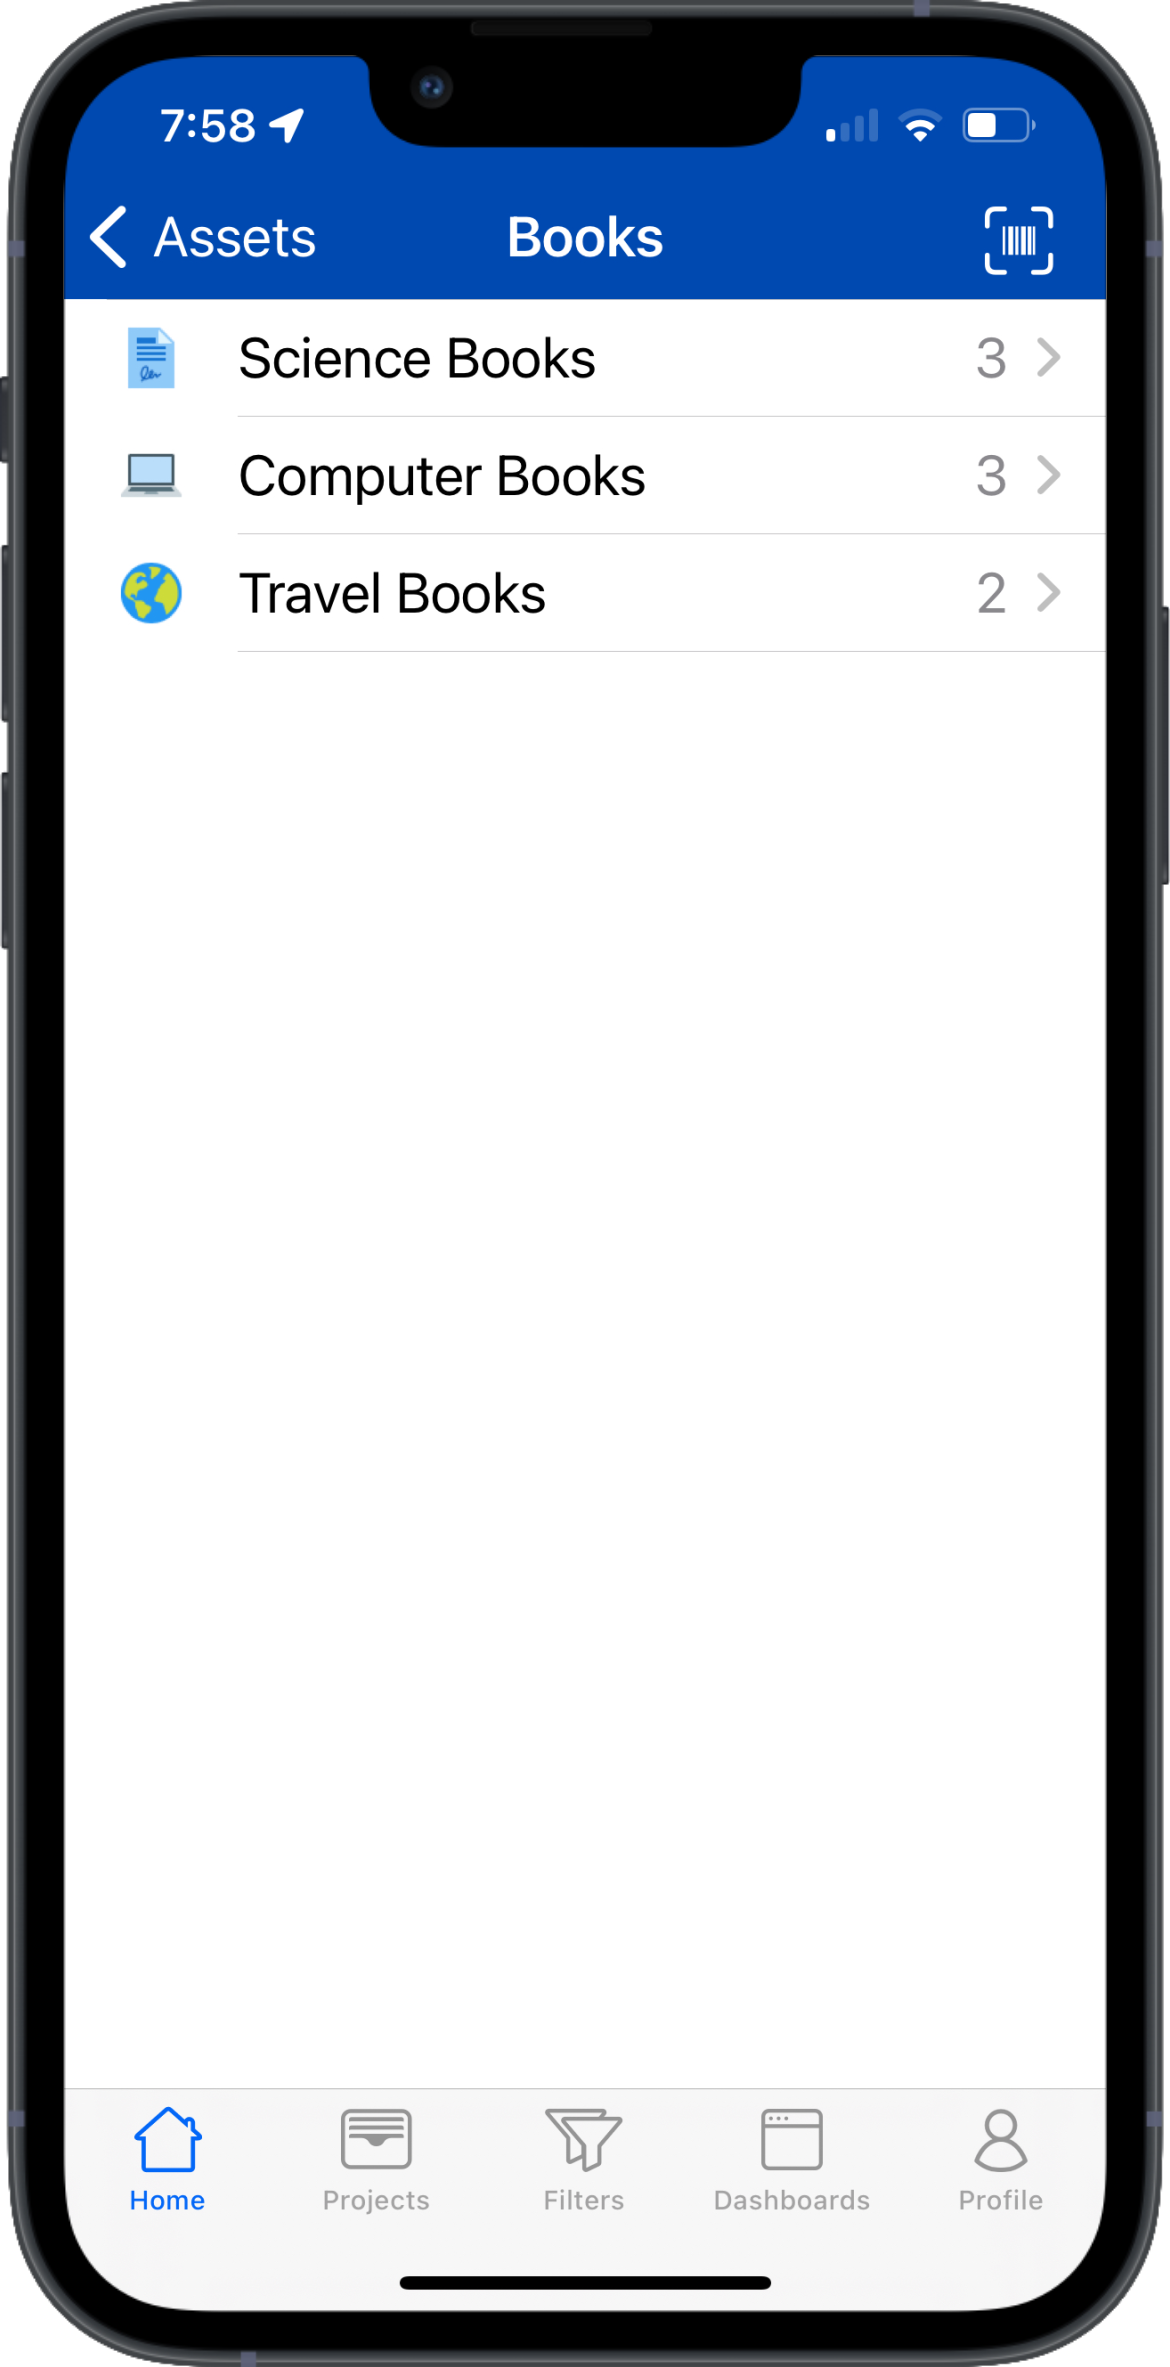

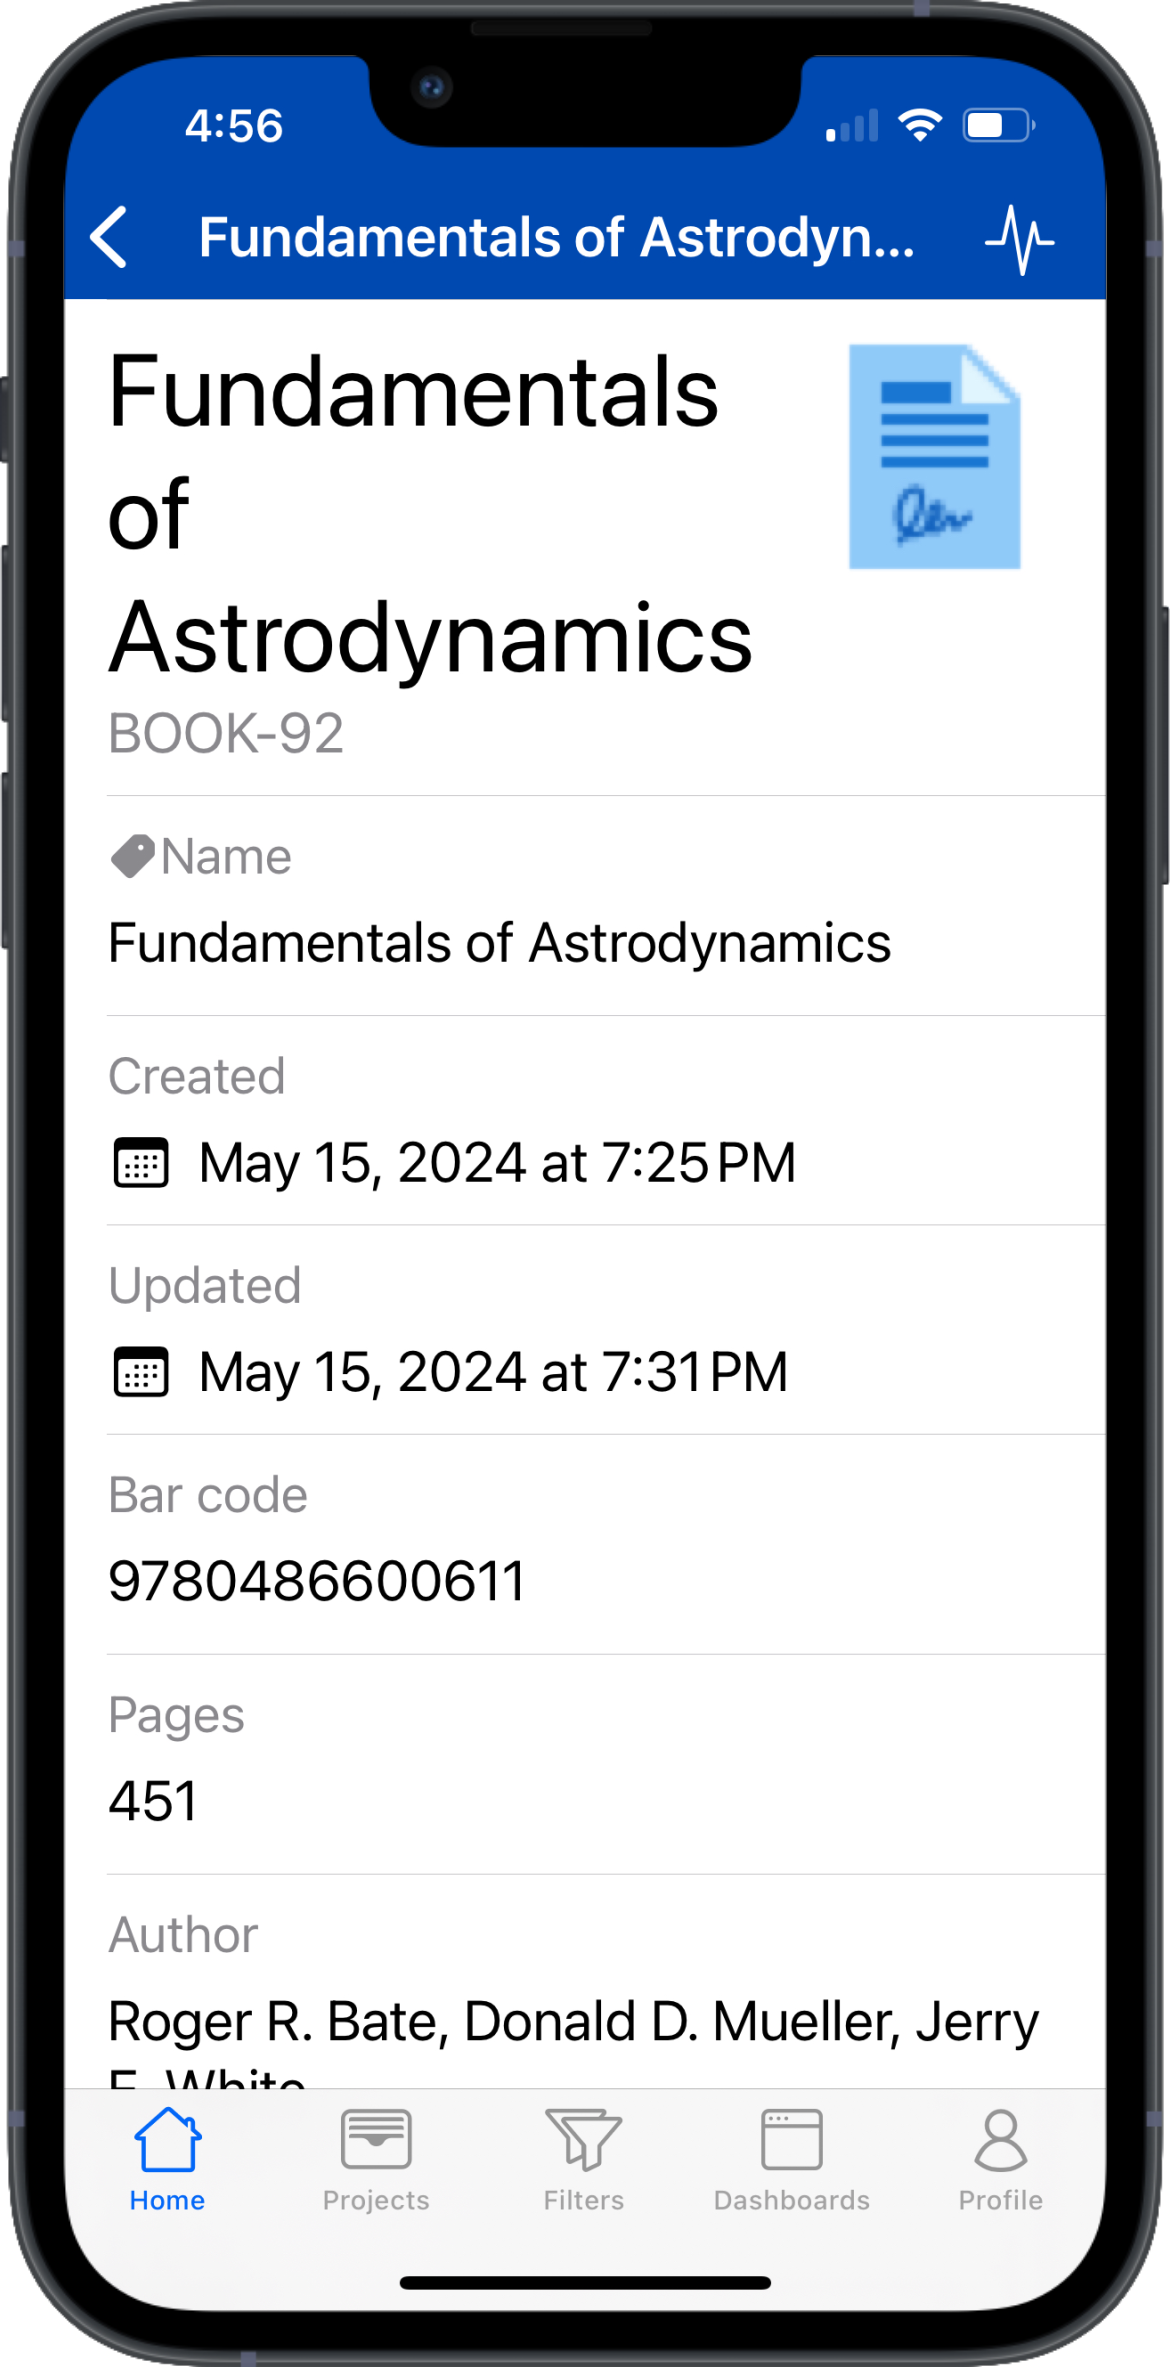
If you have a large number of existing bar codes from other Asset Management systems, you can load these bar codes into Assets with the import function. Make sure the alpha-numeric representation of the bar code is stored in an Asset text field. After that all your Assets will be available to be scanned with your pre-existing bar code. No retagging necessary!
Customer & Organizations
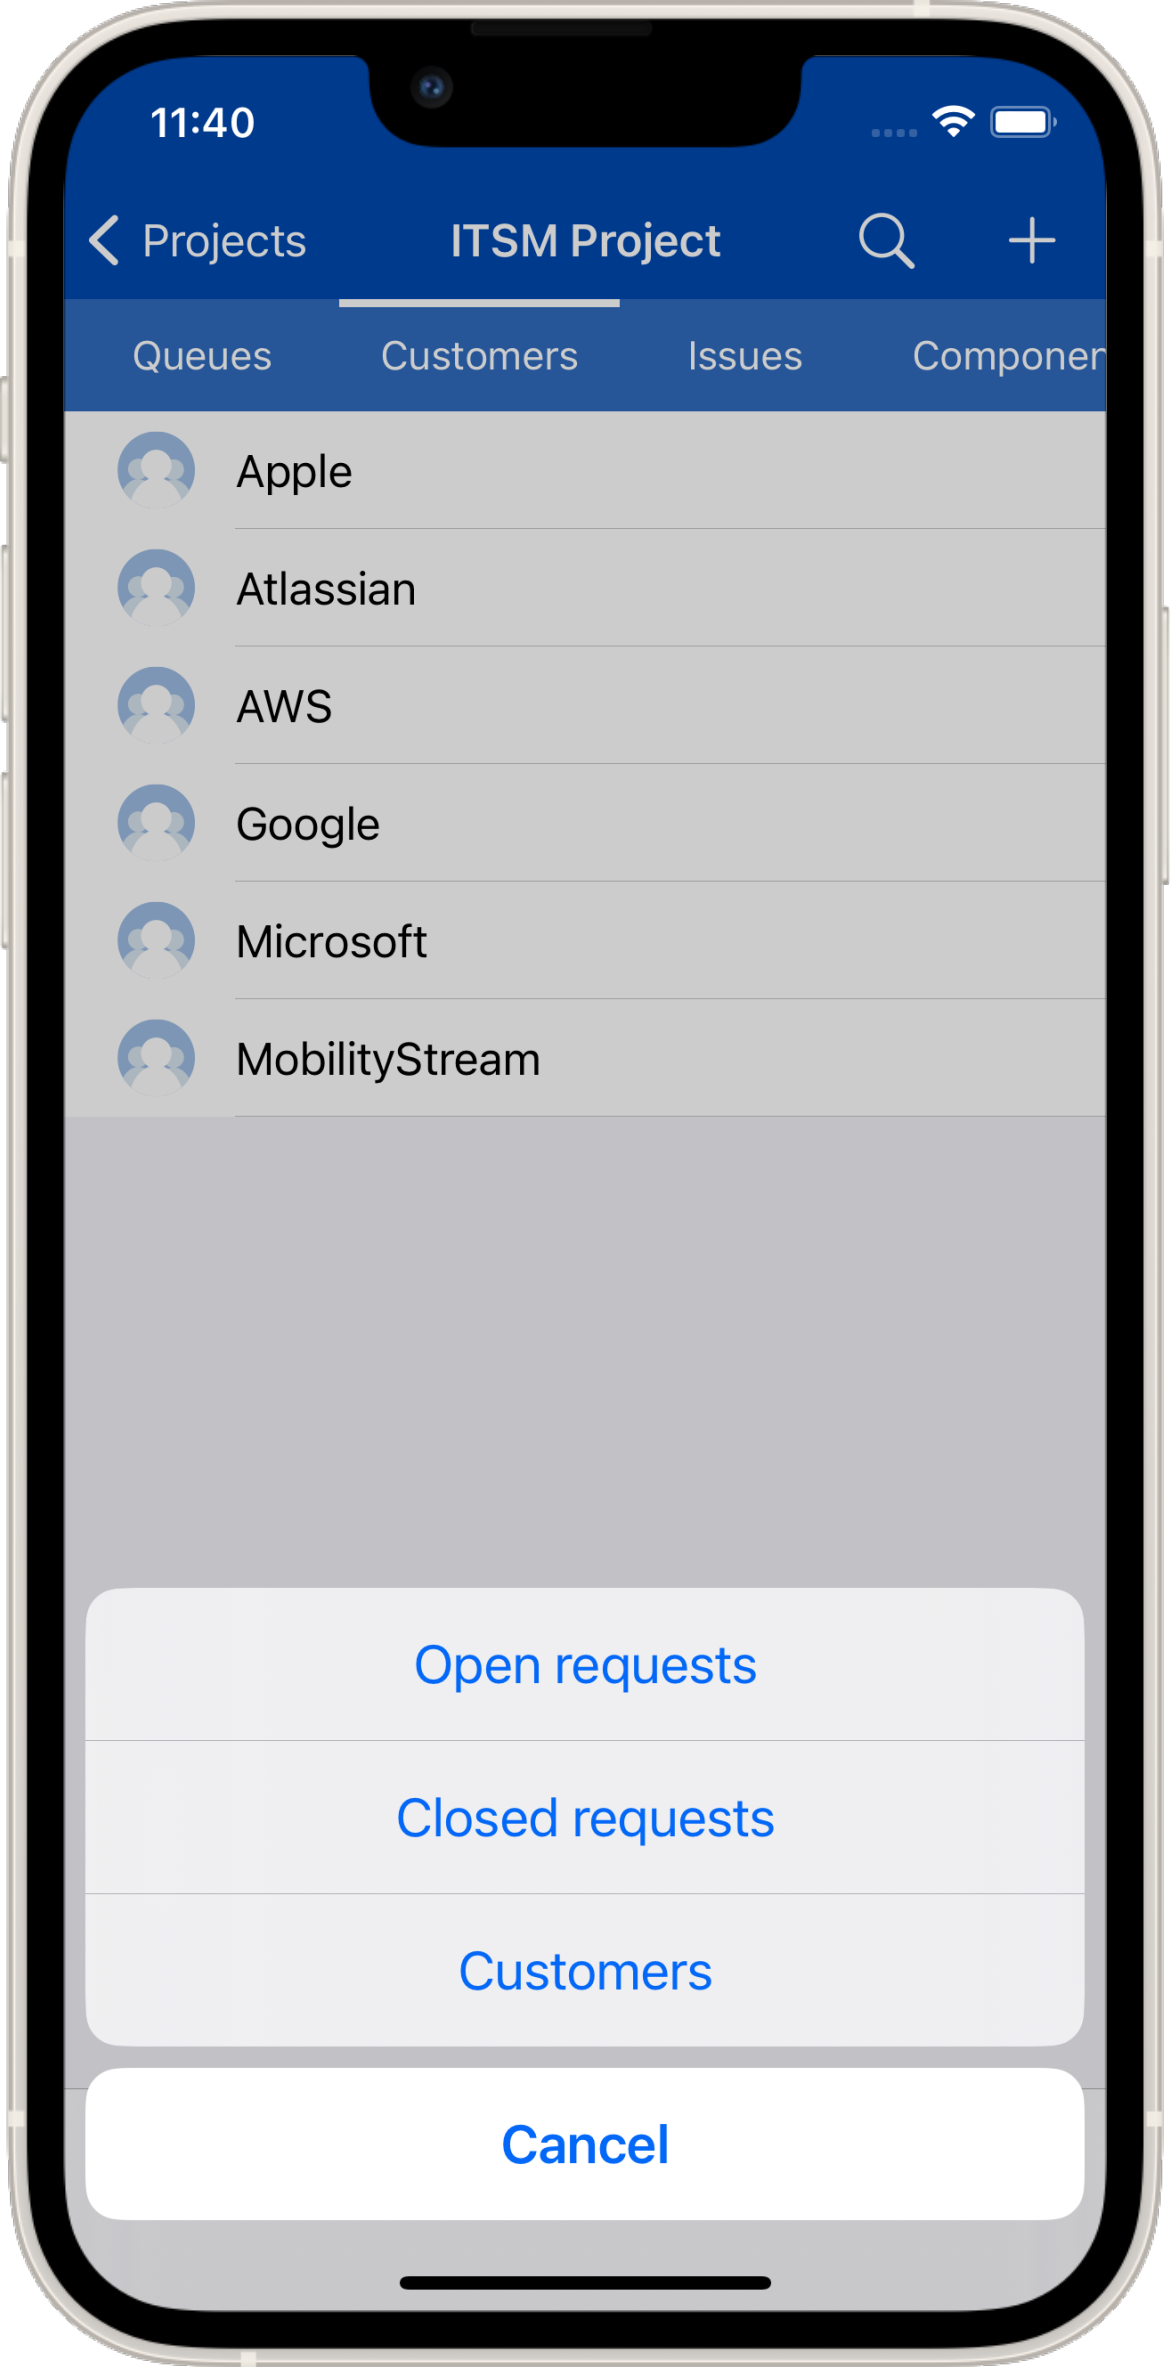
On mobile customers and organizations are displayed. Associated open and closed requests as well as customers/users can be viewed.
Tutorial Video
Watch our JSM Tutorial video to learn how both Jira apps (Team & Portal) can be used together by your JSM Clients and Agents.
https://youtu.be/VUONxwE41kI