Installation
The Databricks Integration Jira add-on lets you effortlessly export an issue list from issue searches to Databricks. Follow the installation instructions below.
Install the Add-On
Log into your Jira instance as an admin.
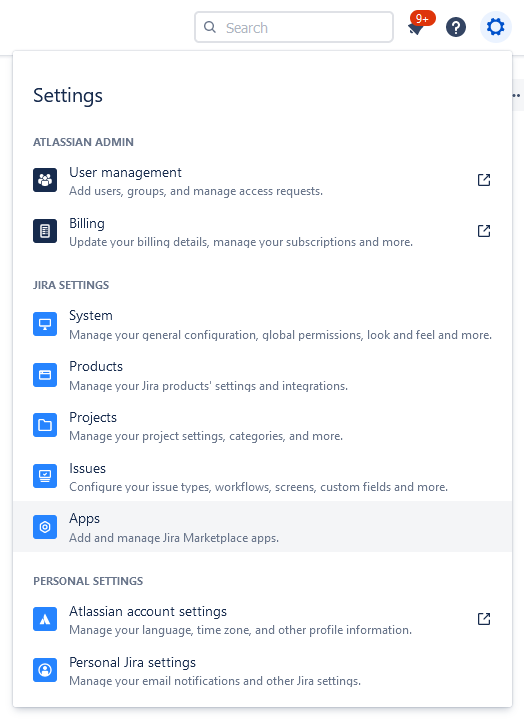
Click the administration gear in the top right corner and select Apps.
The Find new apps screen loads.
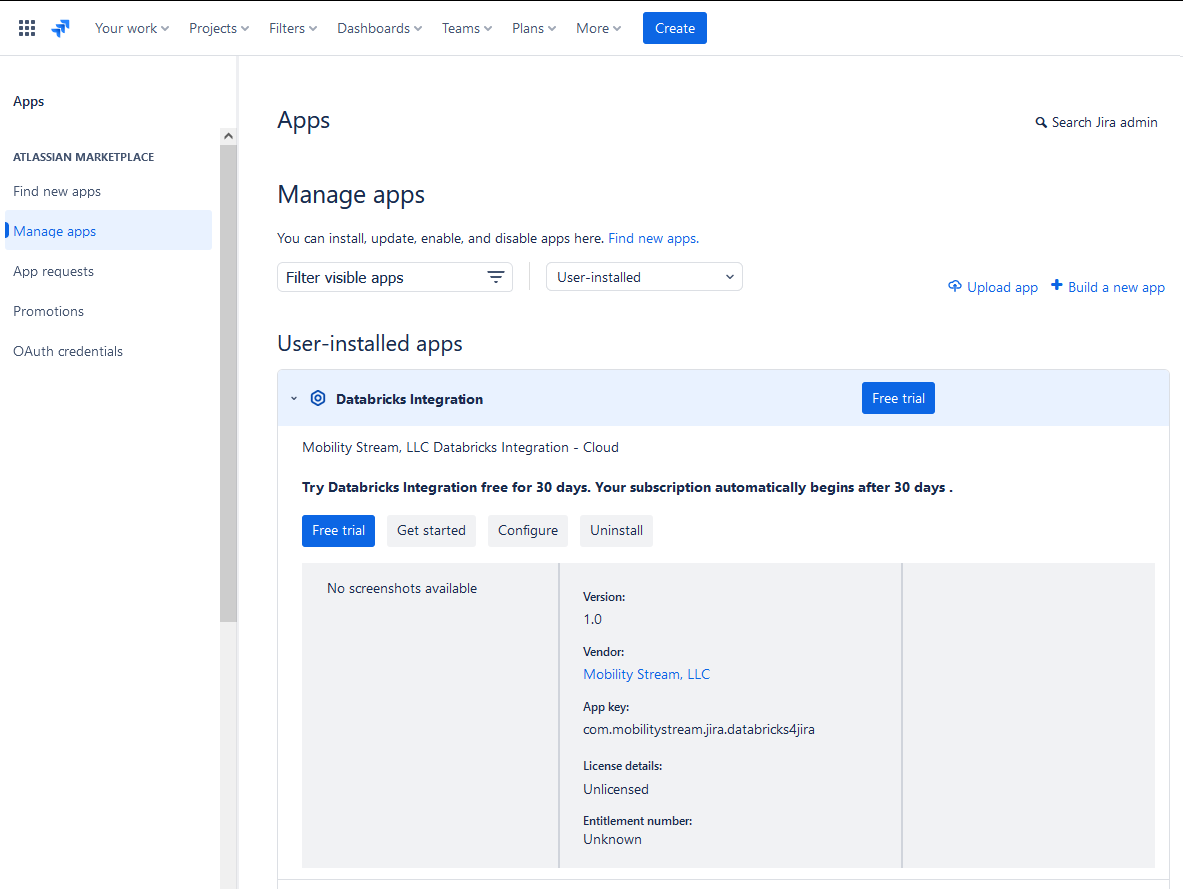
Locate Databricks Integration.
Click Free trial to download and install your add-on.
You're all set!
Click Close in the Installed and ready to go dialog.
Configure Databricks
To export Jira issue data to Databricks, you will need a compute cluster in Databricks, and at least one catalog and schema to store the exported data.
If you need to set up any of these items in Databricks, refer to the documentation for your hosting type:
Note
Databricks Integration requires Databricks Runtime version 14.2 or newer. It is not necessary for your instance to use Unity Catalog.
Next, make sure that you have the user credentials necessary to access and modify this database and any schemas within it where you would like to store exports. Unity Catalog instances will need to ensure that their Roles and Permissions and Access Control Lists allow the user to perform the following:
CREATE TABLE
ALTER TABLE
DELETE TABLE
INSERT
SELECT
UPDATE
USE SCHEMA
Please see the Unity Catalog Privileges and Securable Objects documentation for your hosting type for additional information on these privileges and how to apply them to a user in your instance:
Finally, you will need the JDBC/ODBC connection information for your Databricks computer cluster, and a Databricks API access token.
For the JDBC/ODBC connection information, follow these steps:
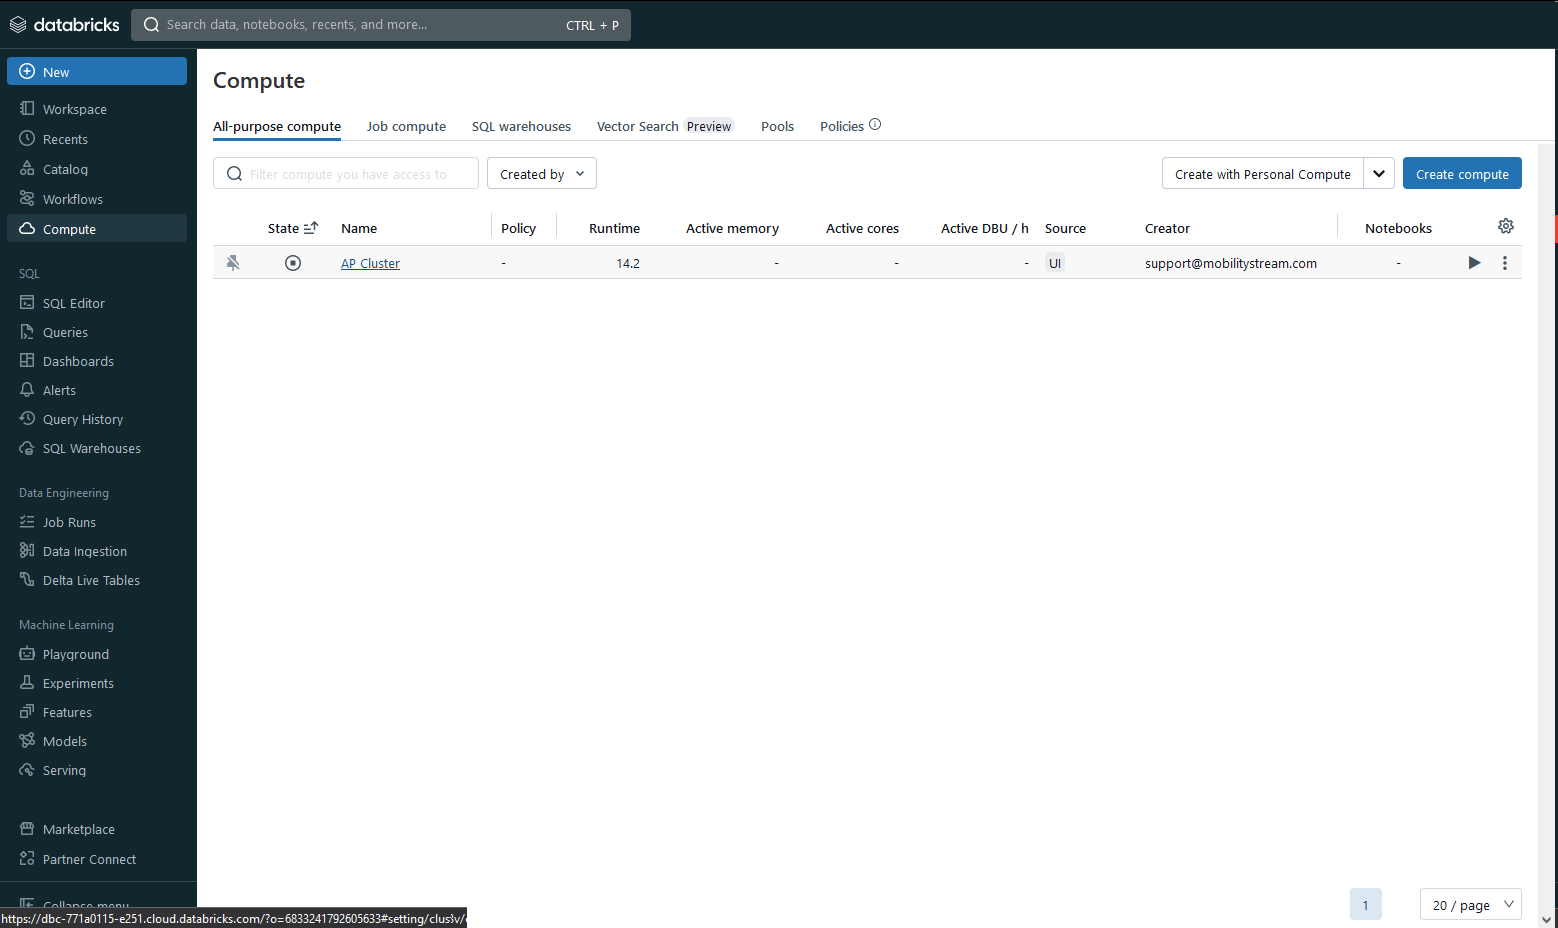
Find your Compute cluster in Databricks and load its configuration by clicking on the cluster name:
Scroll to the bottom of the configuration screen and expand the Advanced Options section, then select JDBC/ODBC:
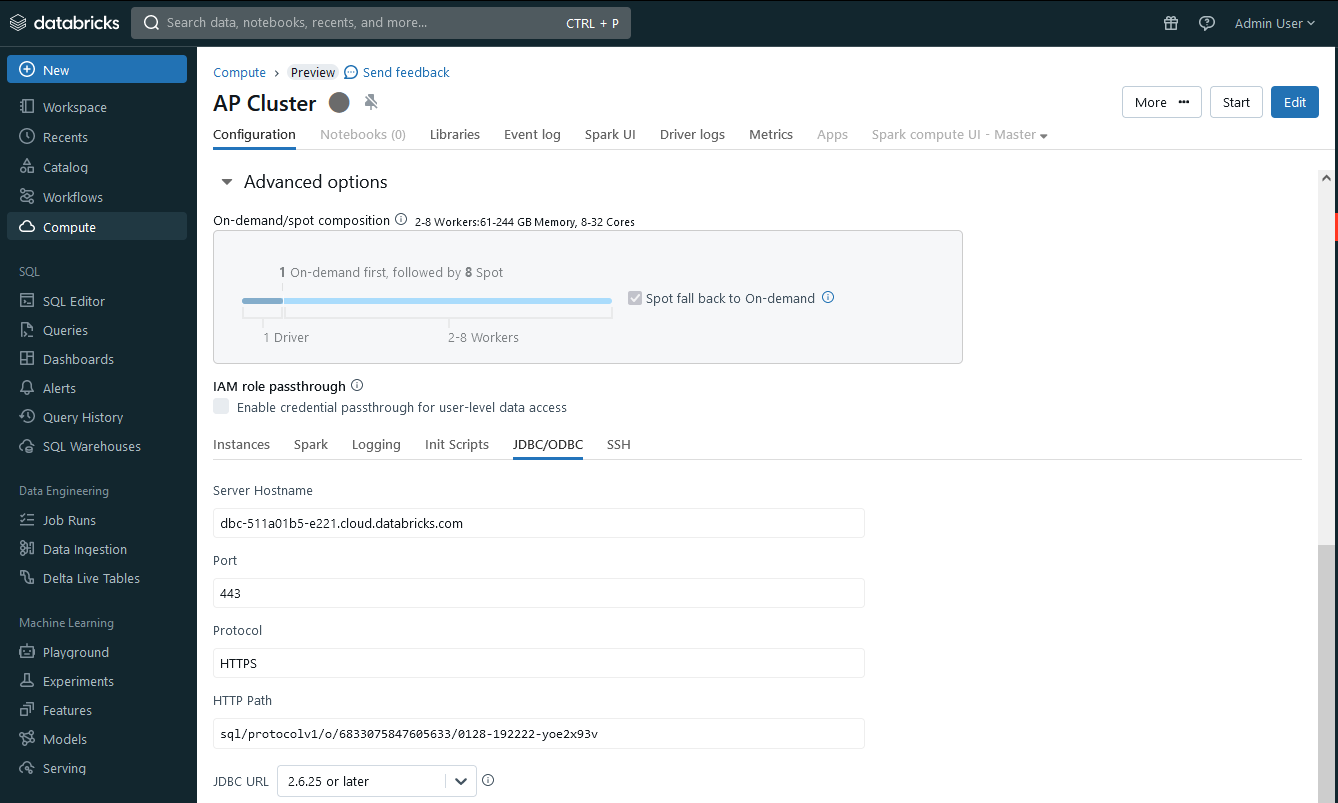
Copy and paste the Server Hostname and HTTP Path values into a text editor for later use in add-on configuration.
To generate a Databricks API access token, follow these steps:
Log in as the user you intend to use to access Databricks from JIra.
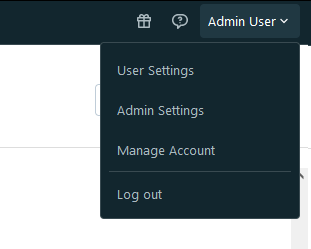
Expand your user menu in the top right of Databricks, and select User Settings
In the Settings screen, select the Developer item on the left
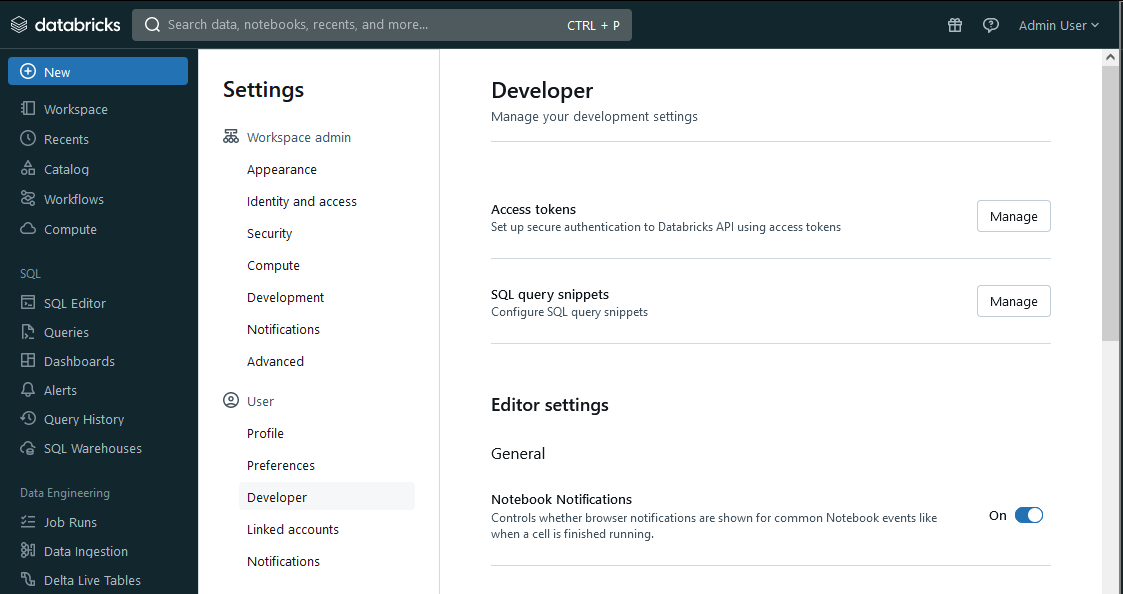
Click on the Manage button in the Access Tokens section at the top, then click the Generate new token button
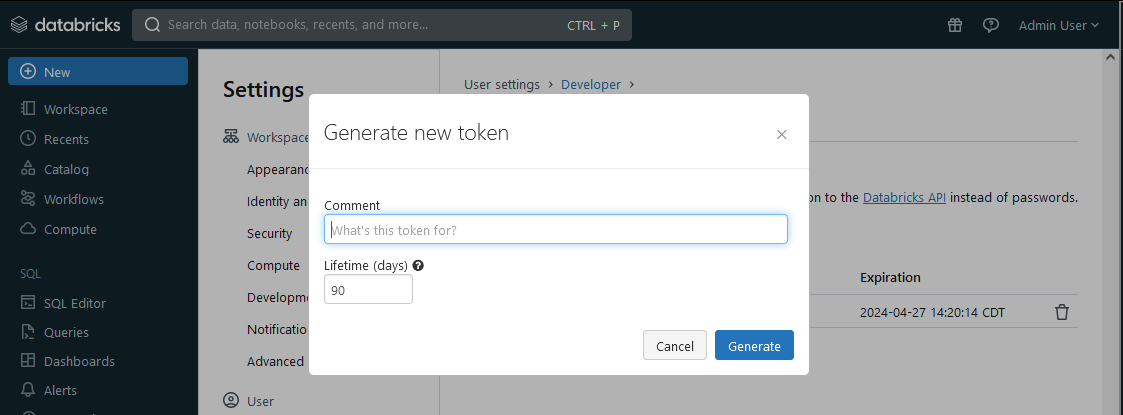
Provide a comment for the token and the desired lifetime, then click the Generate button. Copy and paste your new token into a text editor for later use in add-on configuration.
With a cluster, catalog(s), and schema(s), and connection information and an access token, you're ready to move on to the next steps and configure the Jira add-on.
Configure the Add-On
To use the integration, you have to configure the add-on.
In Jira, click on the administration gear in the top right corner and select Apps.
Click Manage Apps on the left side and search for the Databricks Integration add-on in the list of installed apps. Then click on the Configure button.
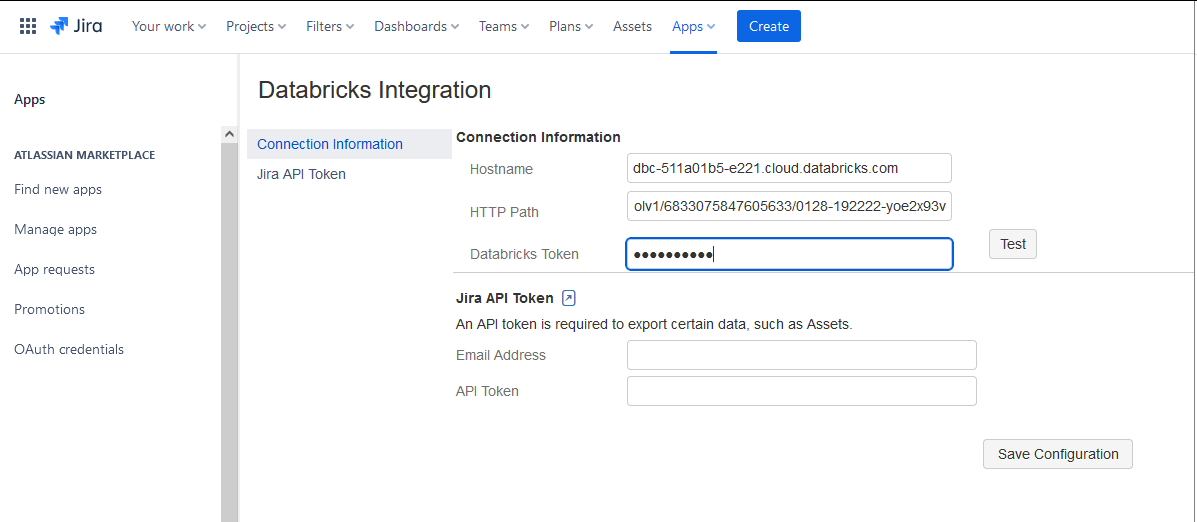
Now you can enter the Databricks connection information from the Configure Databricks steps. When you are finished, click the Test button to confirm your connection information is correct. If the test fails, return to Databricks and confirm your user has the necessary permissions. If the test passes, click the Save Configuration button.
Now that setup is complete, continue to the Jira Add-On Configuration page for more information on configuring the add-on.